

What you’ll learn 🧑🎓
Why pallets?
You’ve found the perfect location for your salad garden, now all you have to do is find some free pallets a fish box or two and install your pallet salad garden.
But, how to install your pallet salad garden and why pallets?
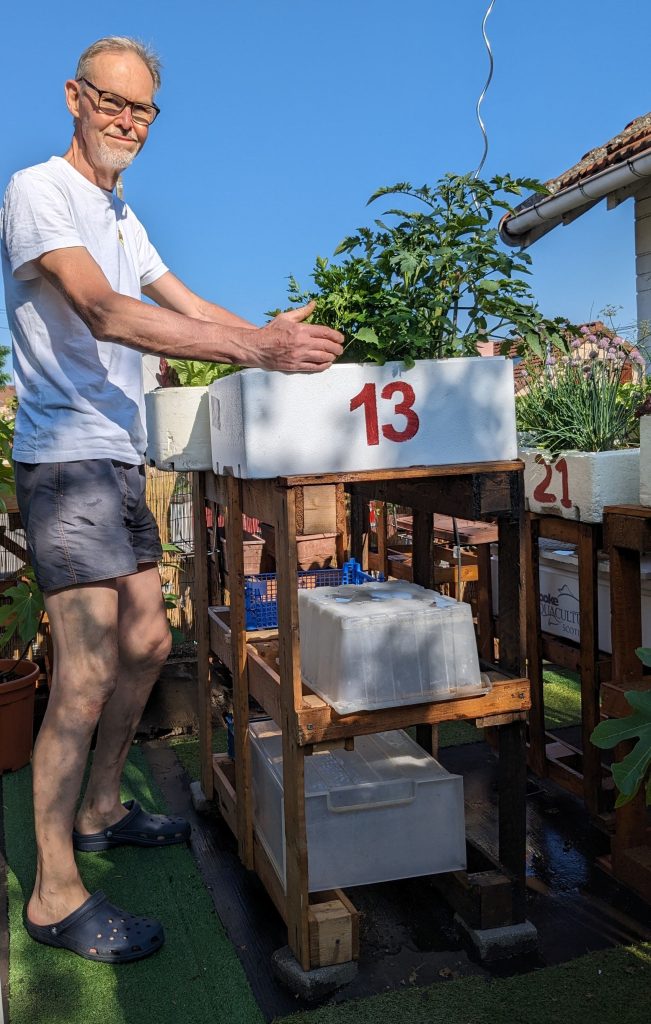
Pallets are strong and a pallet well made with at least one flat surface can stand up by itself without toppling over.
Two pallets joined together make a solid and stable platform for your plant containers and although they are not necessarily pretty, they do the job of making gardening easier for you and protecting your plants as well.
The way pallets are constructed also lends itself well to creating useful storage options, if they’re positioned the correct way up, i.e. horizontally.
There is plenty of information online about pallets and I won’t go into where to find them but you should bear in the following points:
- Try and get two identical pallets because joining them together will be much easier if one is not higher or wider than the other.
- Each individual pallet should be able to stand up on its own and not wobble, the finished construction will be all the more stable.
- Look for the HT symbol which means heat treated and not MB which means methyl bromide. Methyl bromide is an insecticide and it’s not safe for you or your container garden.
- Although they look pretty, painted red, green and blue pallets are rented out to wholesalers, picking one up could land you with a fine or worse!
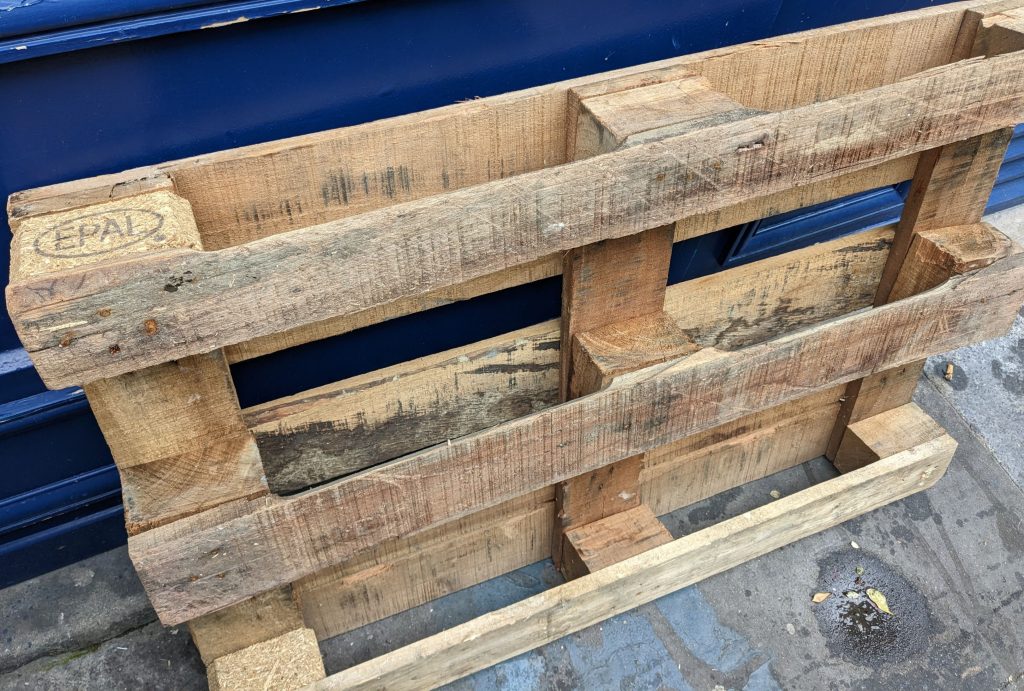
Look out for the company name stamped in the wood like this EPAL pallet in the photo below.
Rented pallets are made to carry heavy goods like sandbags or cement.
They’re made of thick boards with large blocks of wood and held together with lots of nails. You may want to avoid these because although they’re strong and stable, they weigh a ton!
The weight is important because your pallets are going to be screwed together and when you need to move them, you’ll be glad they’re not heavy.
Often pallets are rectangular in shape, does it matter which way round they should be positioned?
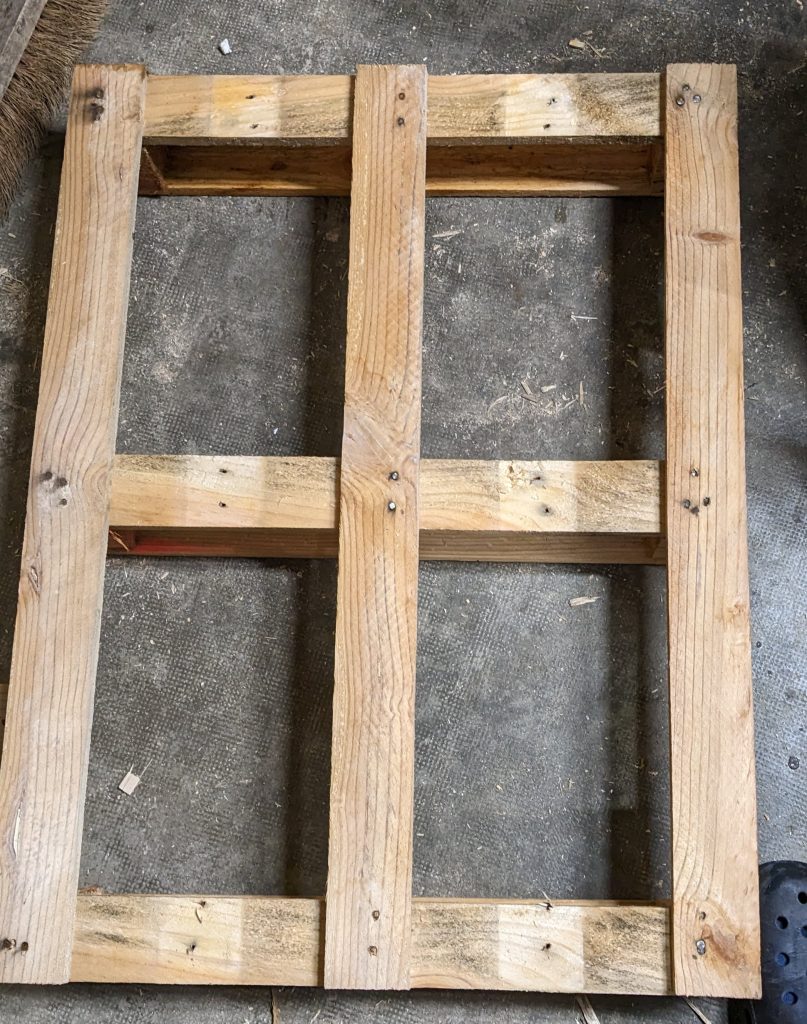
Look at the pallet above, although it’s not suitable for our purposes it does have a useful feature common to all pallets.
The boards in the middle section and bottom sections can be used for additional storage space if the pallet is positioned horizontally.
If you want to easily tend to your plants at about waist height, my advice is to choose pallets measuring approximately between the middle of your thigh and no higher than your crotch.
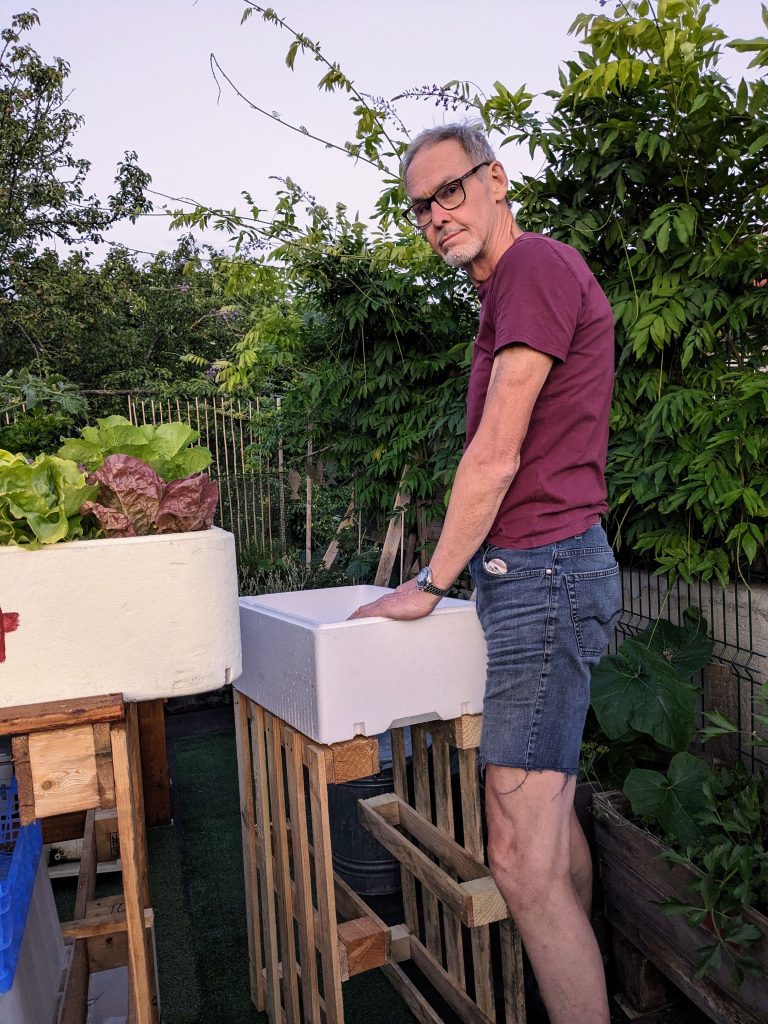
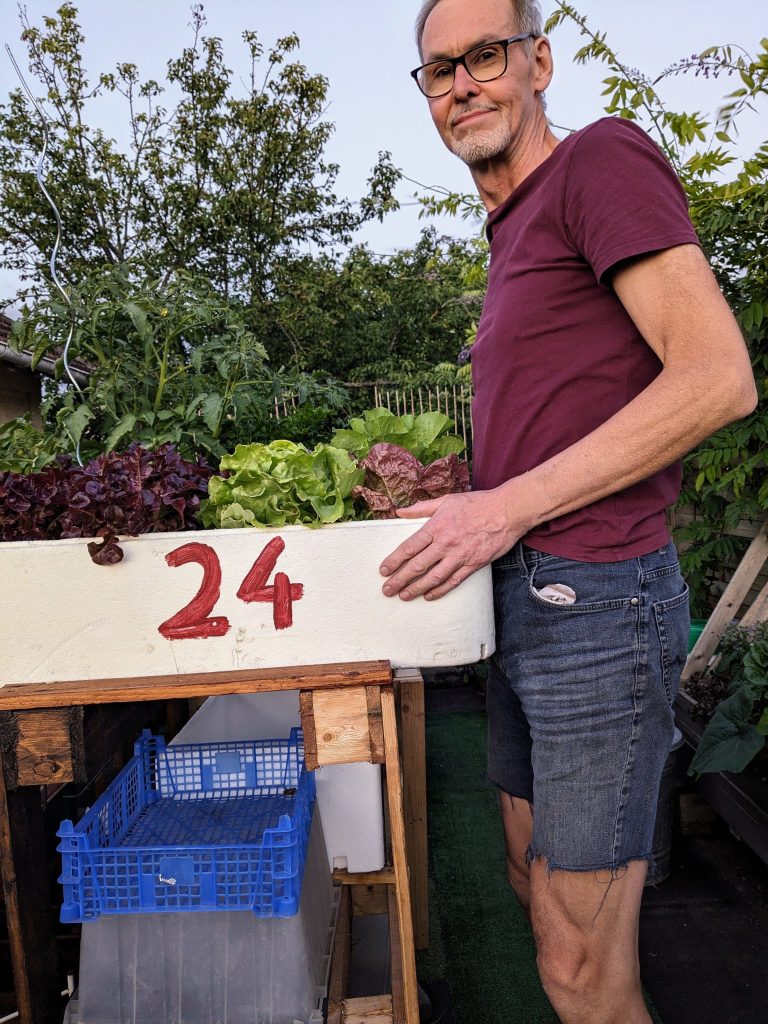
Above are two pallet heights, in the left photo the pallet is at the middle of my thigh and right, at crotch height. Both are comfortable but I find the lower one suits me better.
Whether you’re a tall man or woman like myself or of more moderate stature, pallets come in all sizes and you can even make your own – made to measure!
Pallet modifications
The following section explains how to join two pallets together to make a stable platform for your plant boxes but what if you’re not the handy-person type and you don’t have any tools?
You could just put two pallets side by side and place your planter-boxes on top. As long as each individual pallet stands upright by itself, the weight of the planter-box with soil and plants should be a stable enough construction.
If you place the planter-box in the middle section, the centre of gravity will be much lower increasing stability further and you can still have storage space on top for trays or crates of small plants for example.
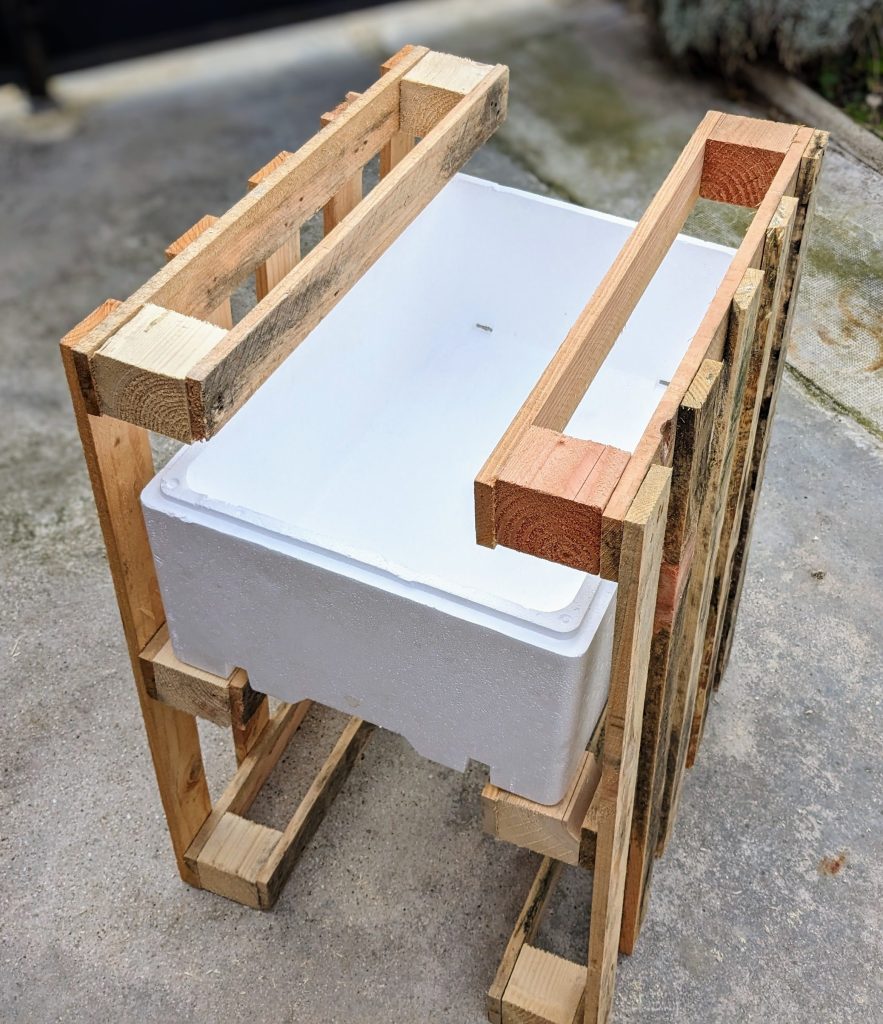
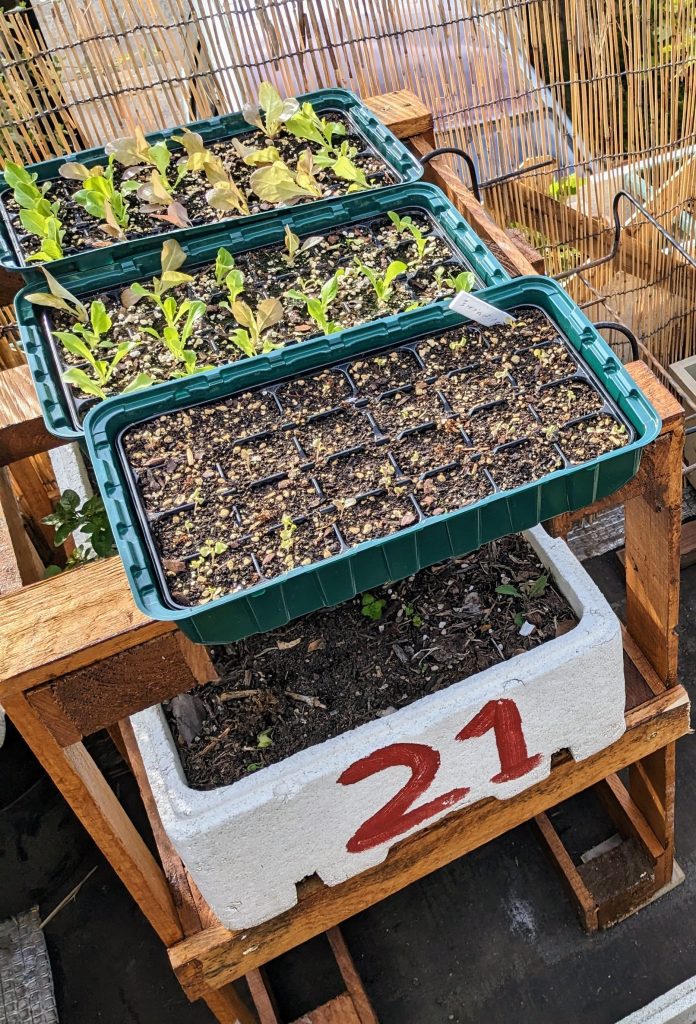
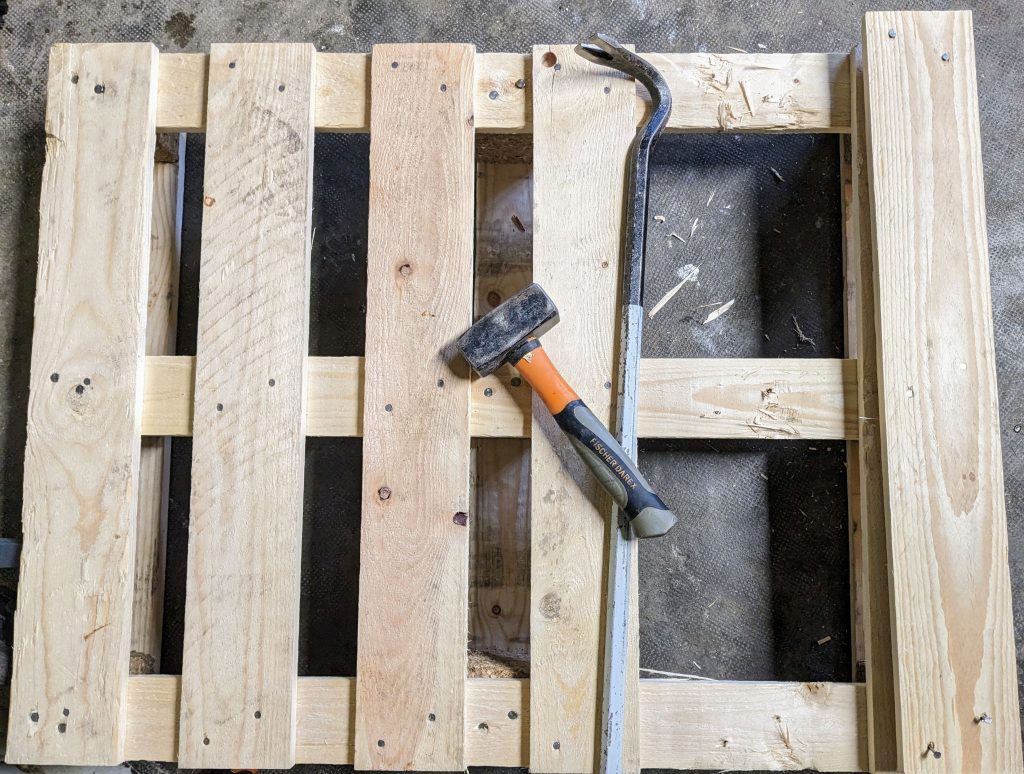
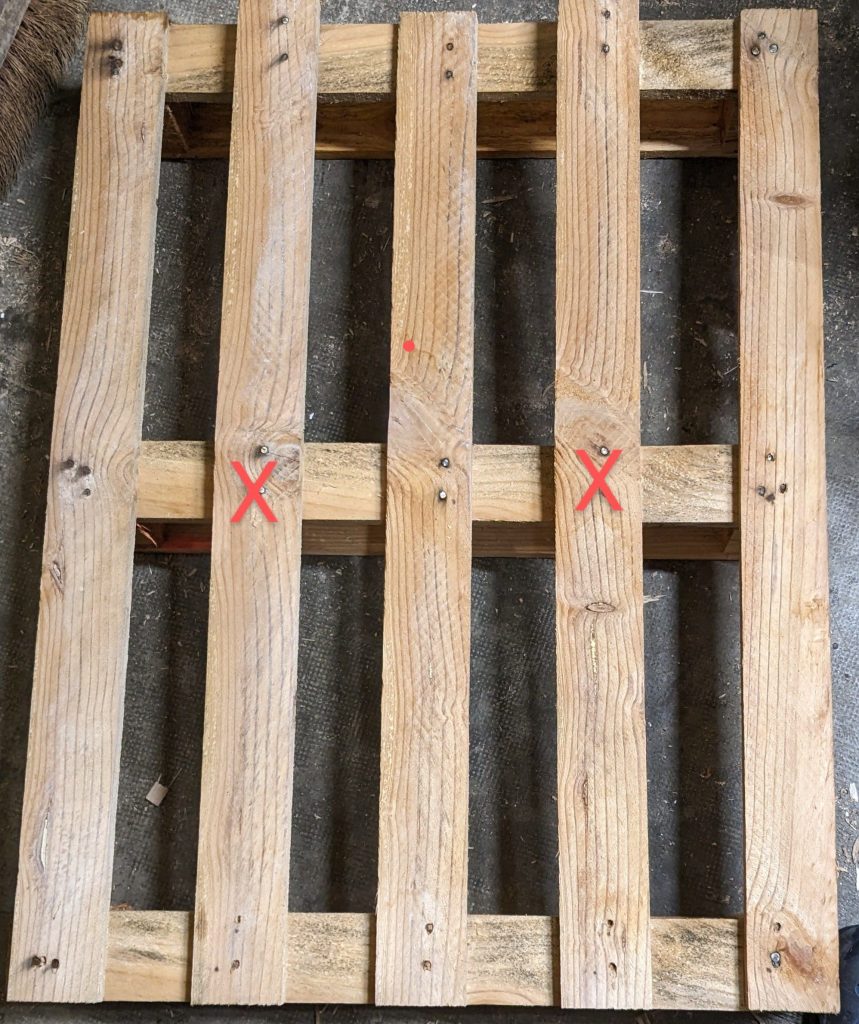
Depending on the pallets you find or buy, you might have to remove two or more boards per pallet. This is because you want to have the pallet weigh as little as possible and to allow sunlight to reach the lower shelves.
On the left, you should remove the two boards (X) on either side of the middle board.
To do this you will need a crowbar and a good hammer.
How to remove a pallet board
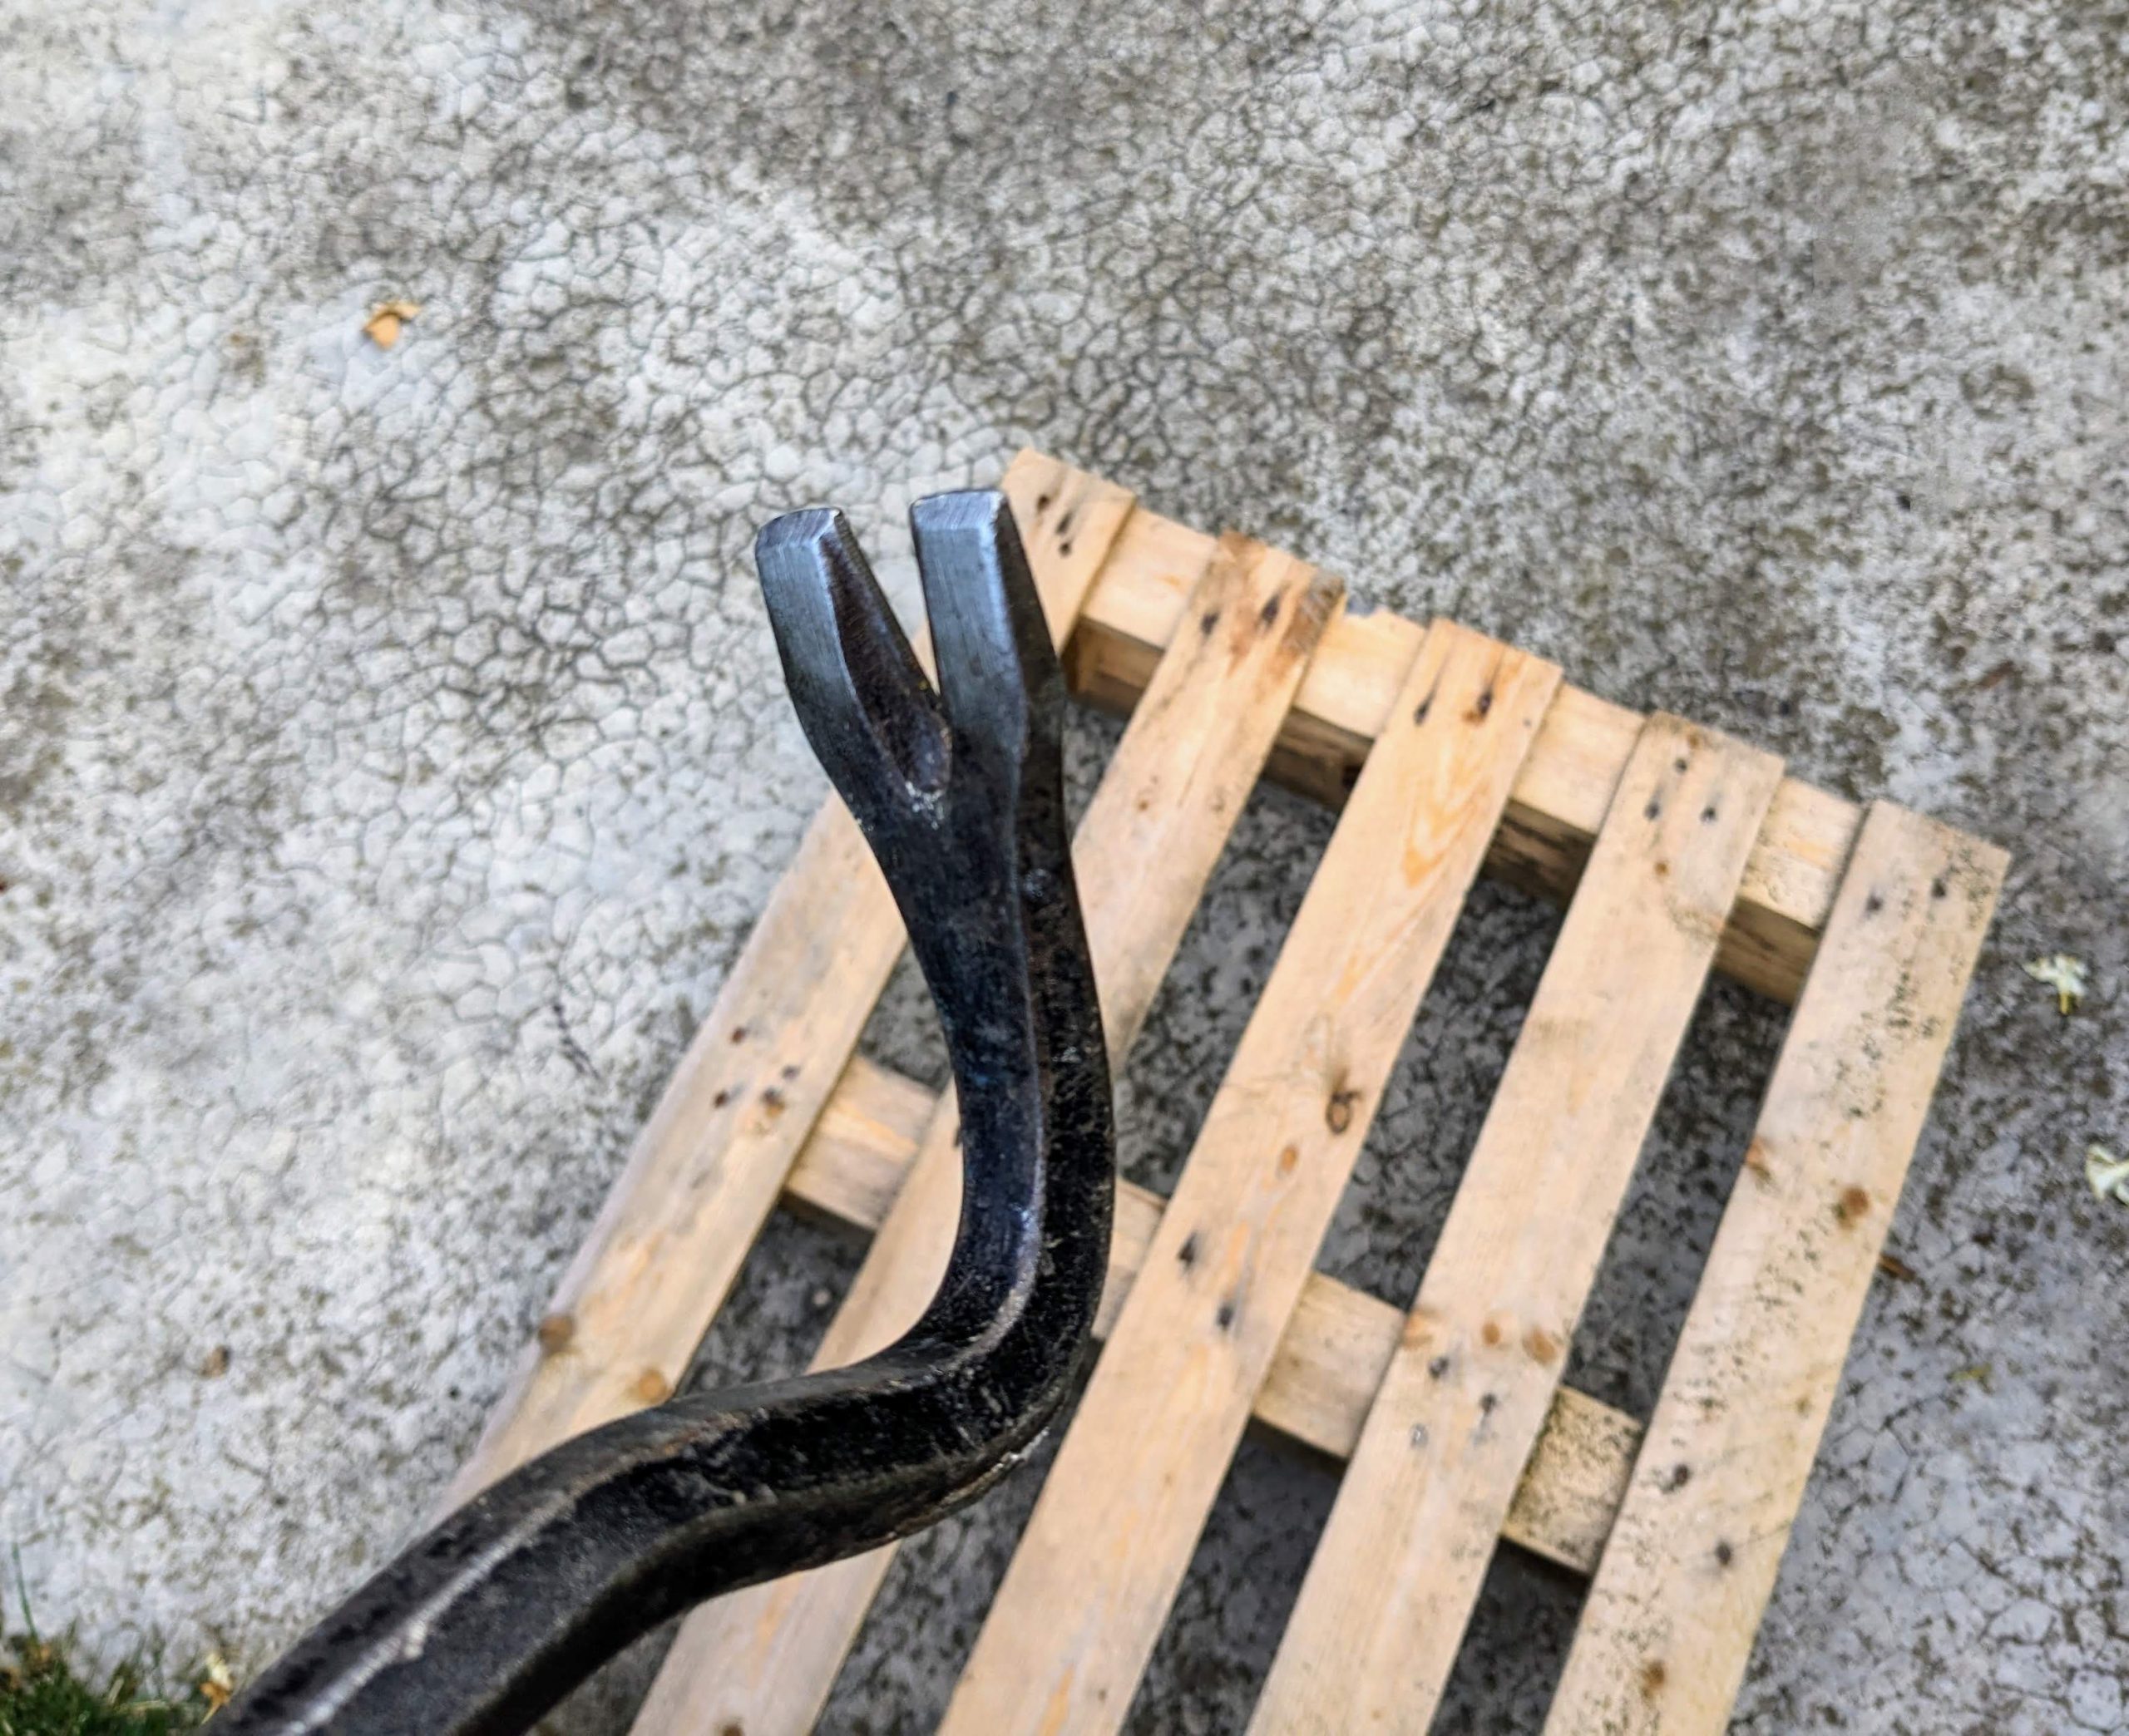
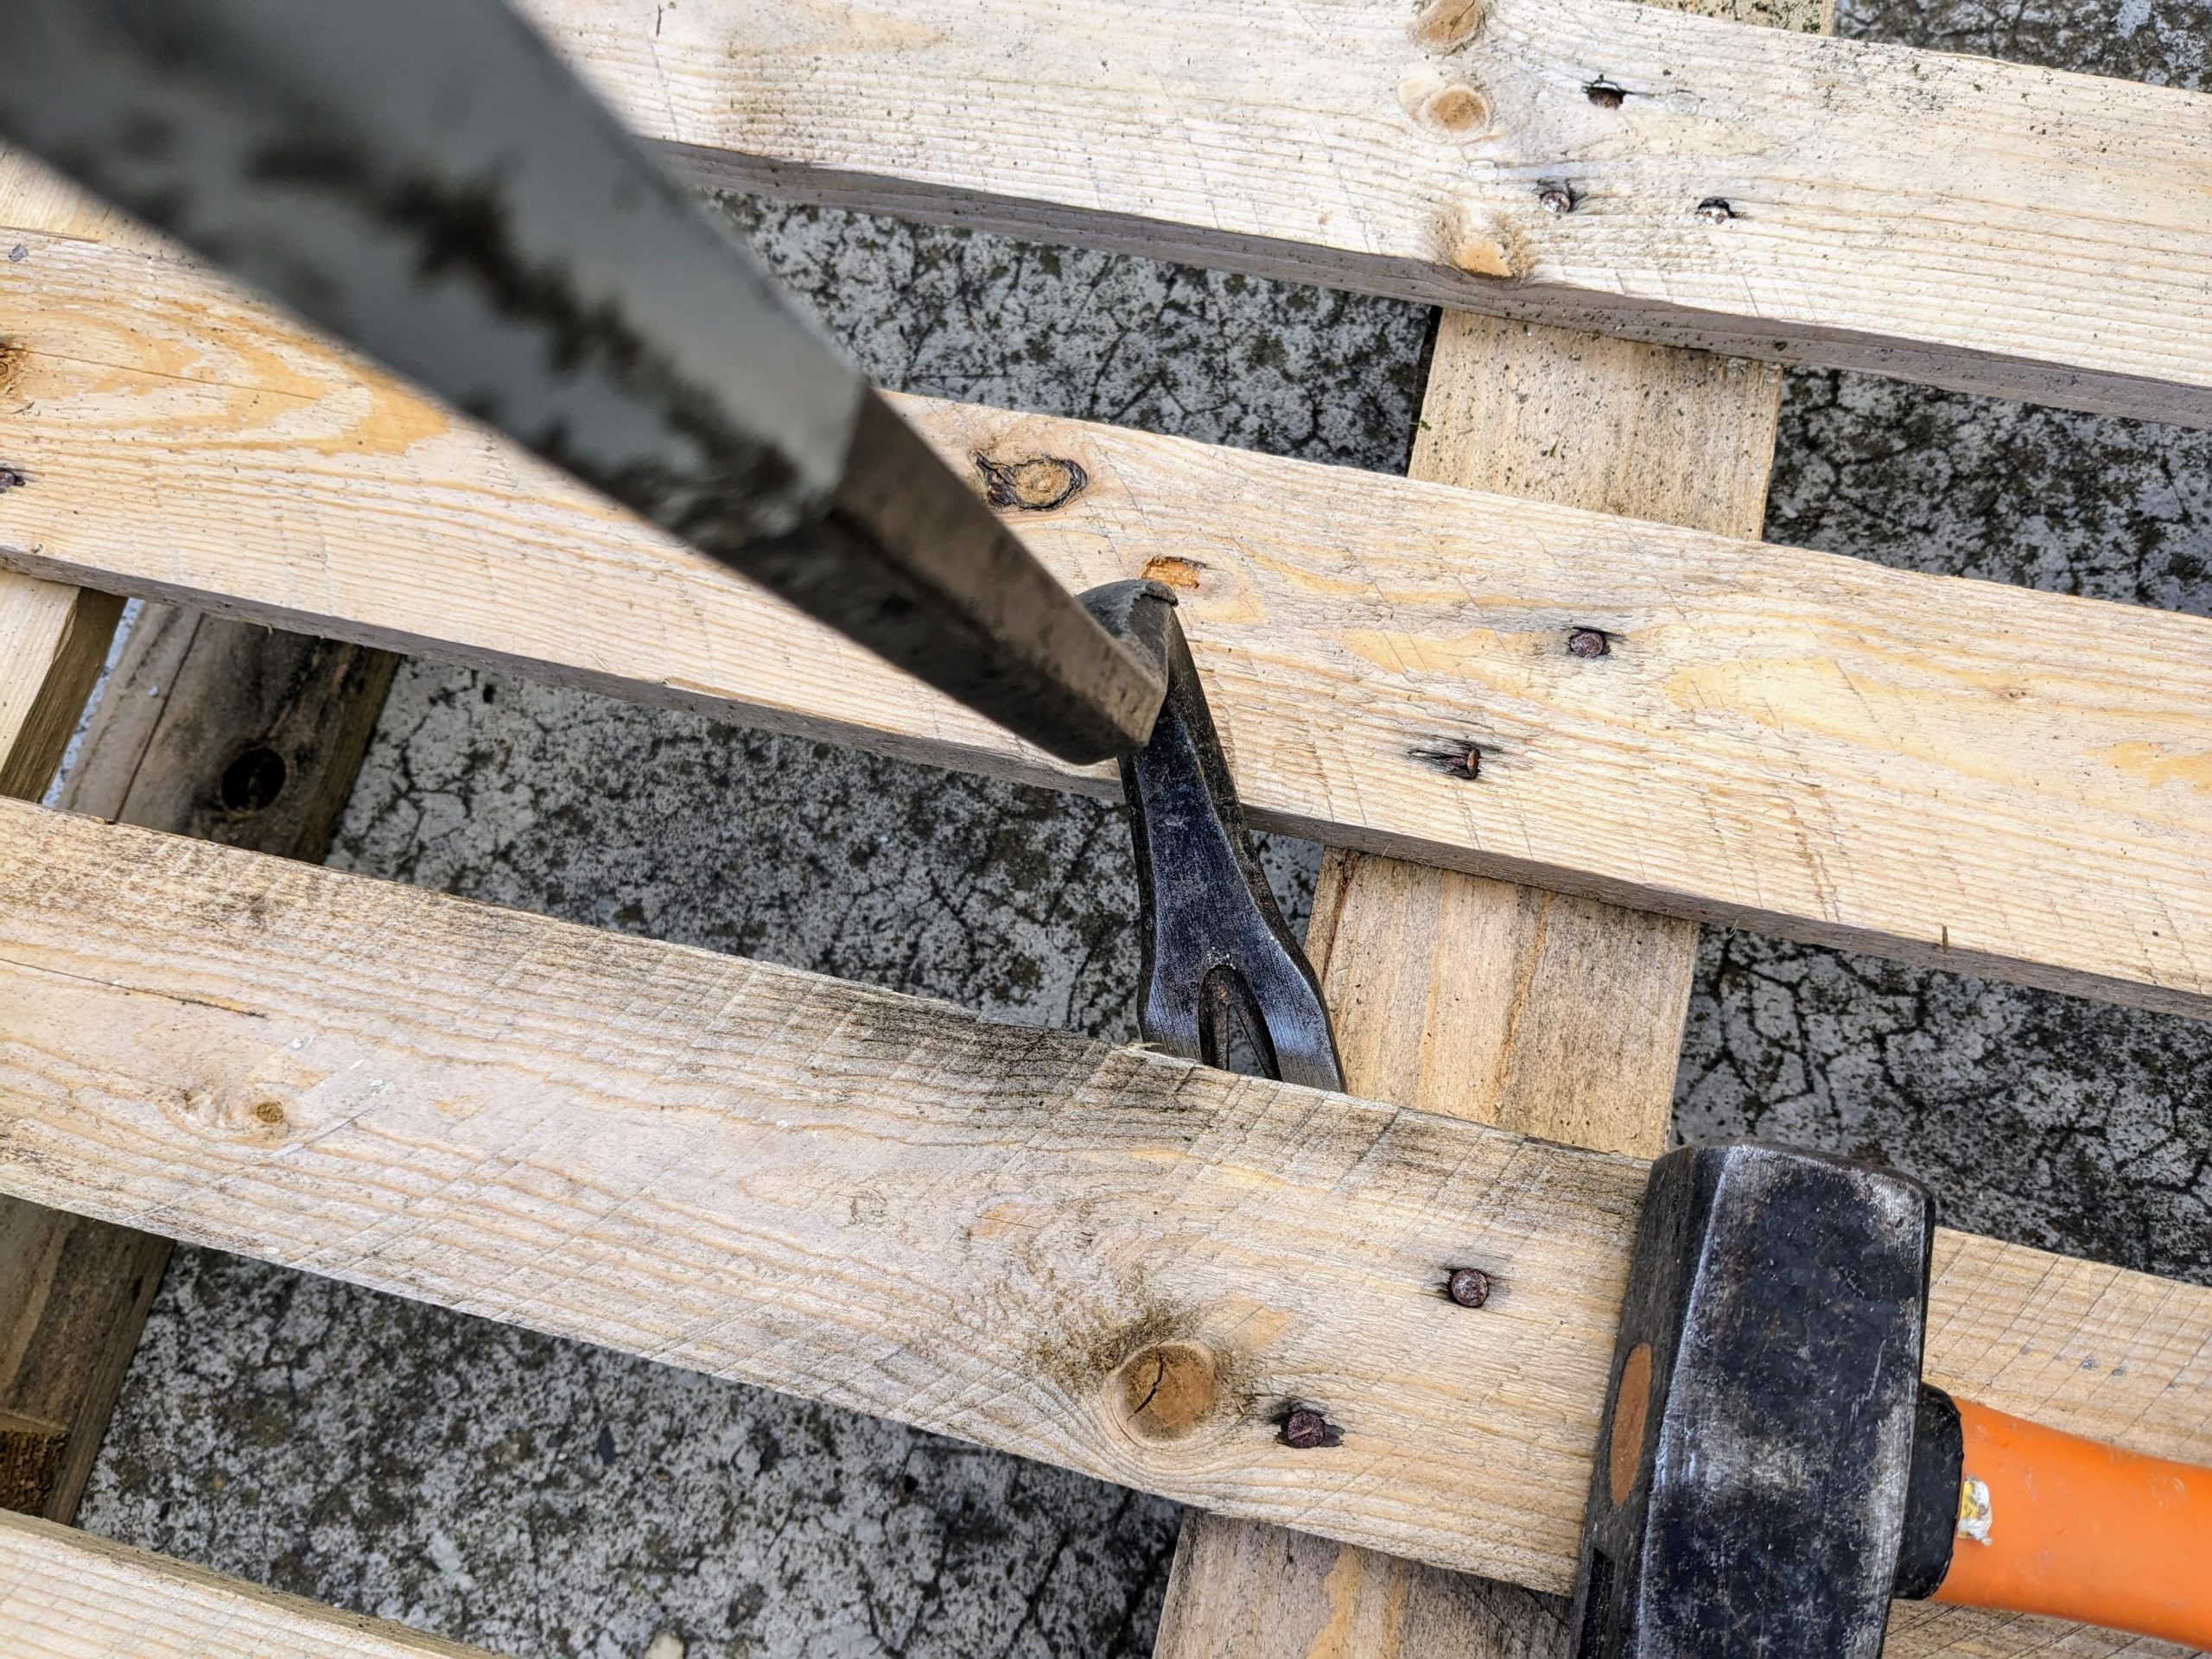
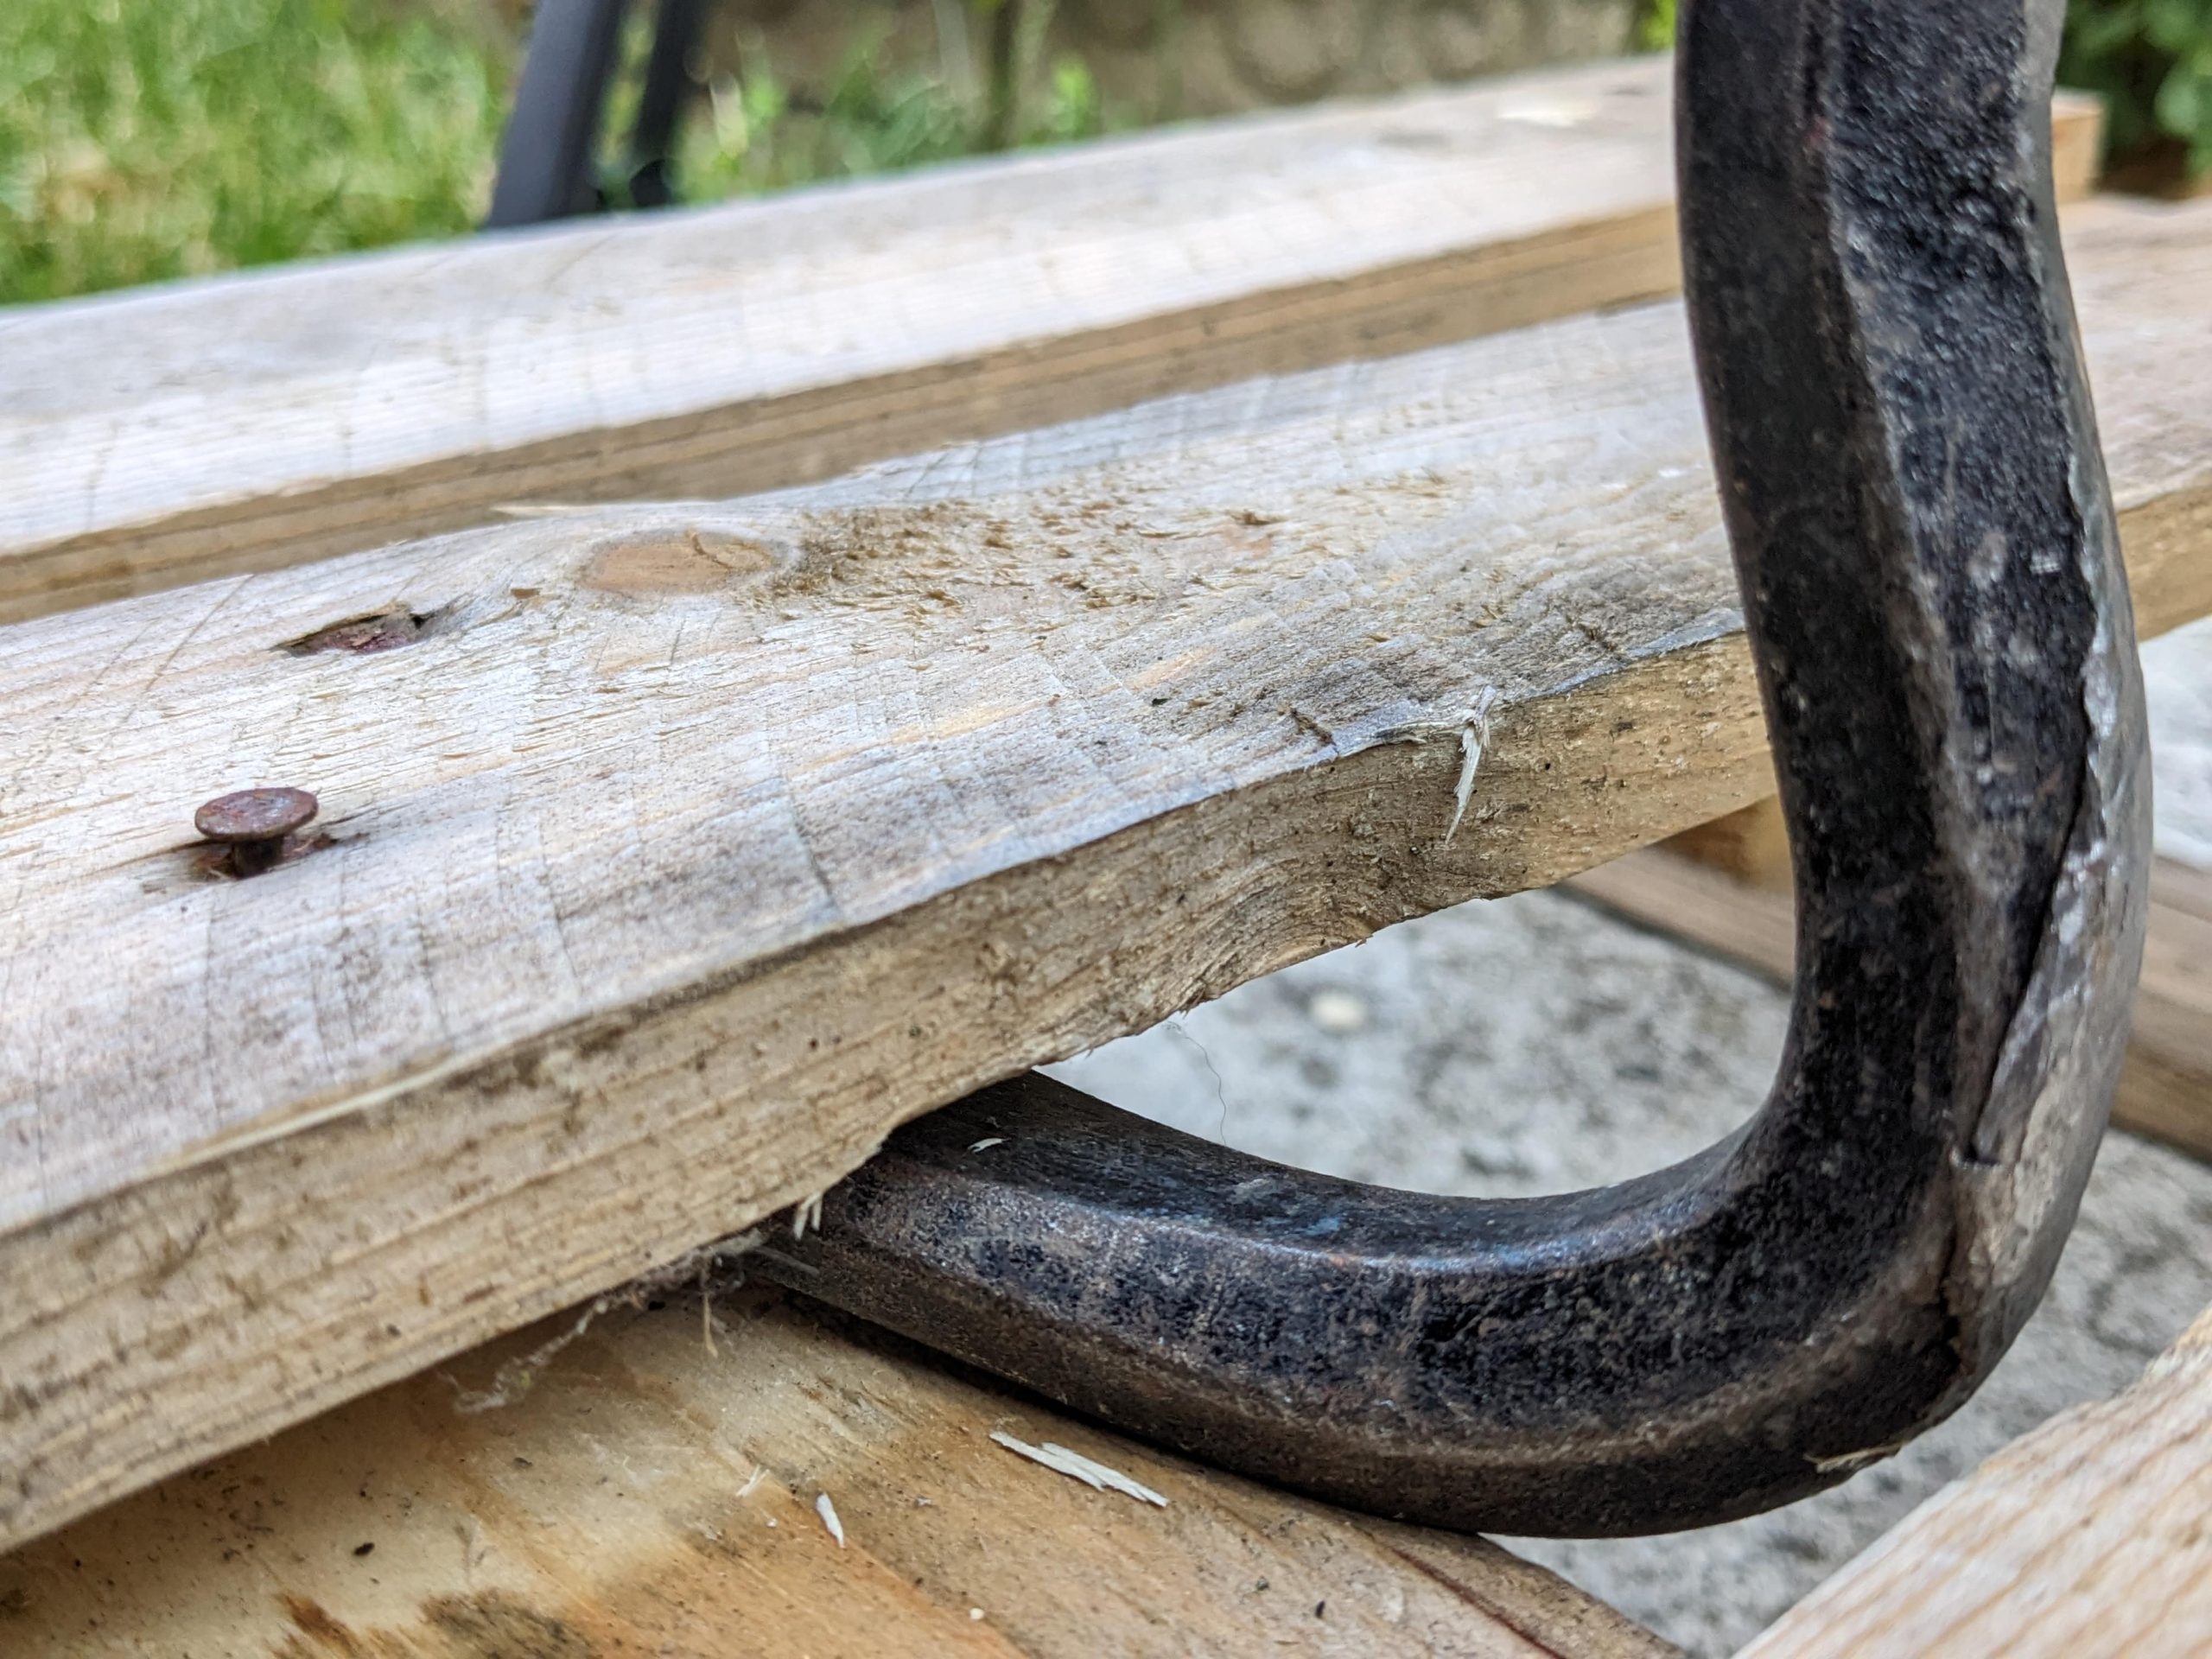
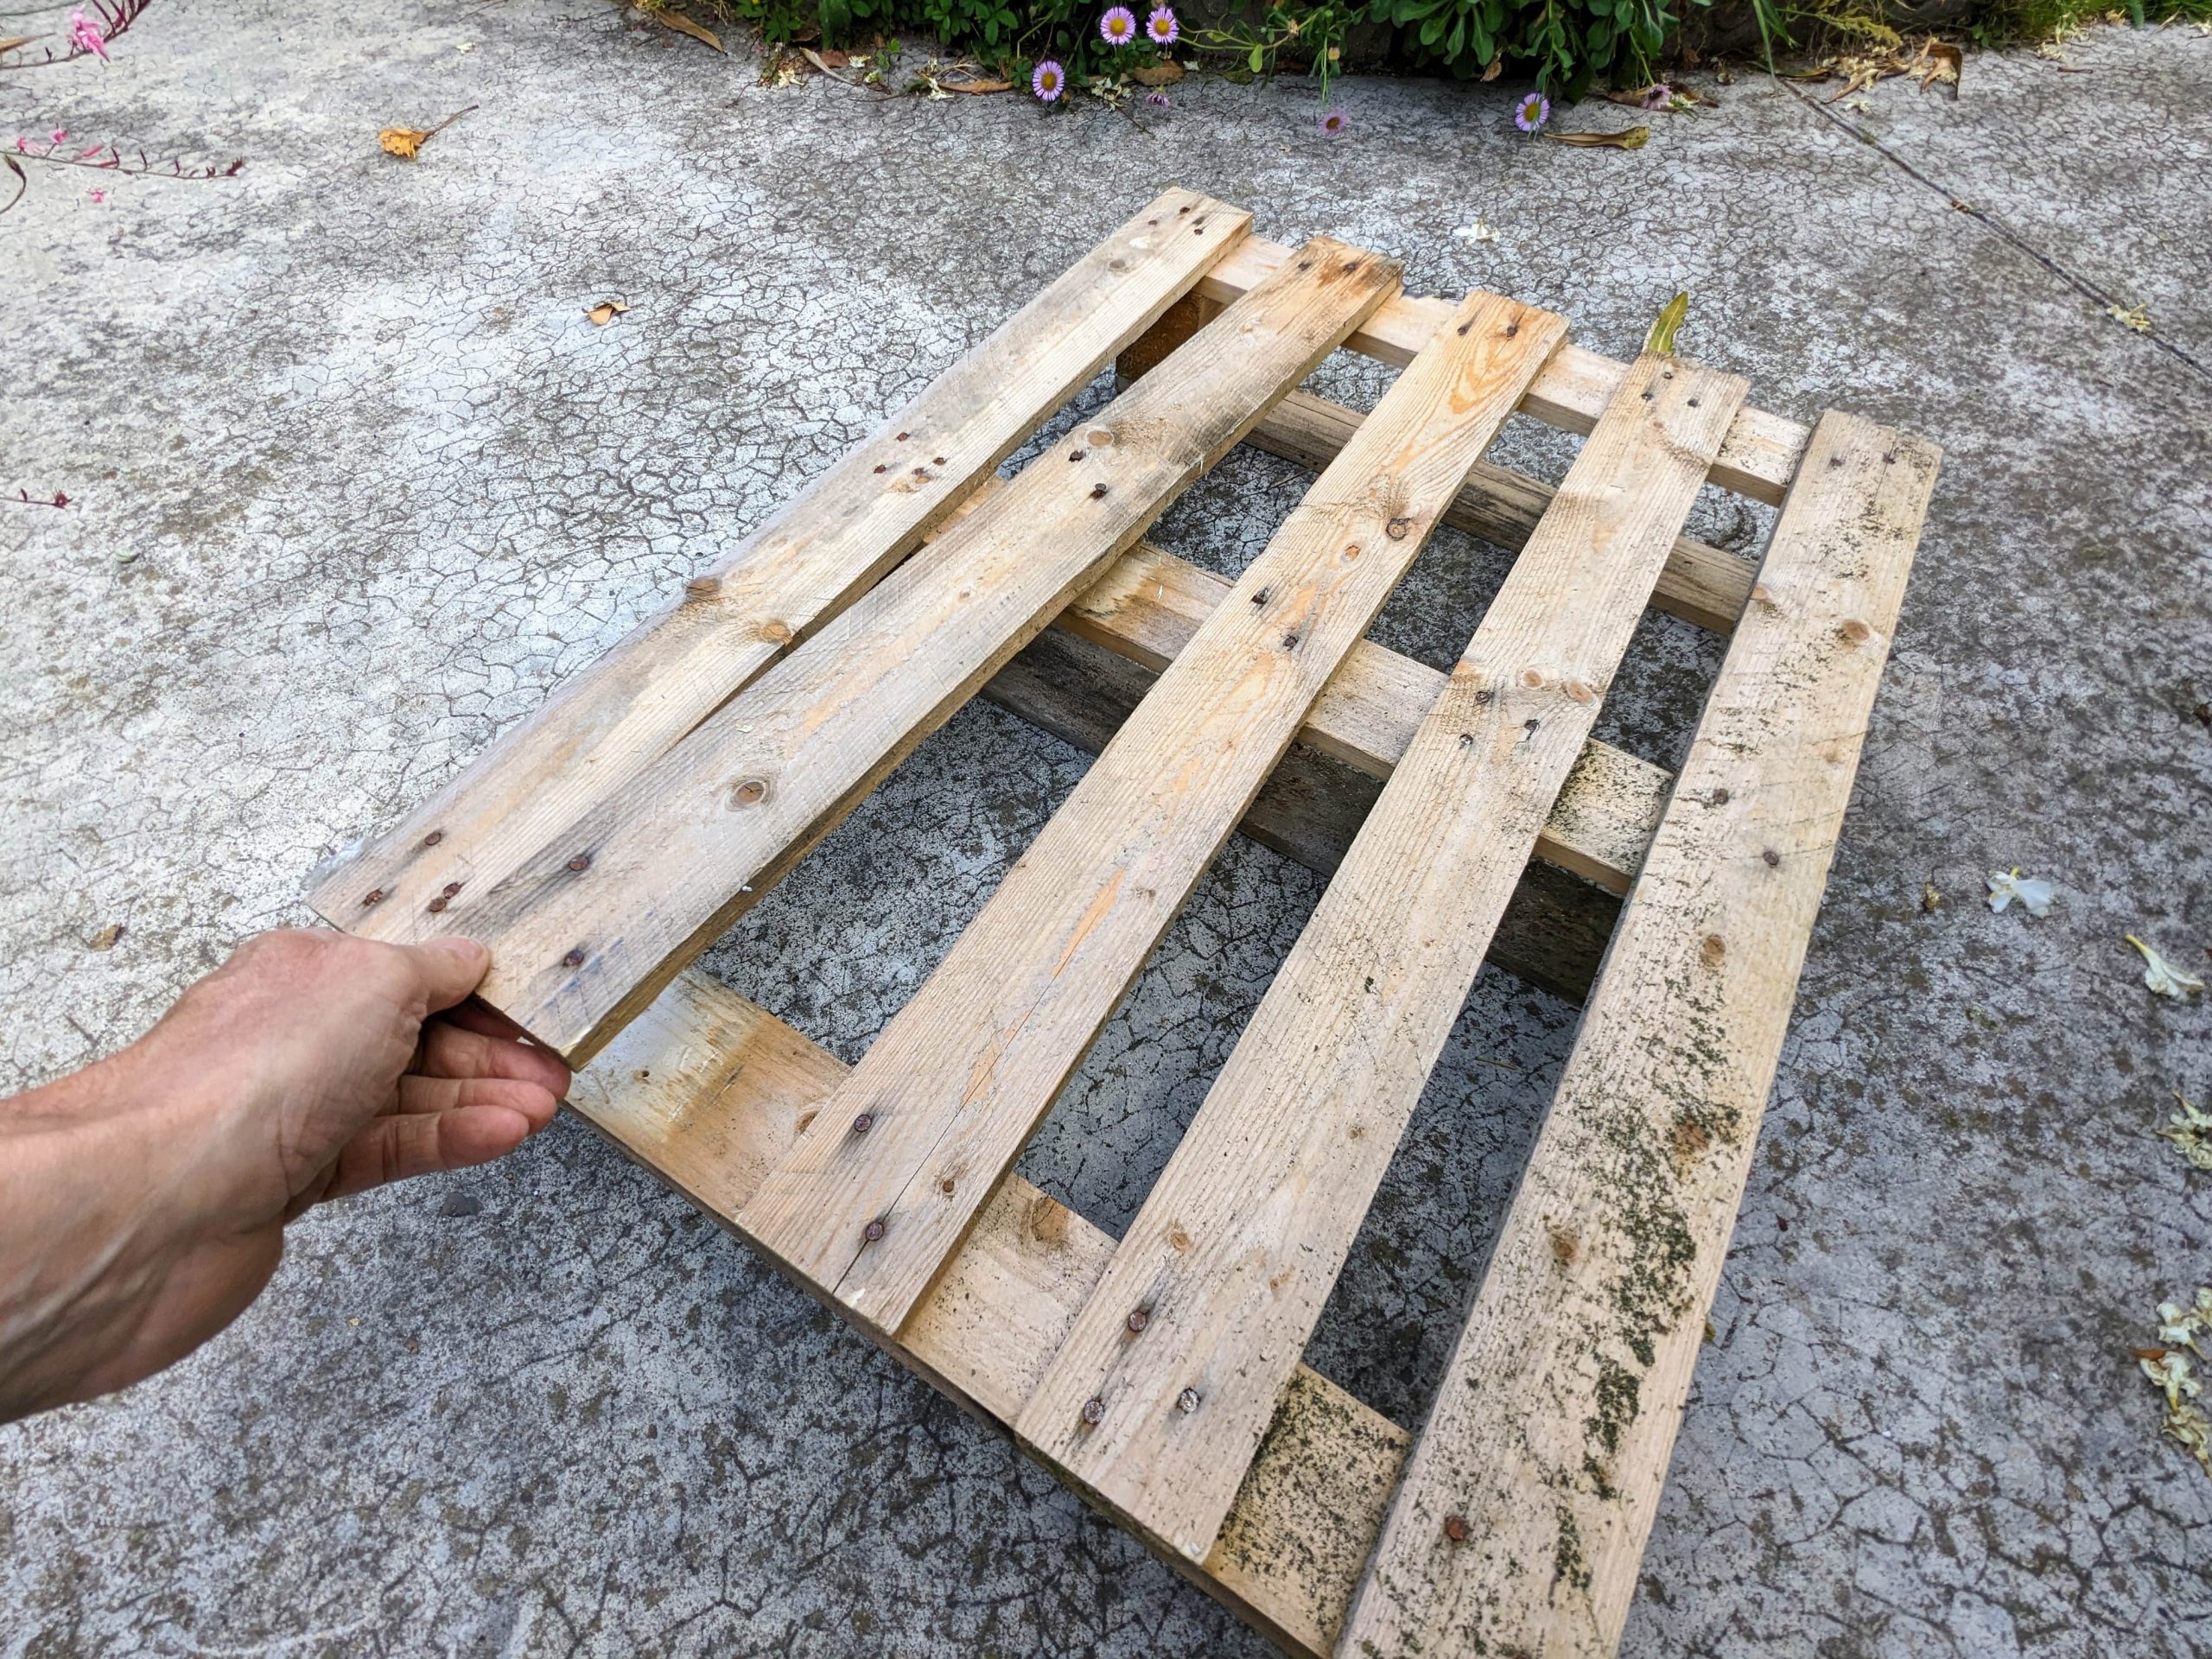

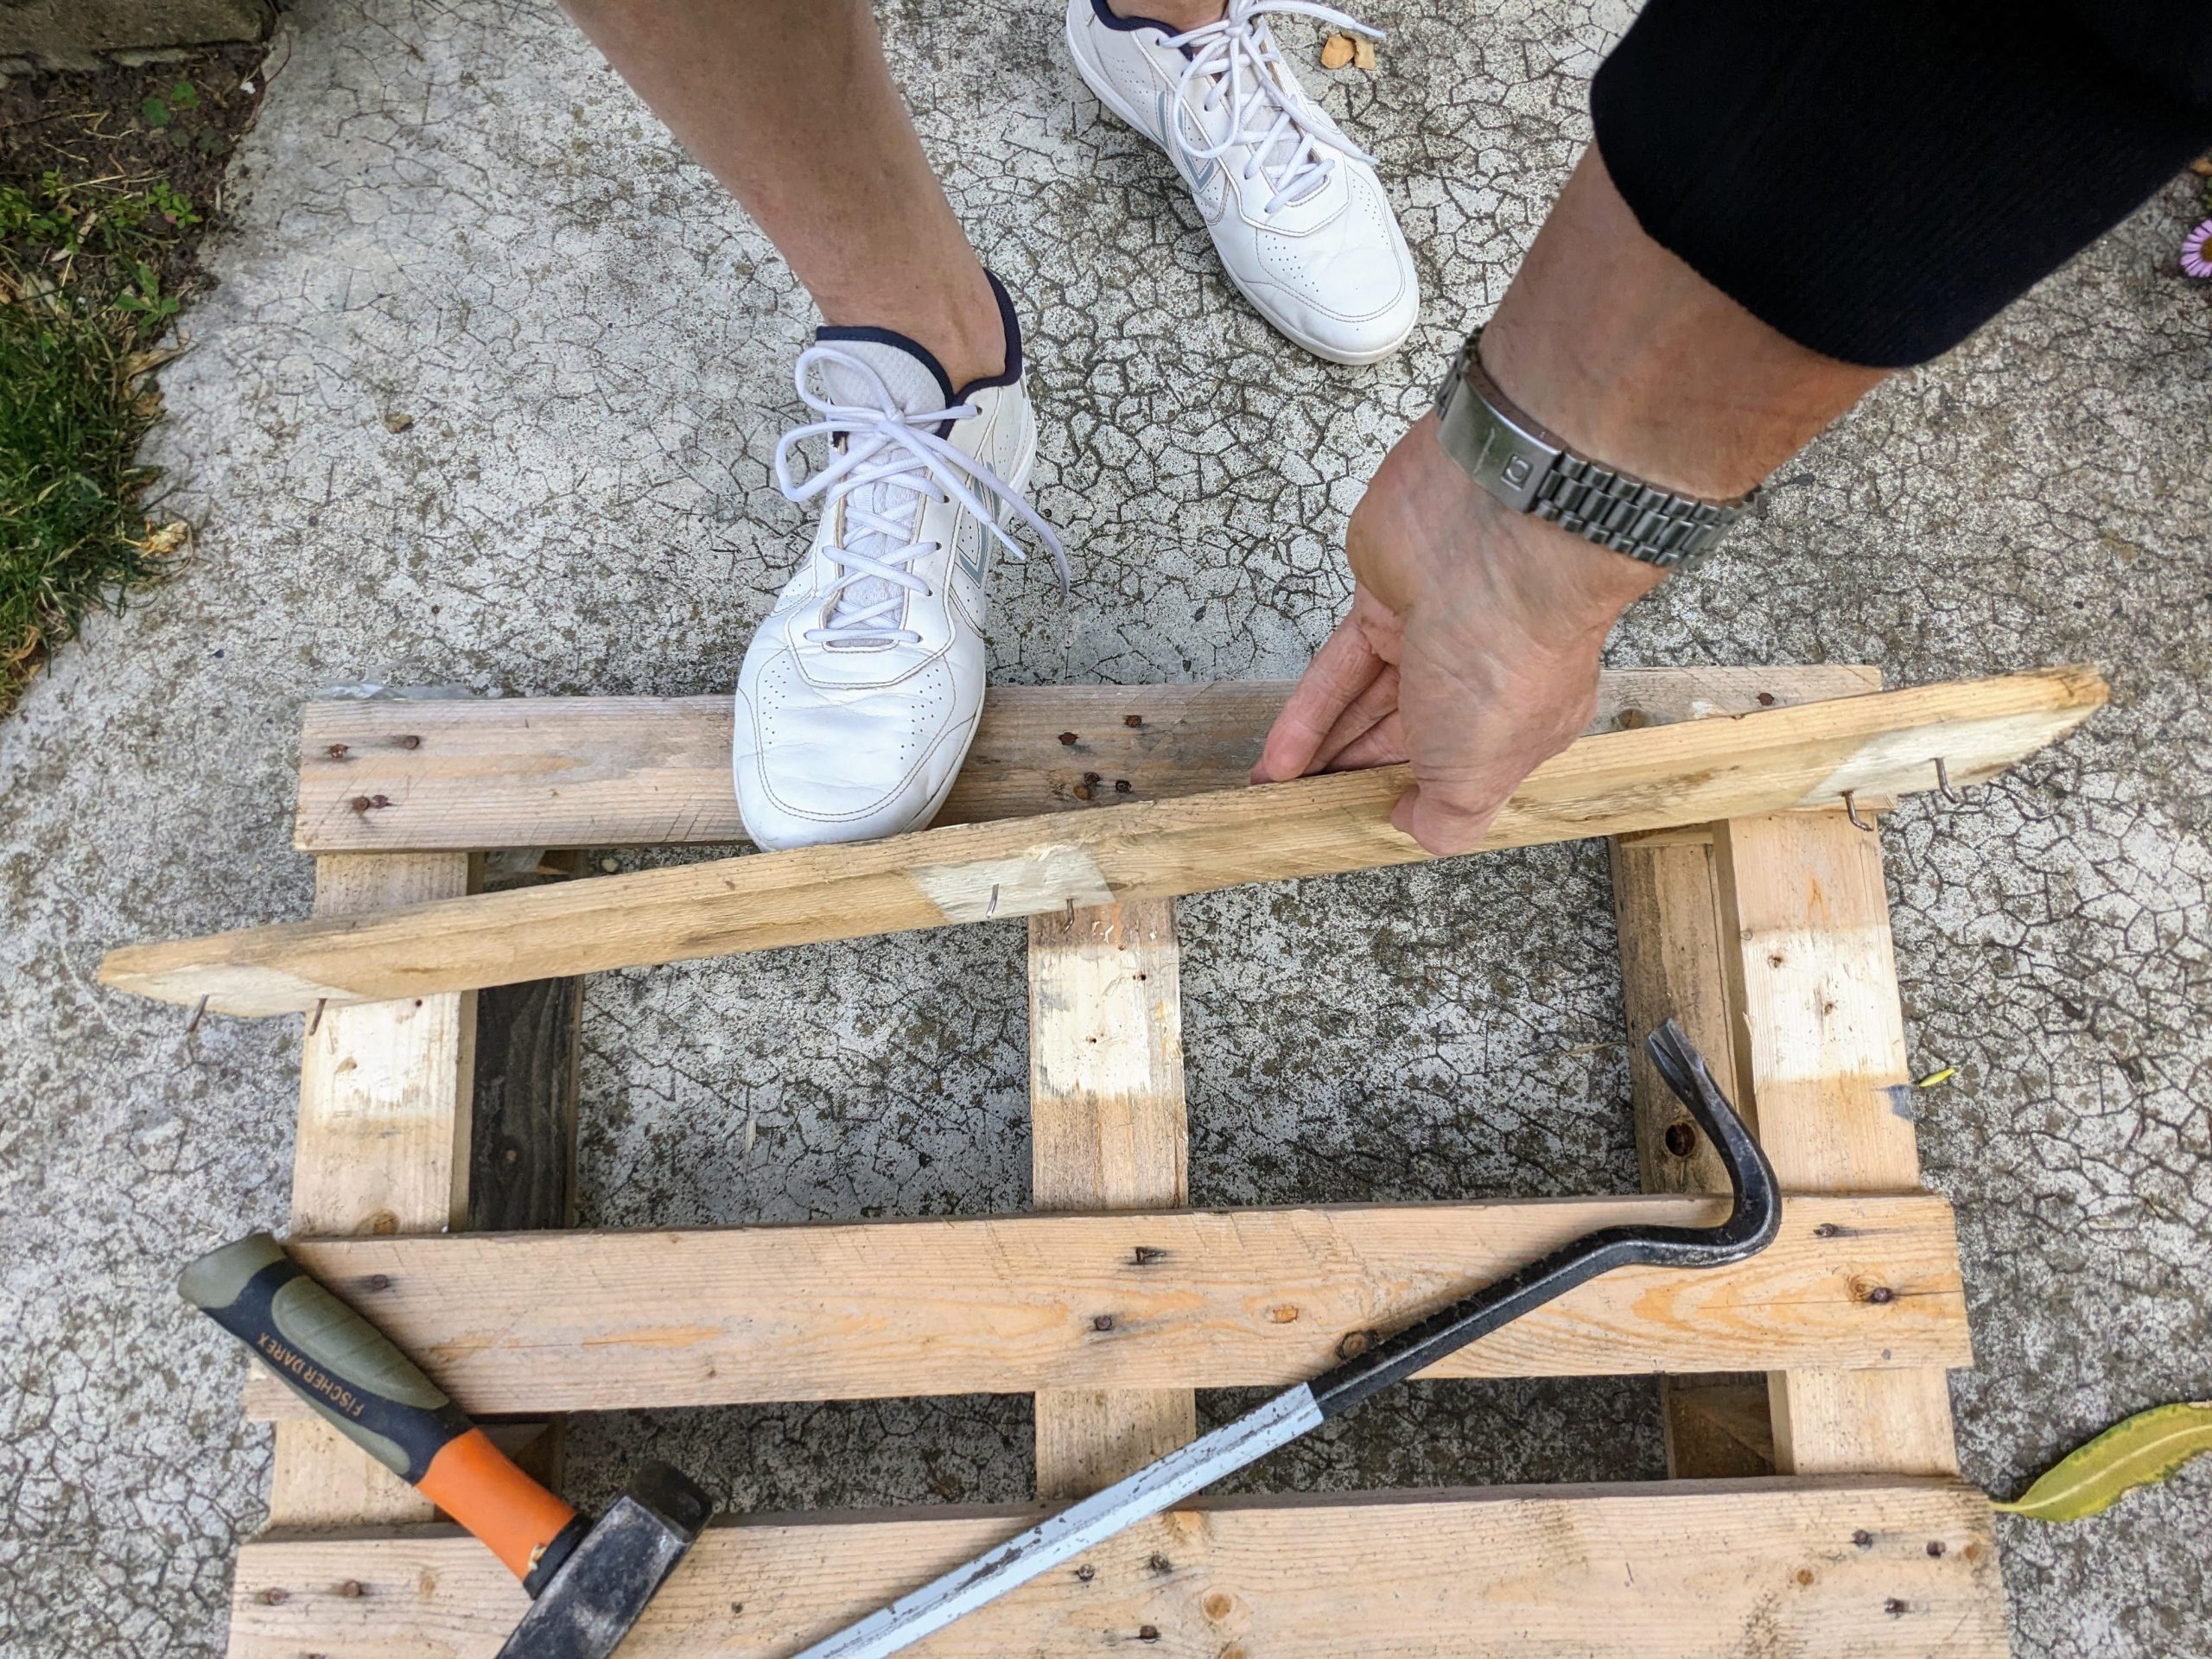
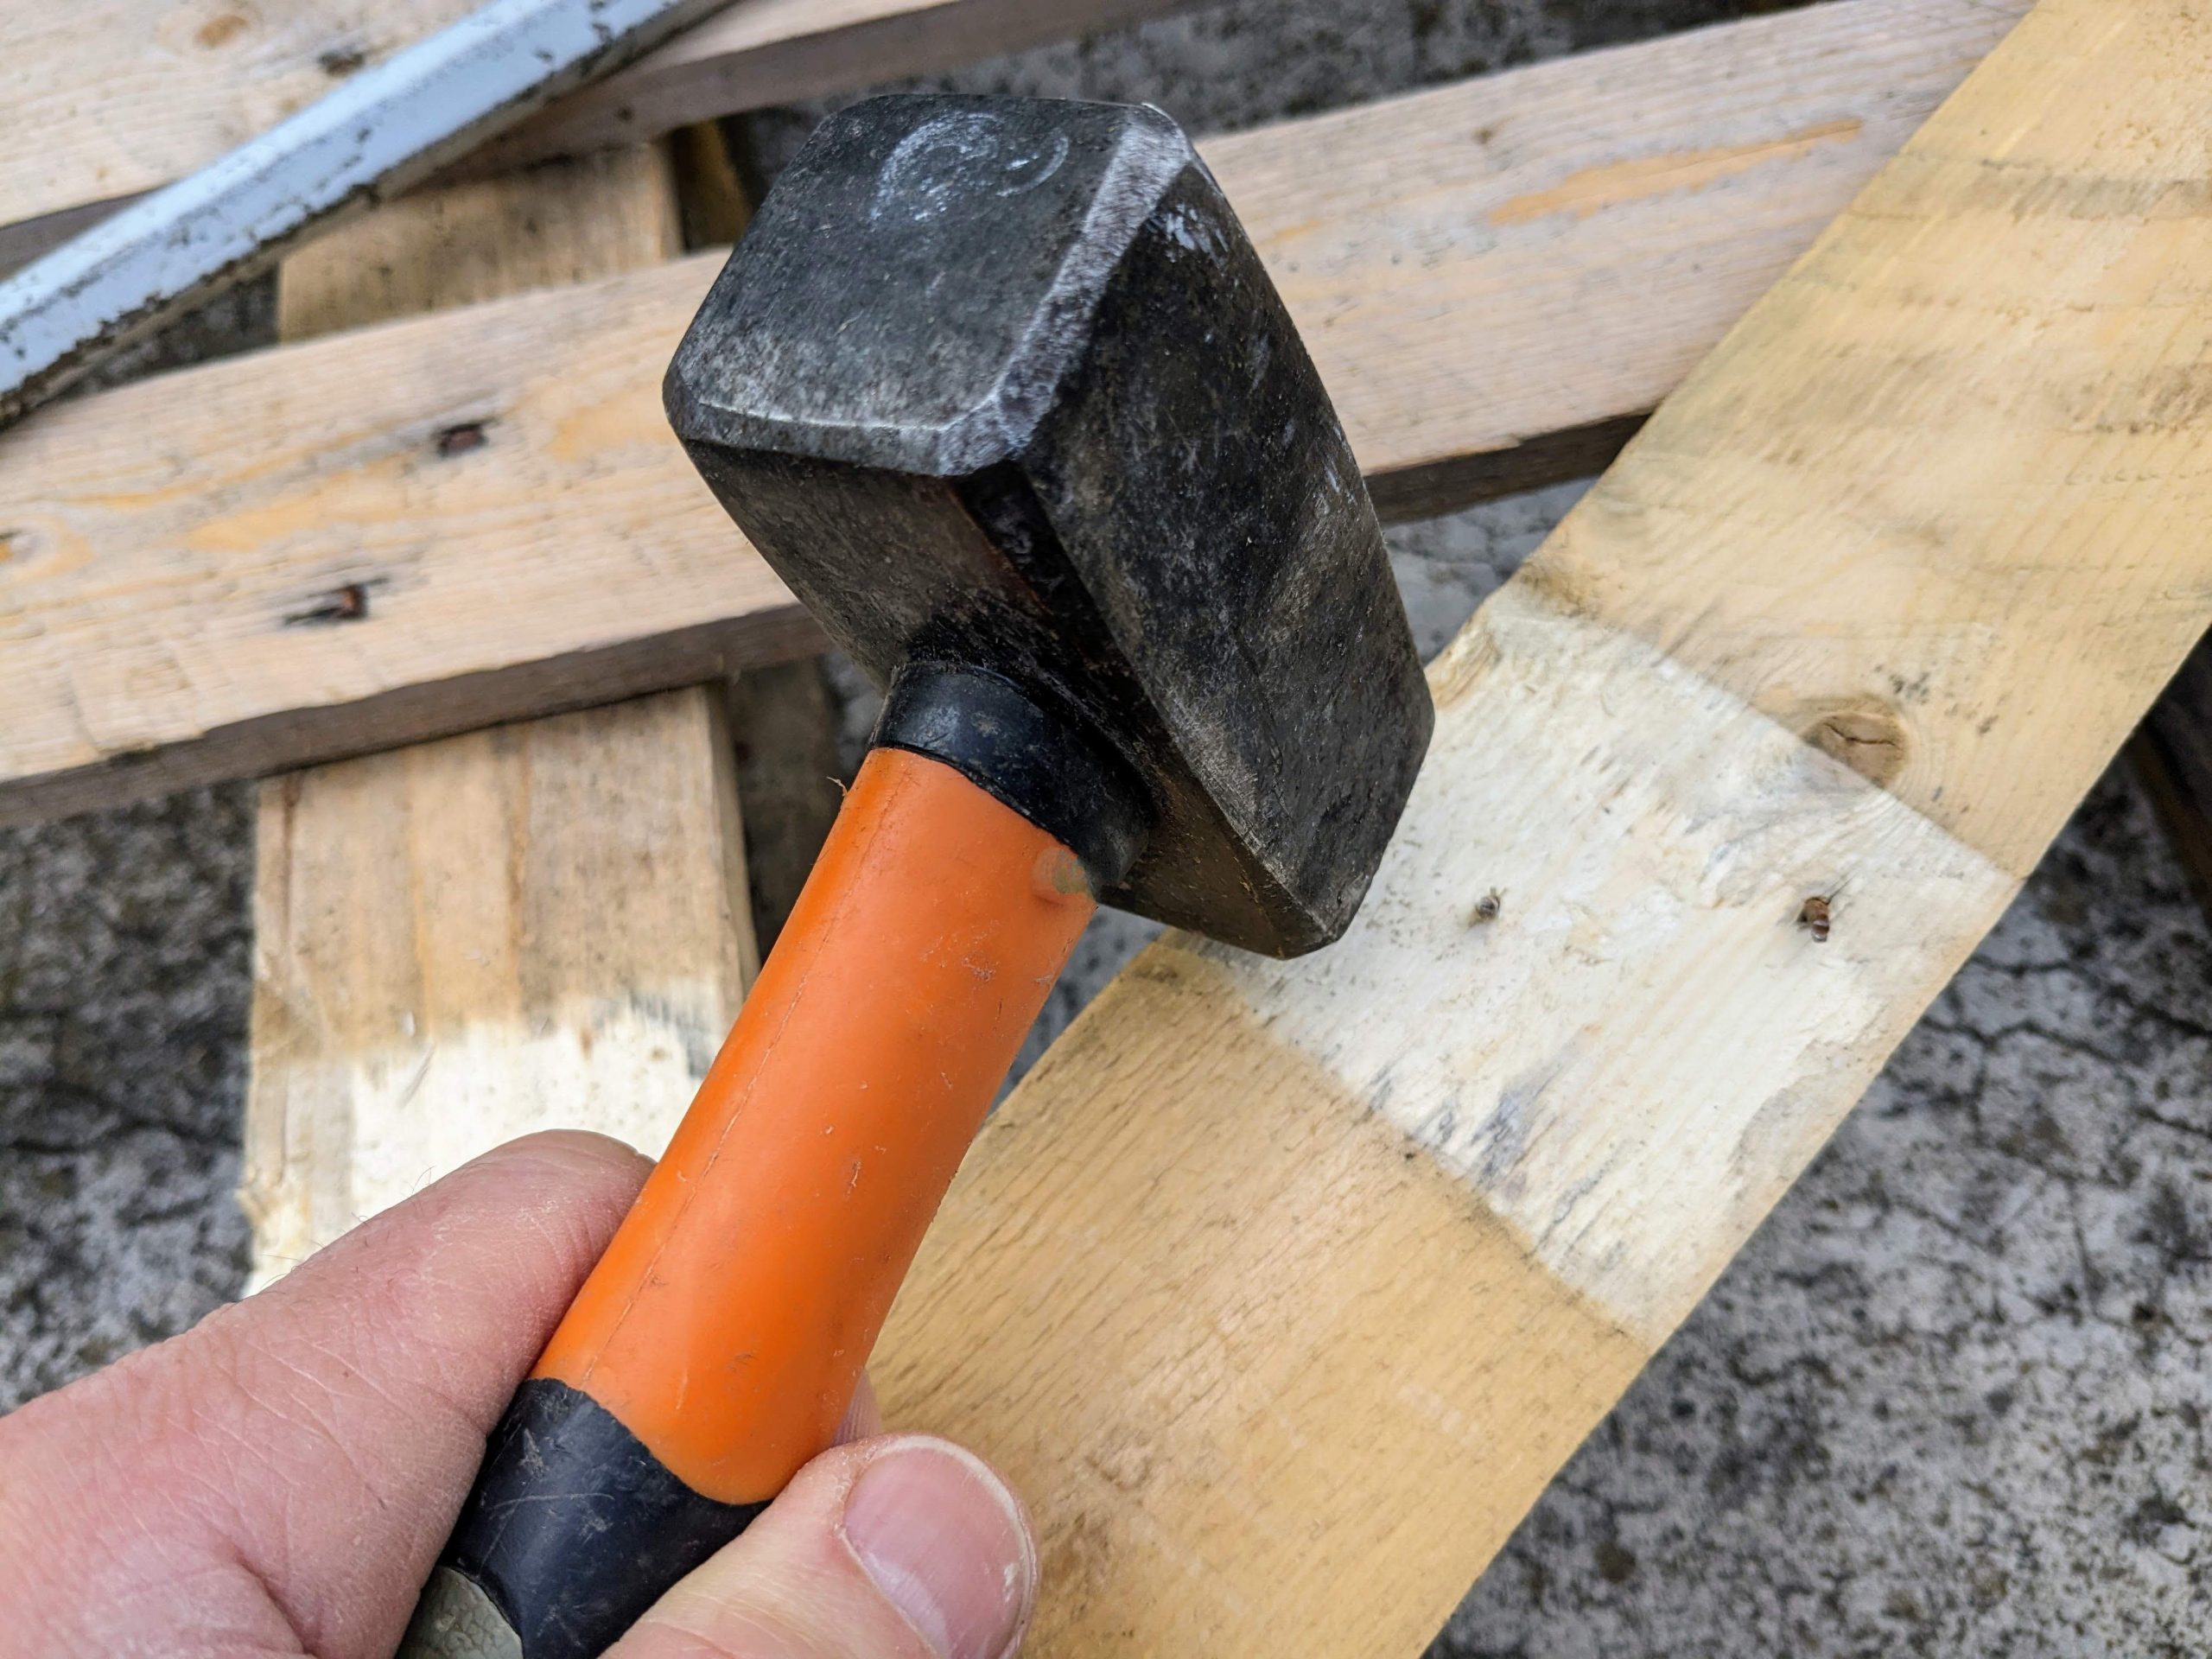
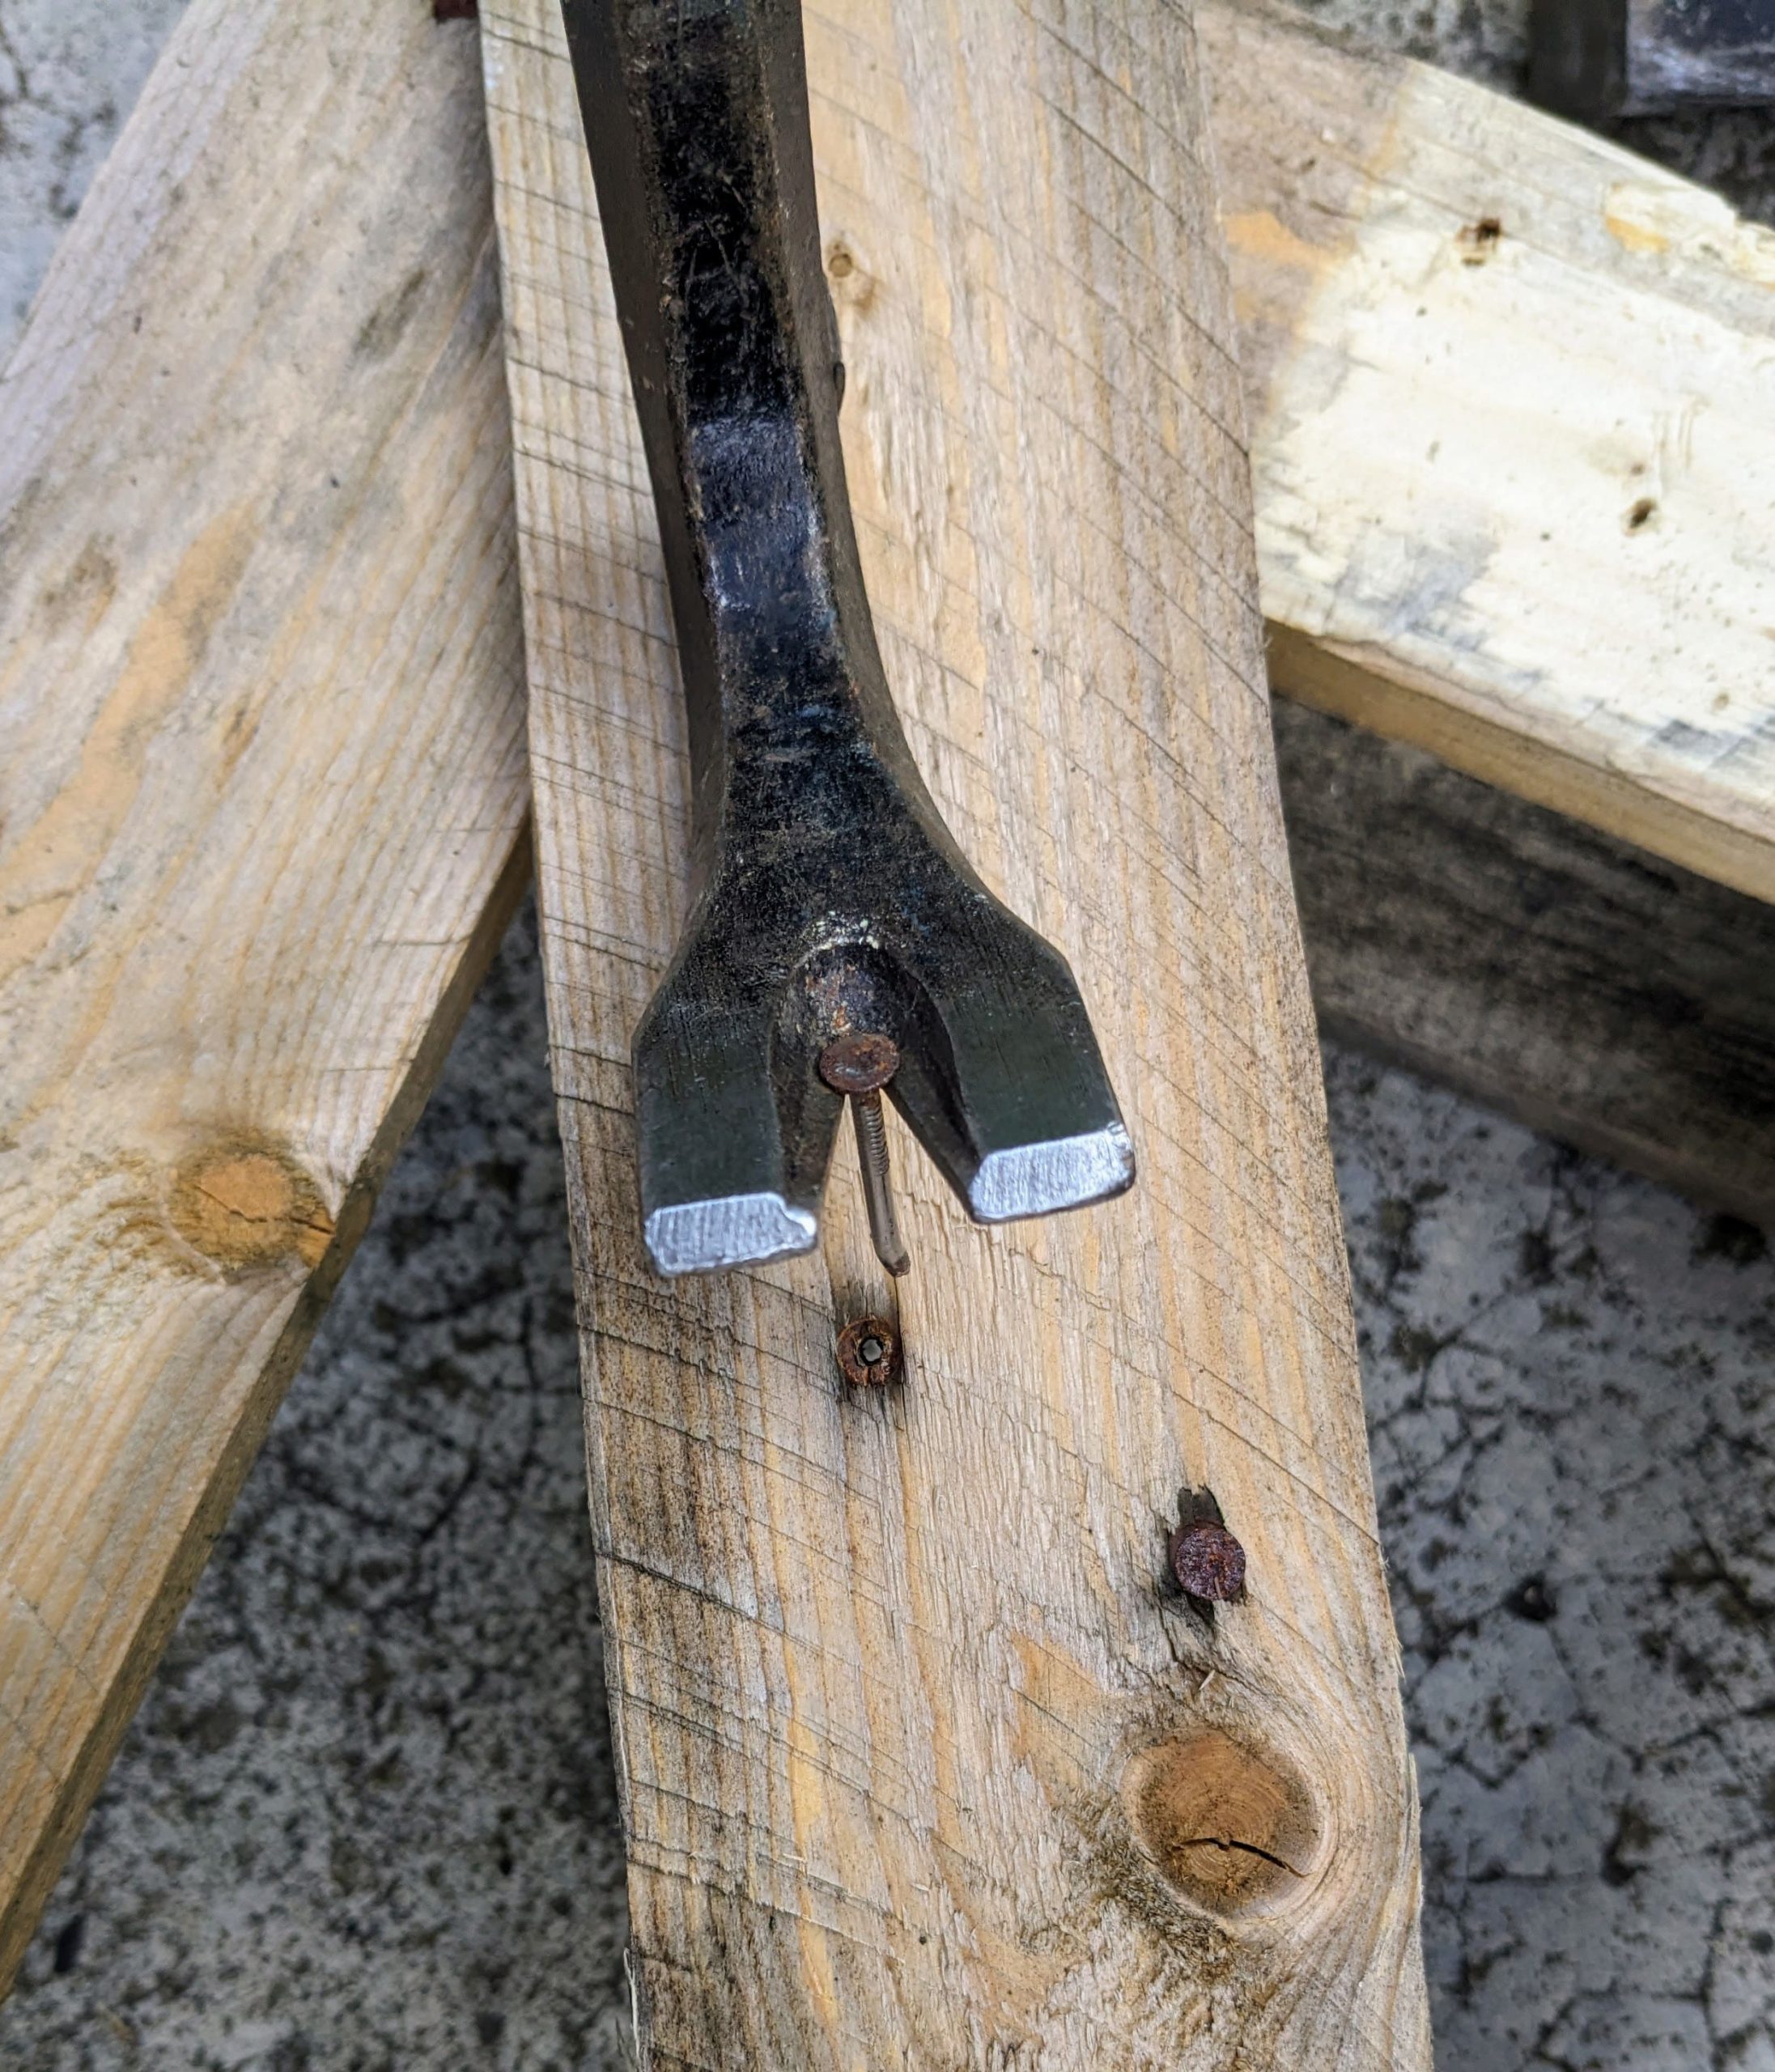
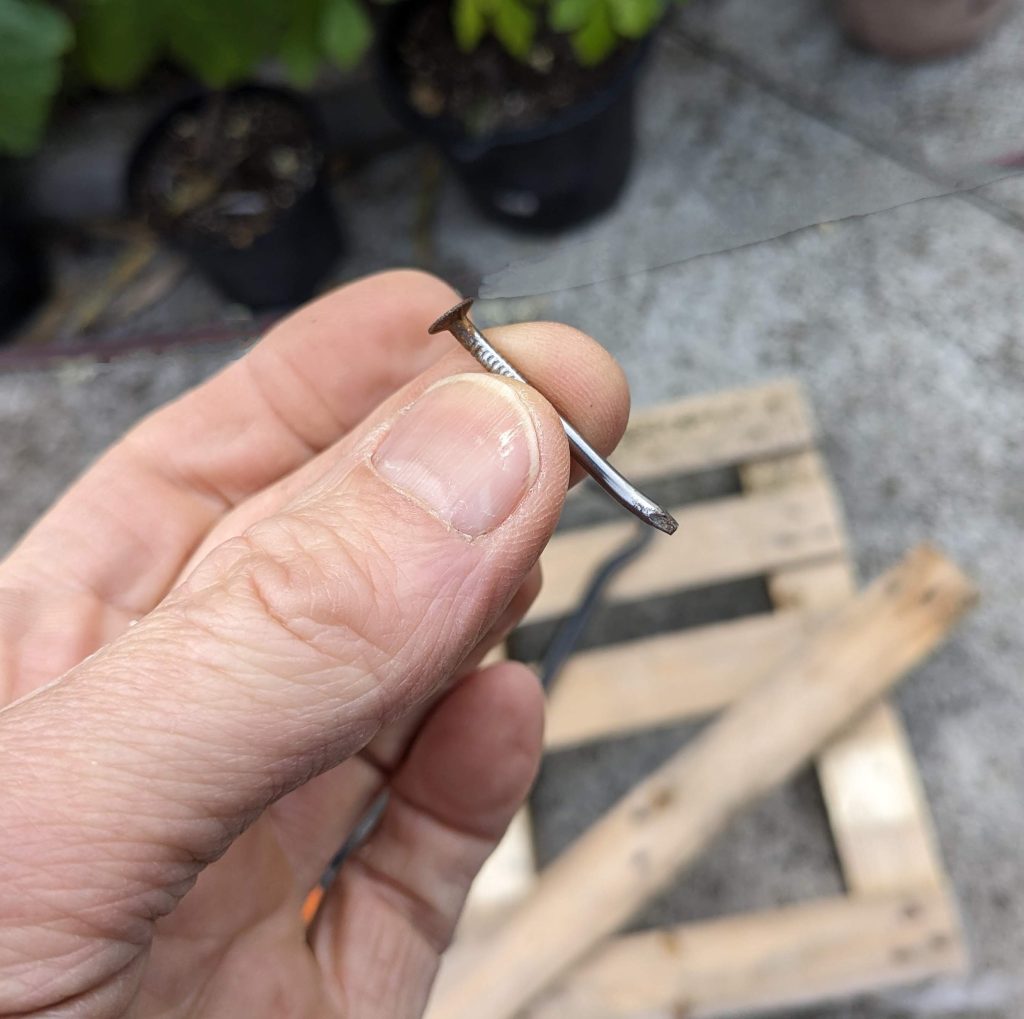
- To remove a pallet board, use the hook end of the crowbar with the prong.
- Start in the middle section and try to push the hook under the board.
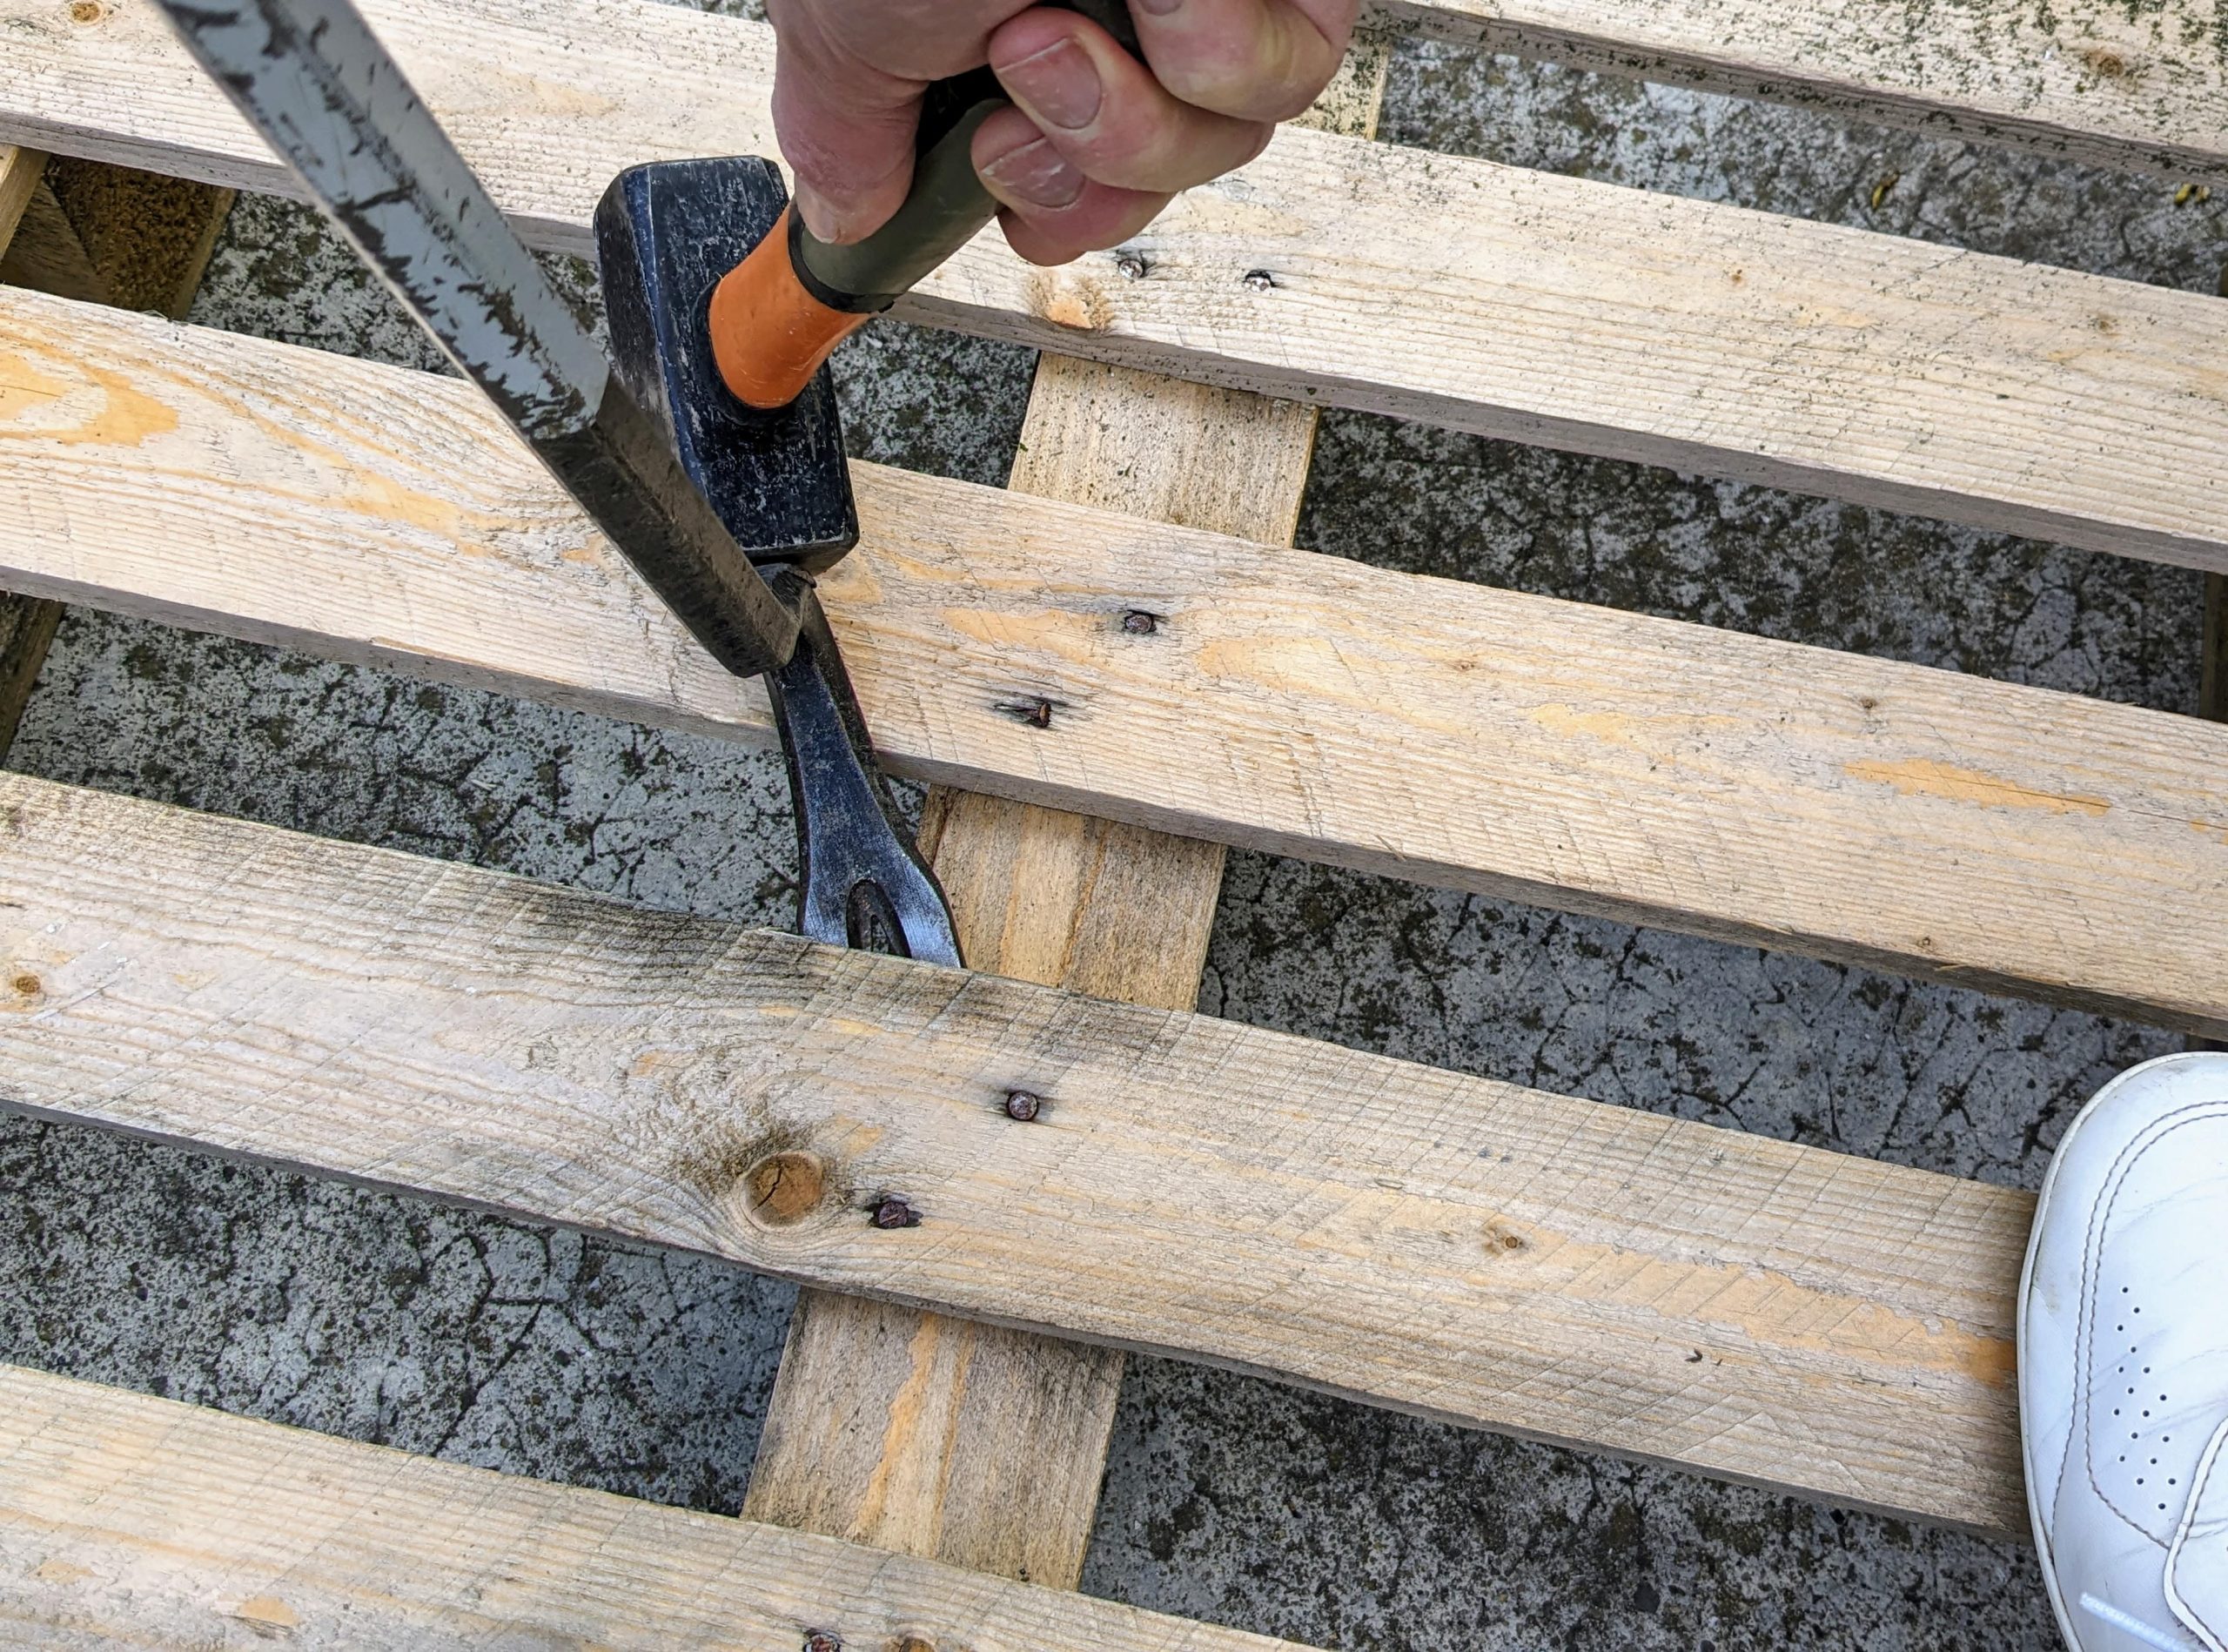
- Then use the hammer to force the crowbar hook further under the board.
- Hammering the bar and using leverage, the board will eventually lift up.
- Lifting from the middle will often loosen one end as well.
- Repeat the process on the other end.
- You will need to remove the nails with the prong of the crowbar.
- Turn the board over to hammer them out.
- Use the prong end of the crowbar to lever out the nails.
- The nails can be reused if they are not too bent.
A few tips on removing pallet boards
You want to avoid cracking the removed boards so that you can use them to join your pallets together.
Using a hammer and a crowbar takes some practice, especially using the lever effect of the crowbar of forcing the boards apart.
You want to get the crowbar hook as far as possible under the board before prising apart and you need to be sensitive to whether the wood is starting to crack or not.
If the board does start to crack, keep pushing gently the crowbar underneath until it comes loose.
In the worst case scenario, you can always glue a board back together.
For increased strength I like to add additional blocks in the middle for each horizontal shelf if they are not already present.
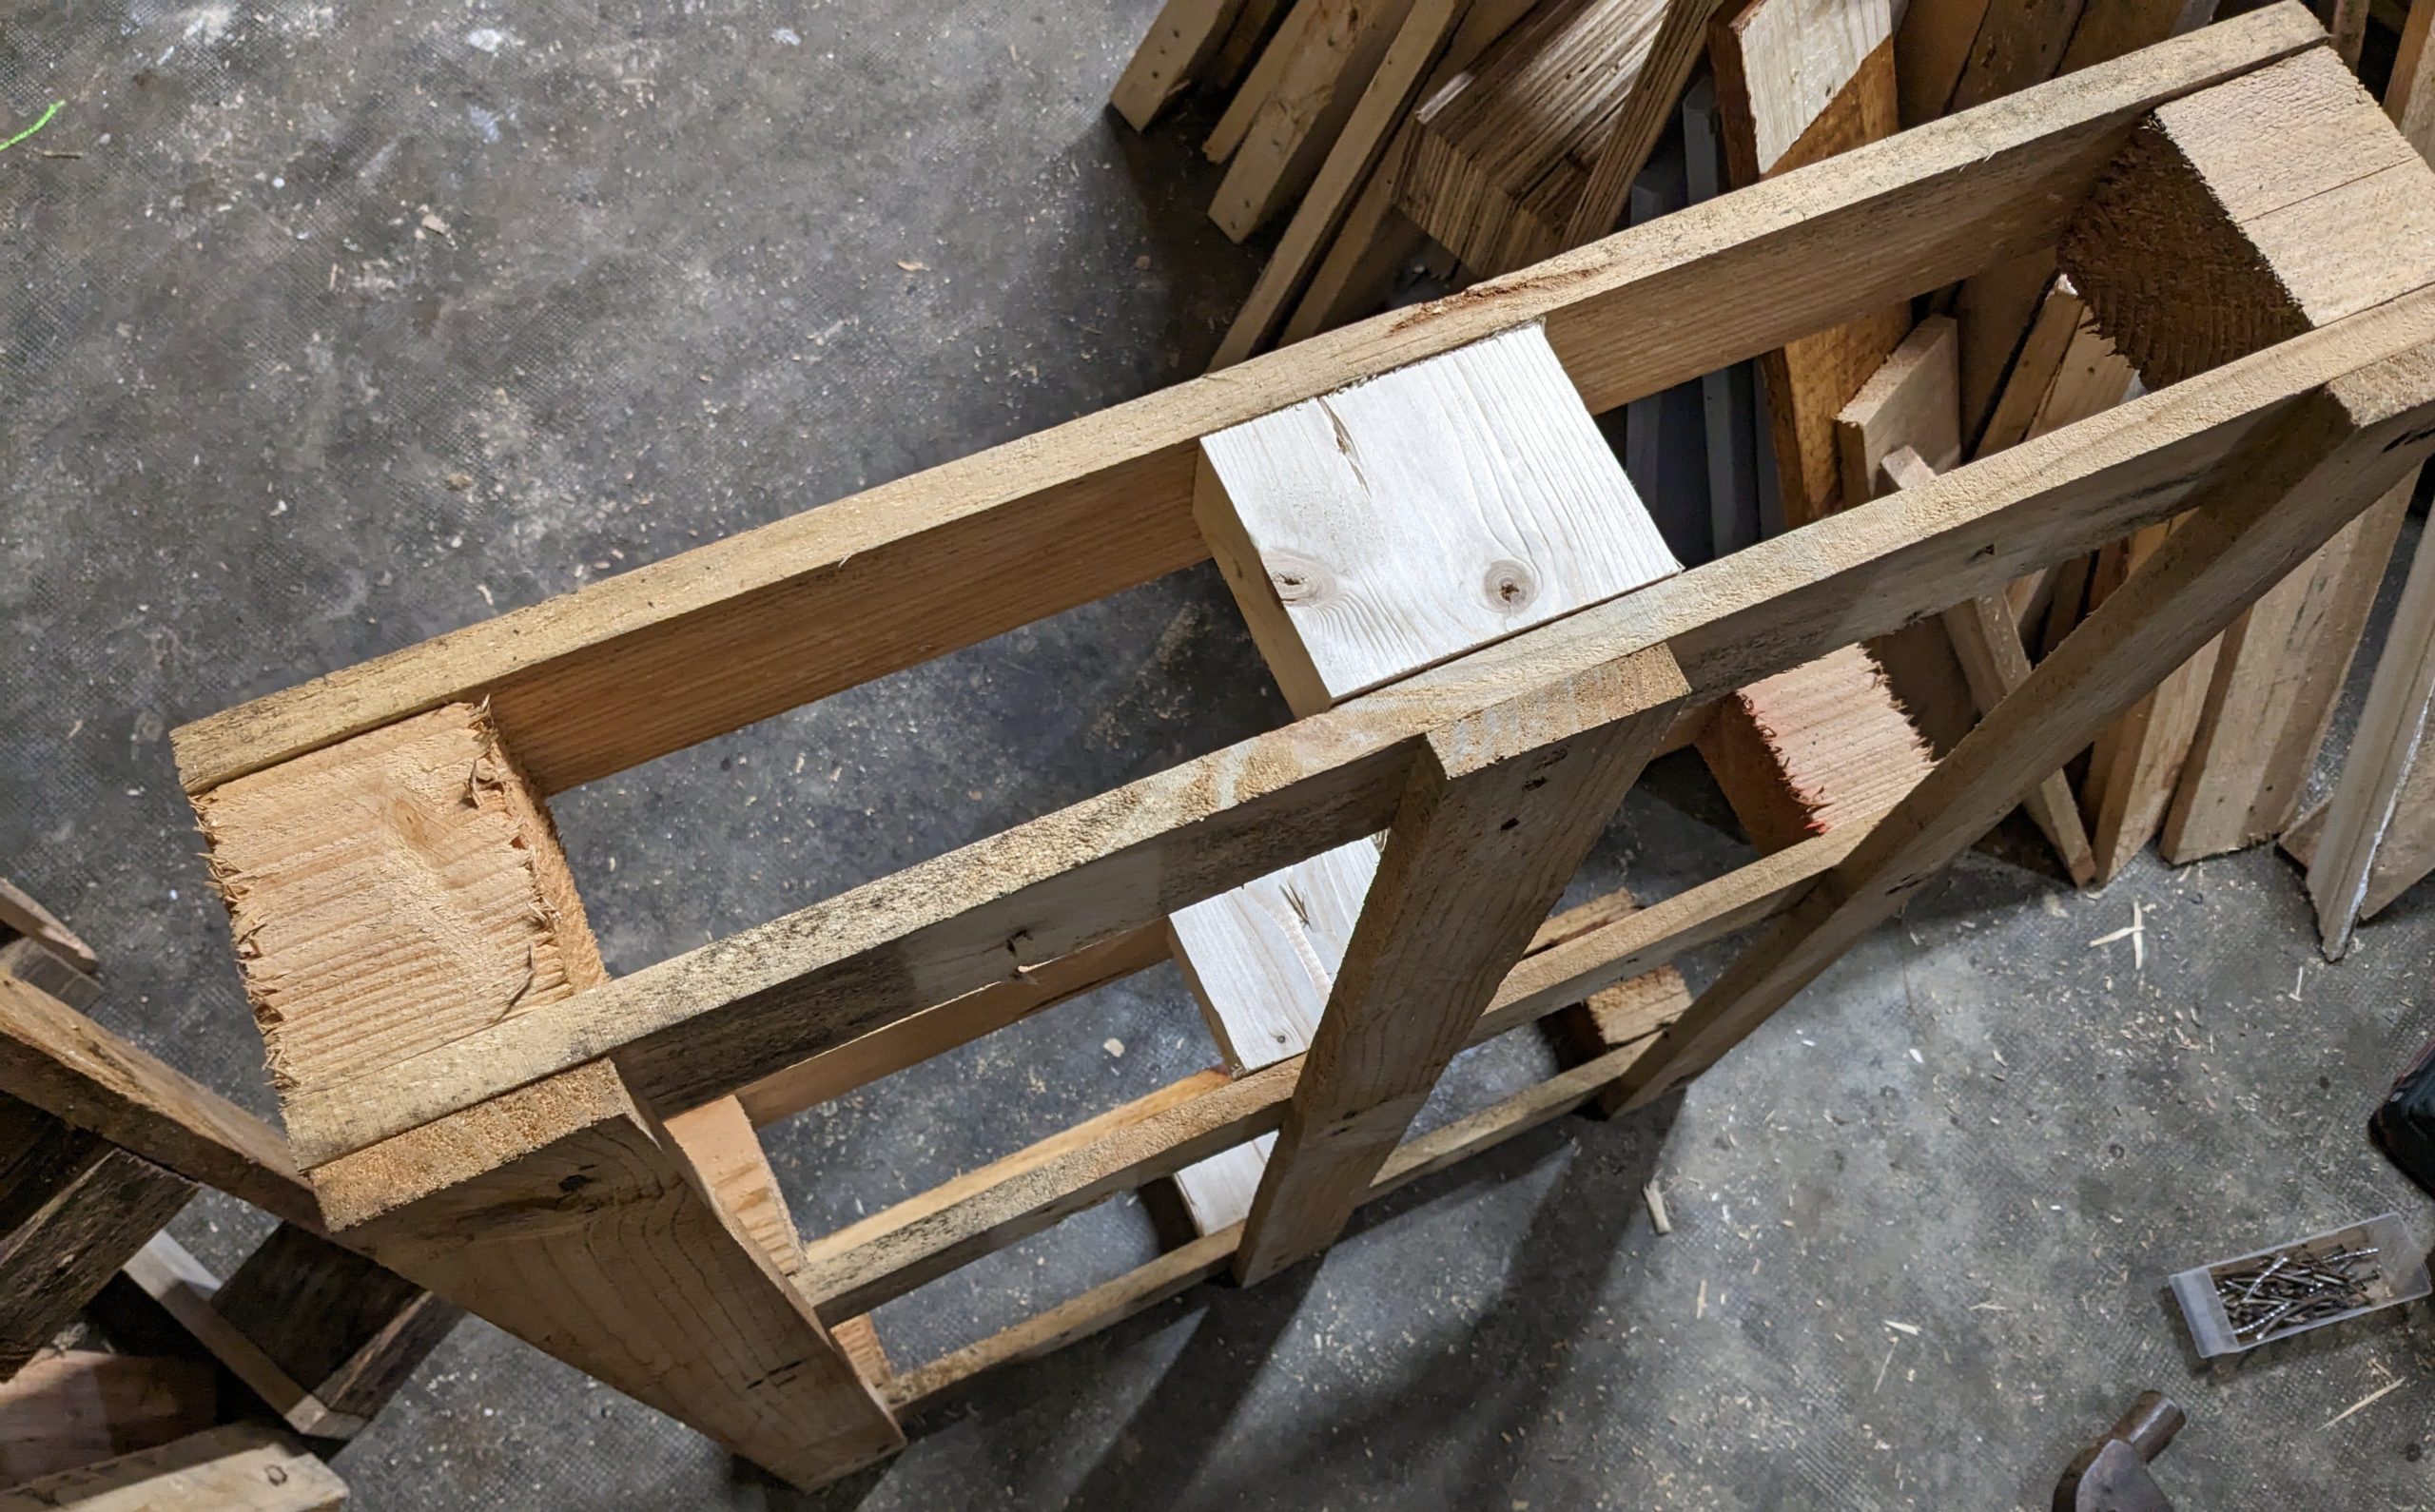
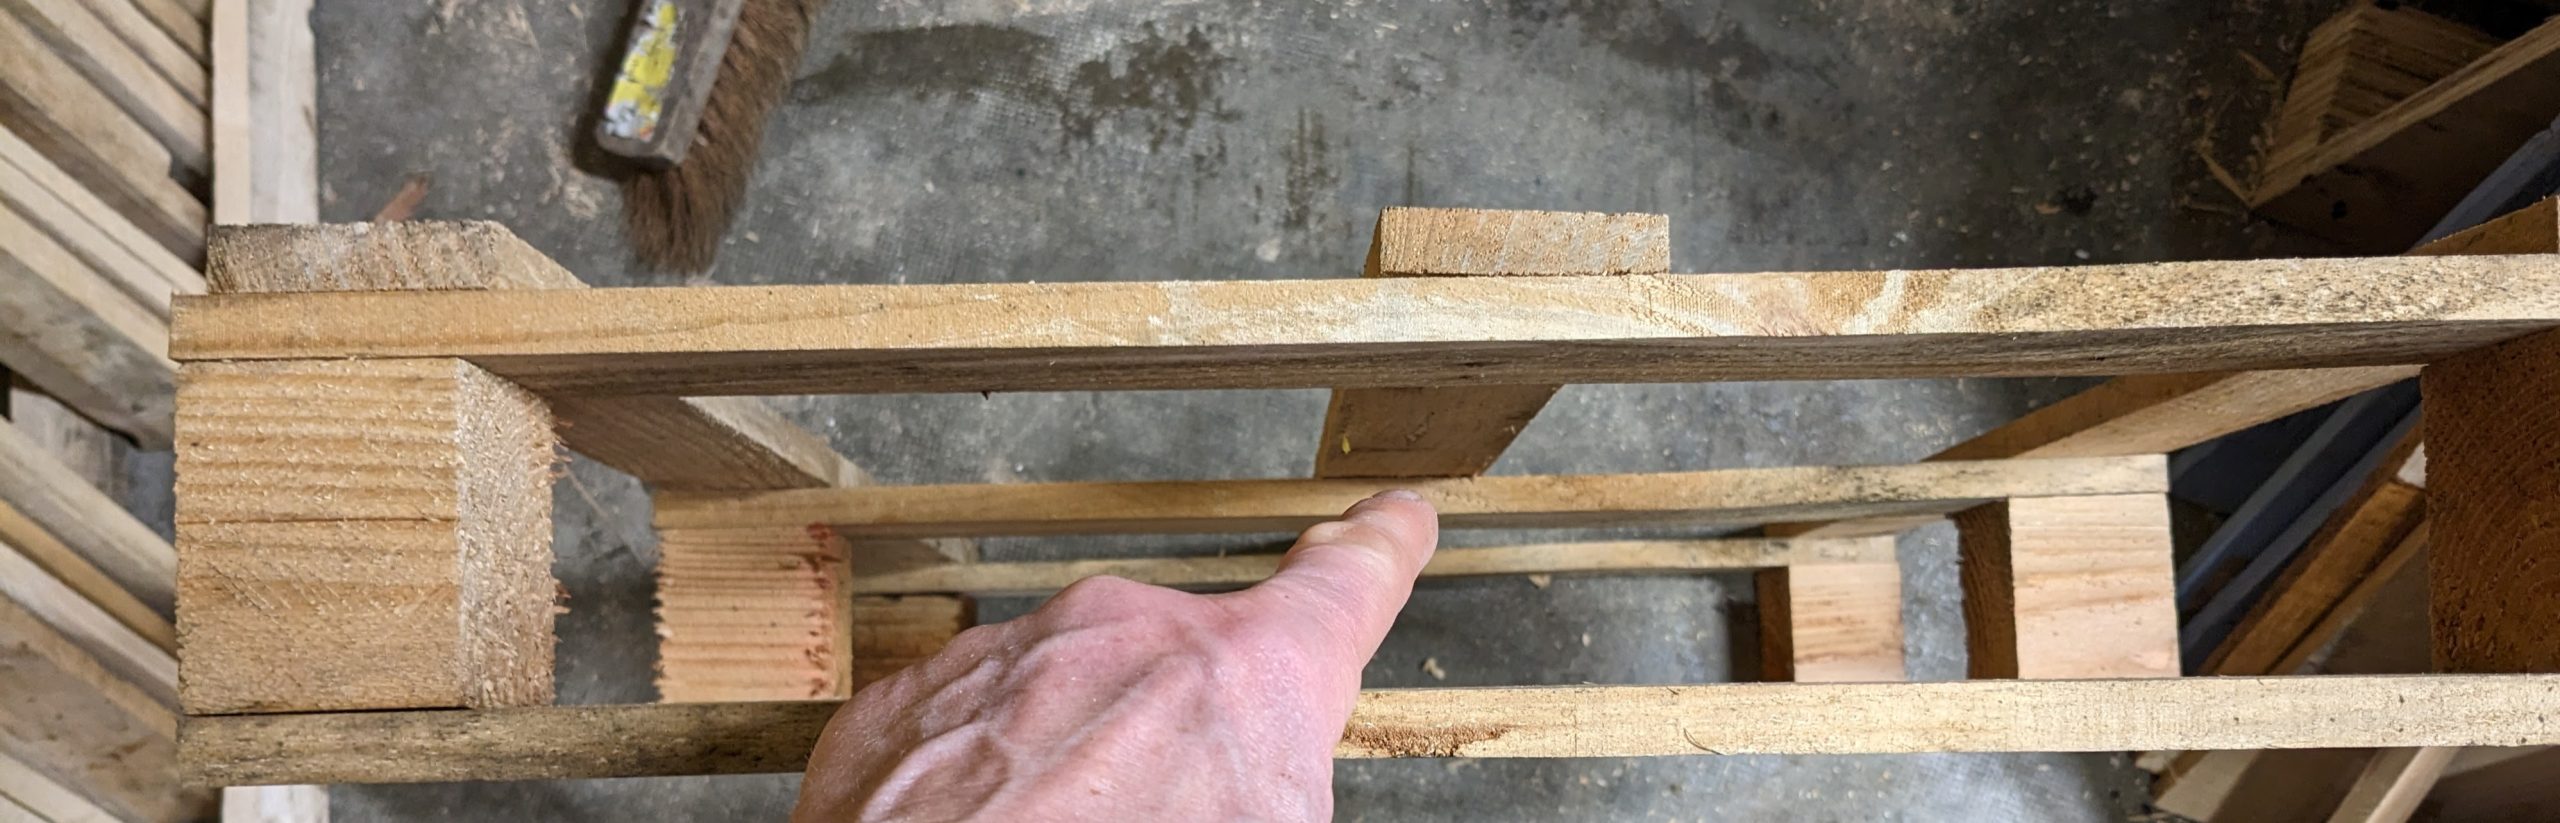
Next, you’ll want to stabilise your pallets by screwing them together at each end with a minimum of four small planks of wood on the top and middle sections. You can get these small planks by sawing them off a spare pallet.
For correct stability, I recommend a width of 51 cm with a total of four planks. Two plants spanning the top on each end and two planks in the middle on the outside.
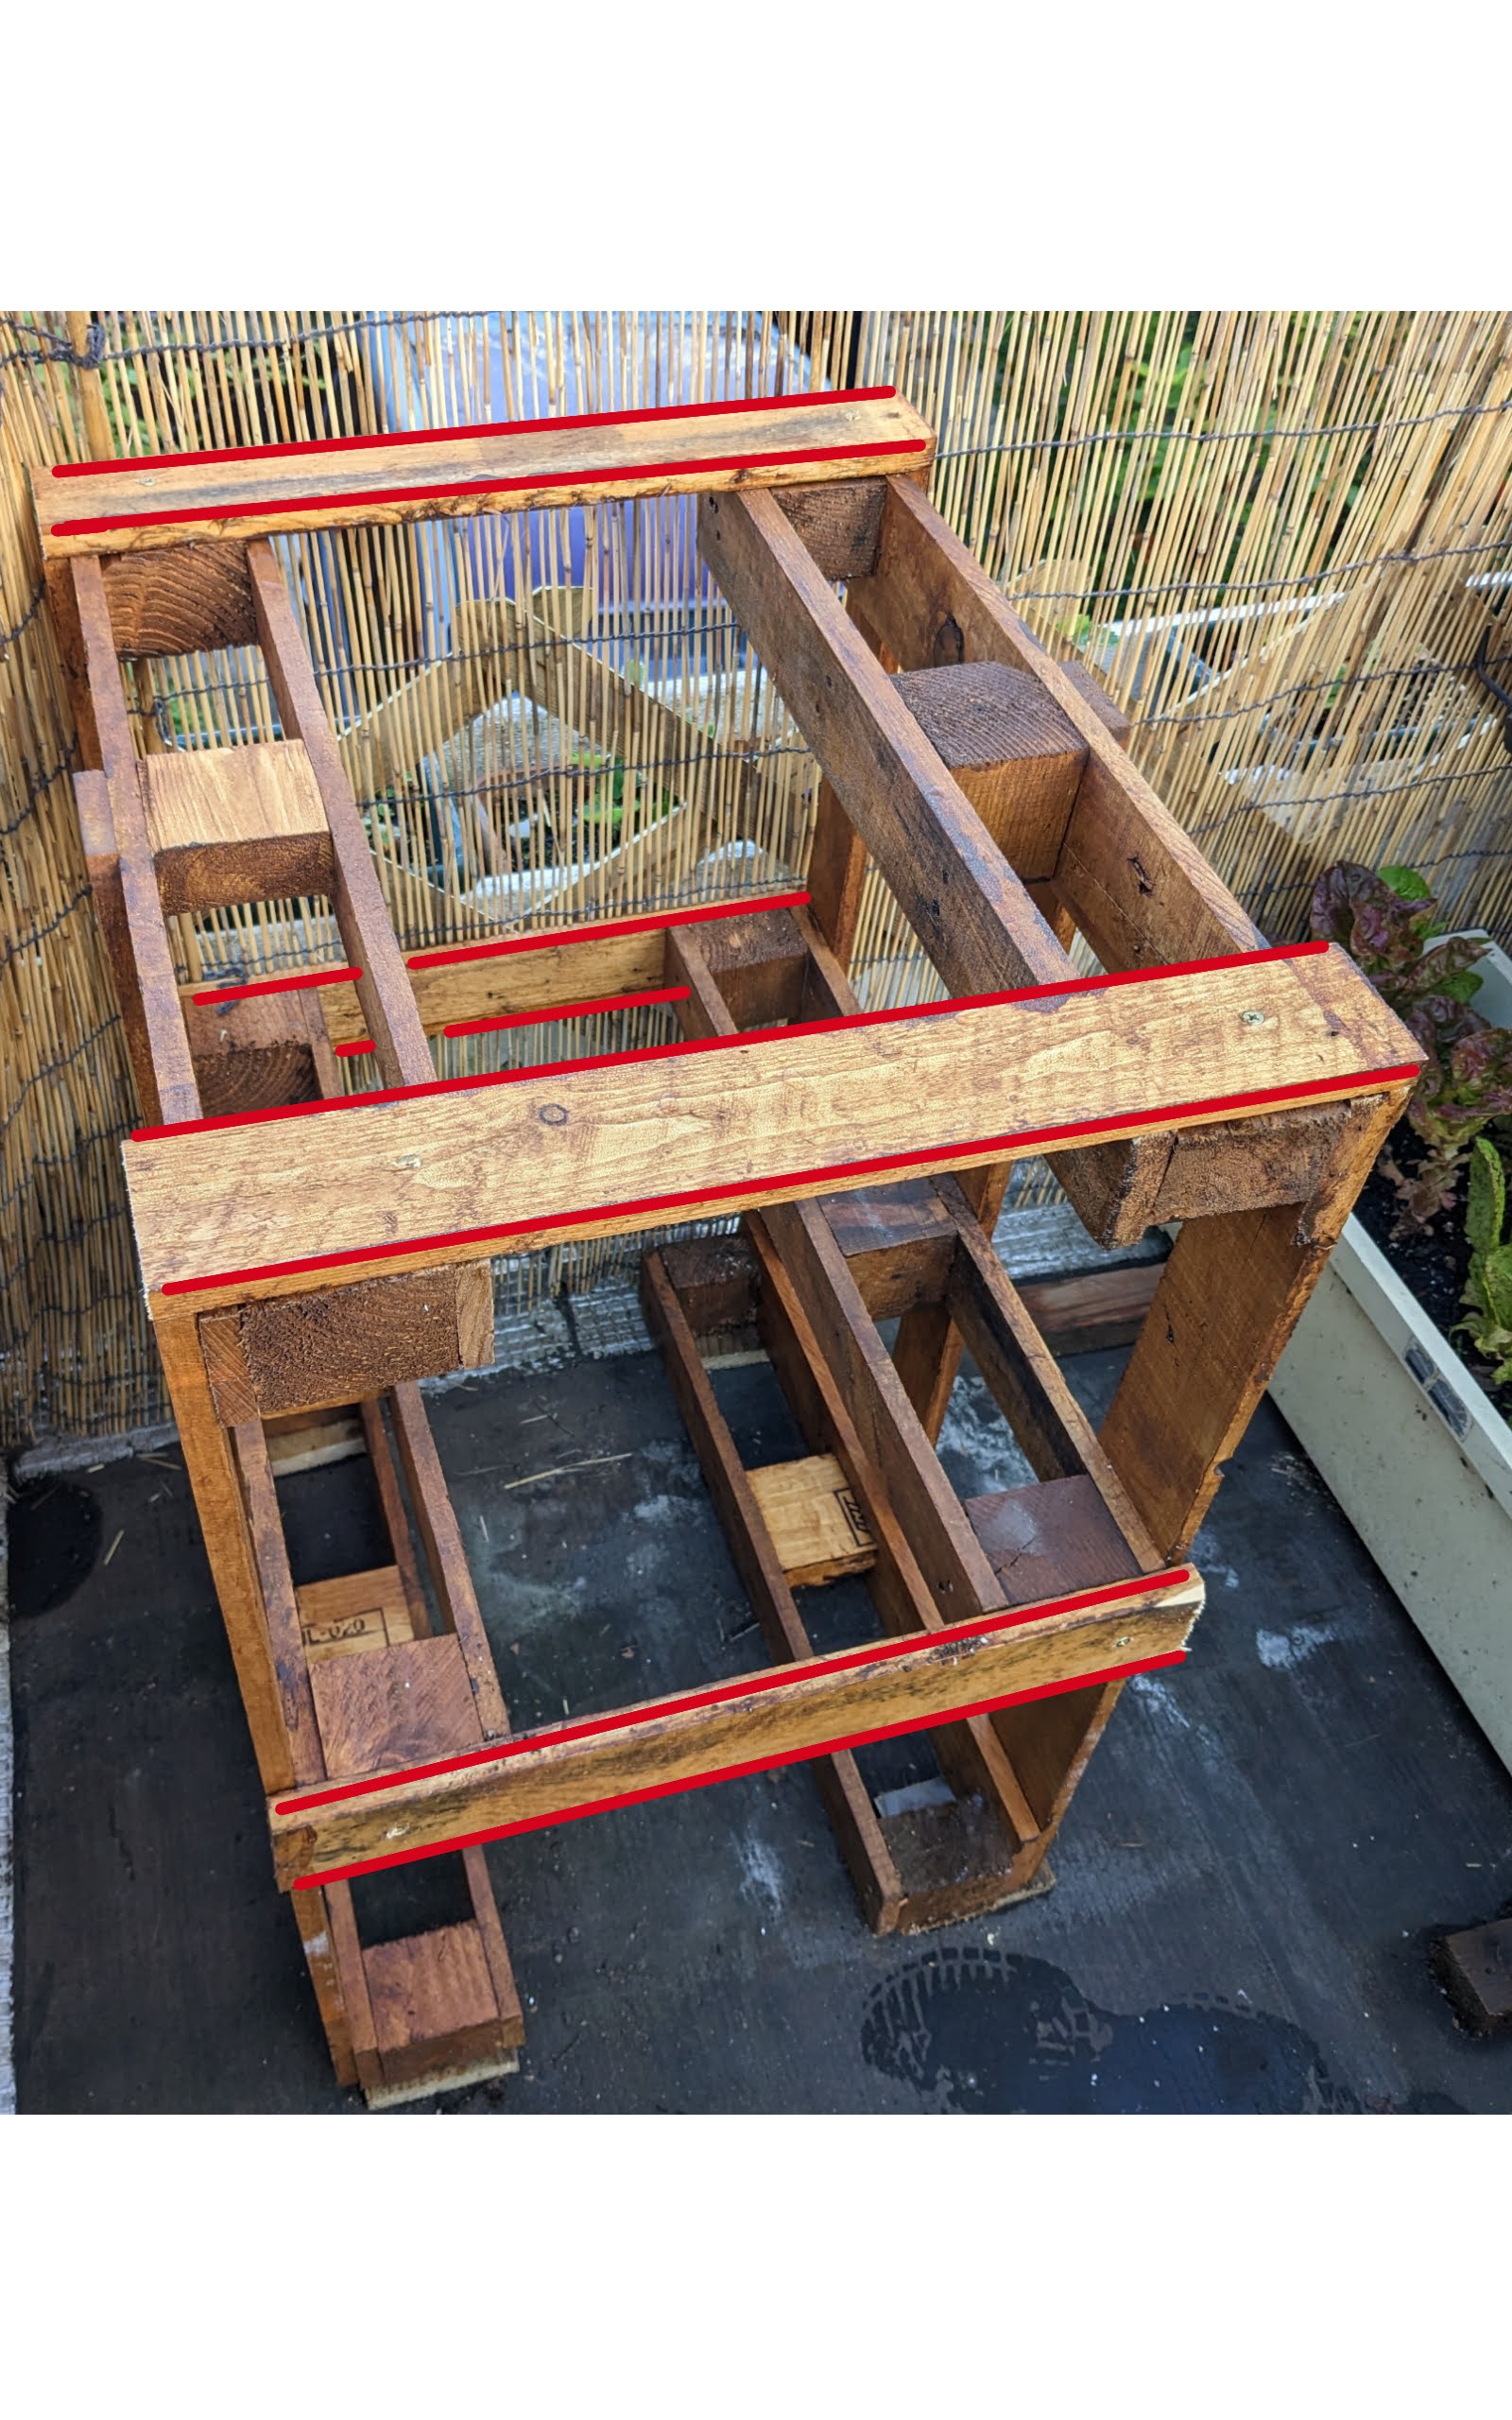
This arrangement allows you to comfortably position a box with a width of 39 cm in the middle or lower sections.
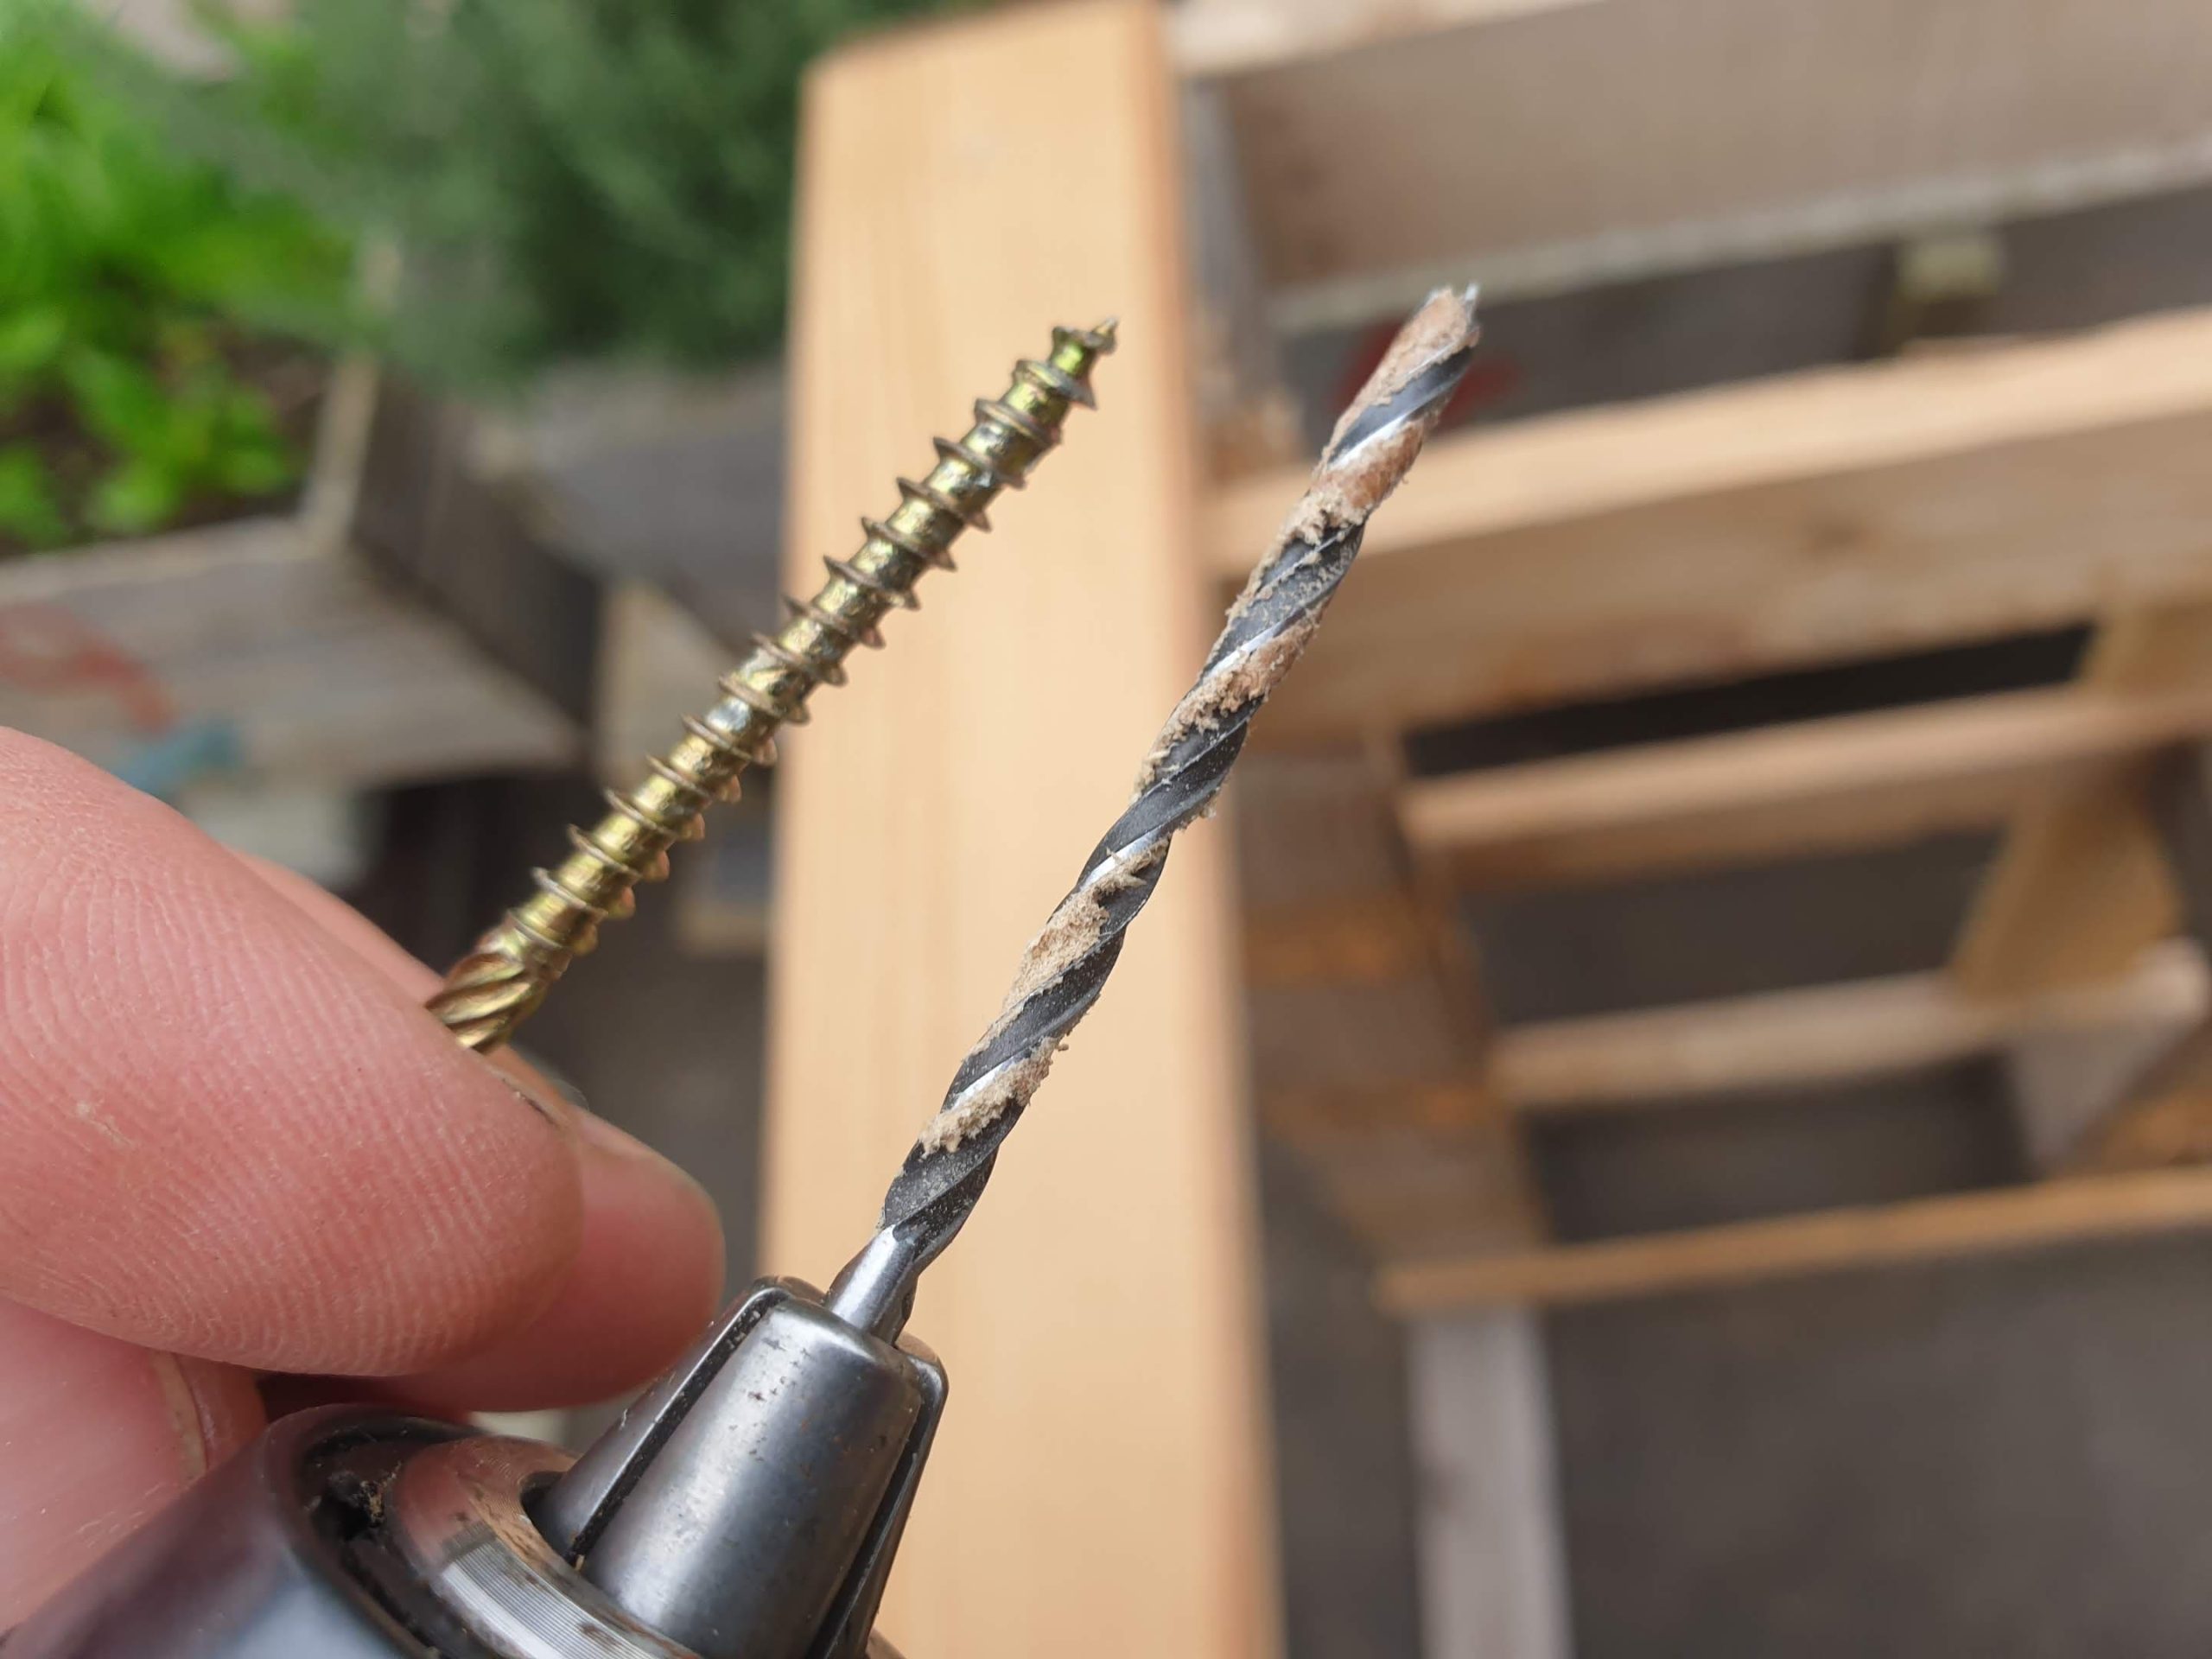
I used 60 mm long screws to fix the pallets together using two screws per corner or 4 screws per board. It’s easier if you drill a small hole before screwing in the screws and it’s easier still if you have a power screwdriver to do it.
Pallet wood weather treatment
Your pallets will have been heat treated to eliminate insect infestation but not weather treated to prolong the life of the wood exposed to the sun and rain outdoors. You can also buy weather resistant wooden planks and make your own wooden structures as well.
Untreated wood will first turn to a grey colour and within two to three years, the wood will start to rot especially if you live in a wet climate. This is why it’s also important to keep the pallets off the ground with stone pavers or bricks, (see below).
To prolong your pallet structures even further, you may want to go about painting, varnishing or applying oil to protect them. I’ve tried painting but I find the paint starts to flake off quite quickly. I think varnish or wood oil is a better alternative and will last longer.
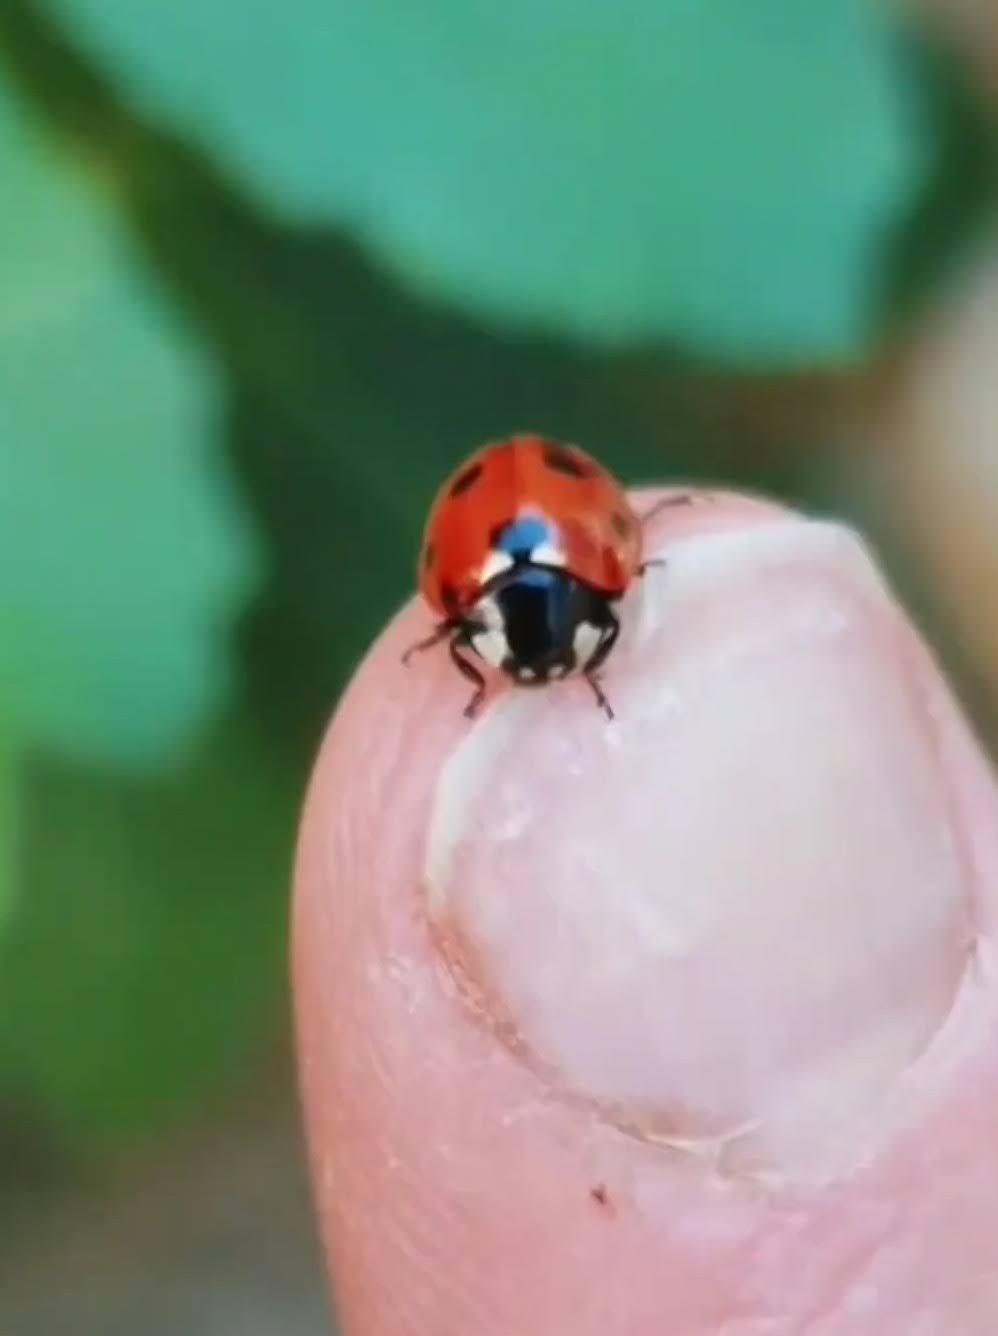
Wood oils are very strong smelling when first applied and the smell might deter insects especially the beneficial ones like this pretty ladybird.
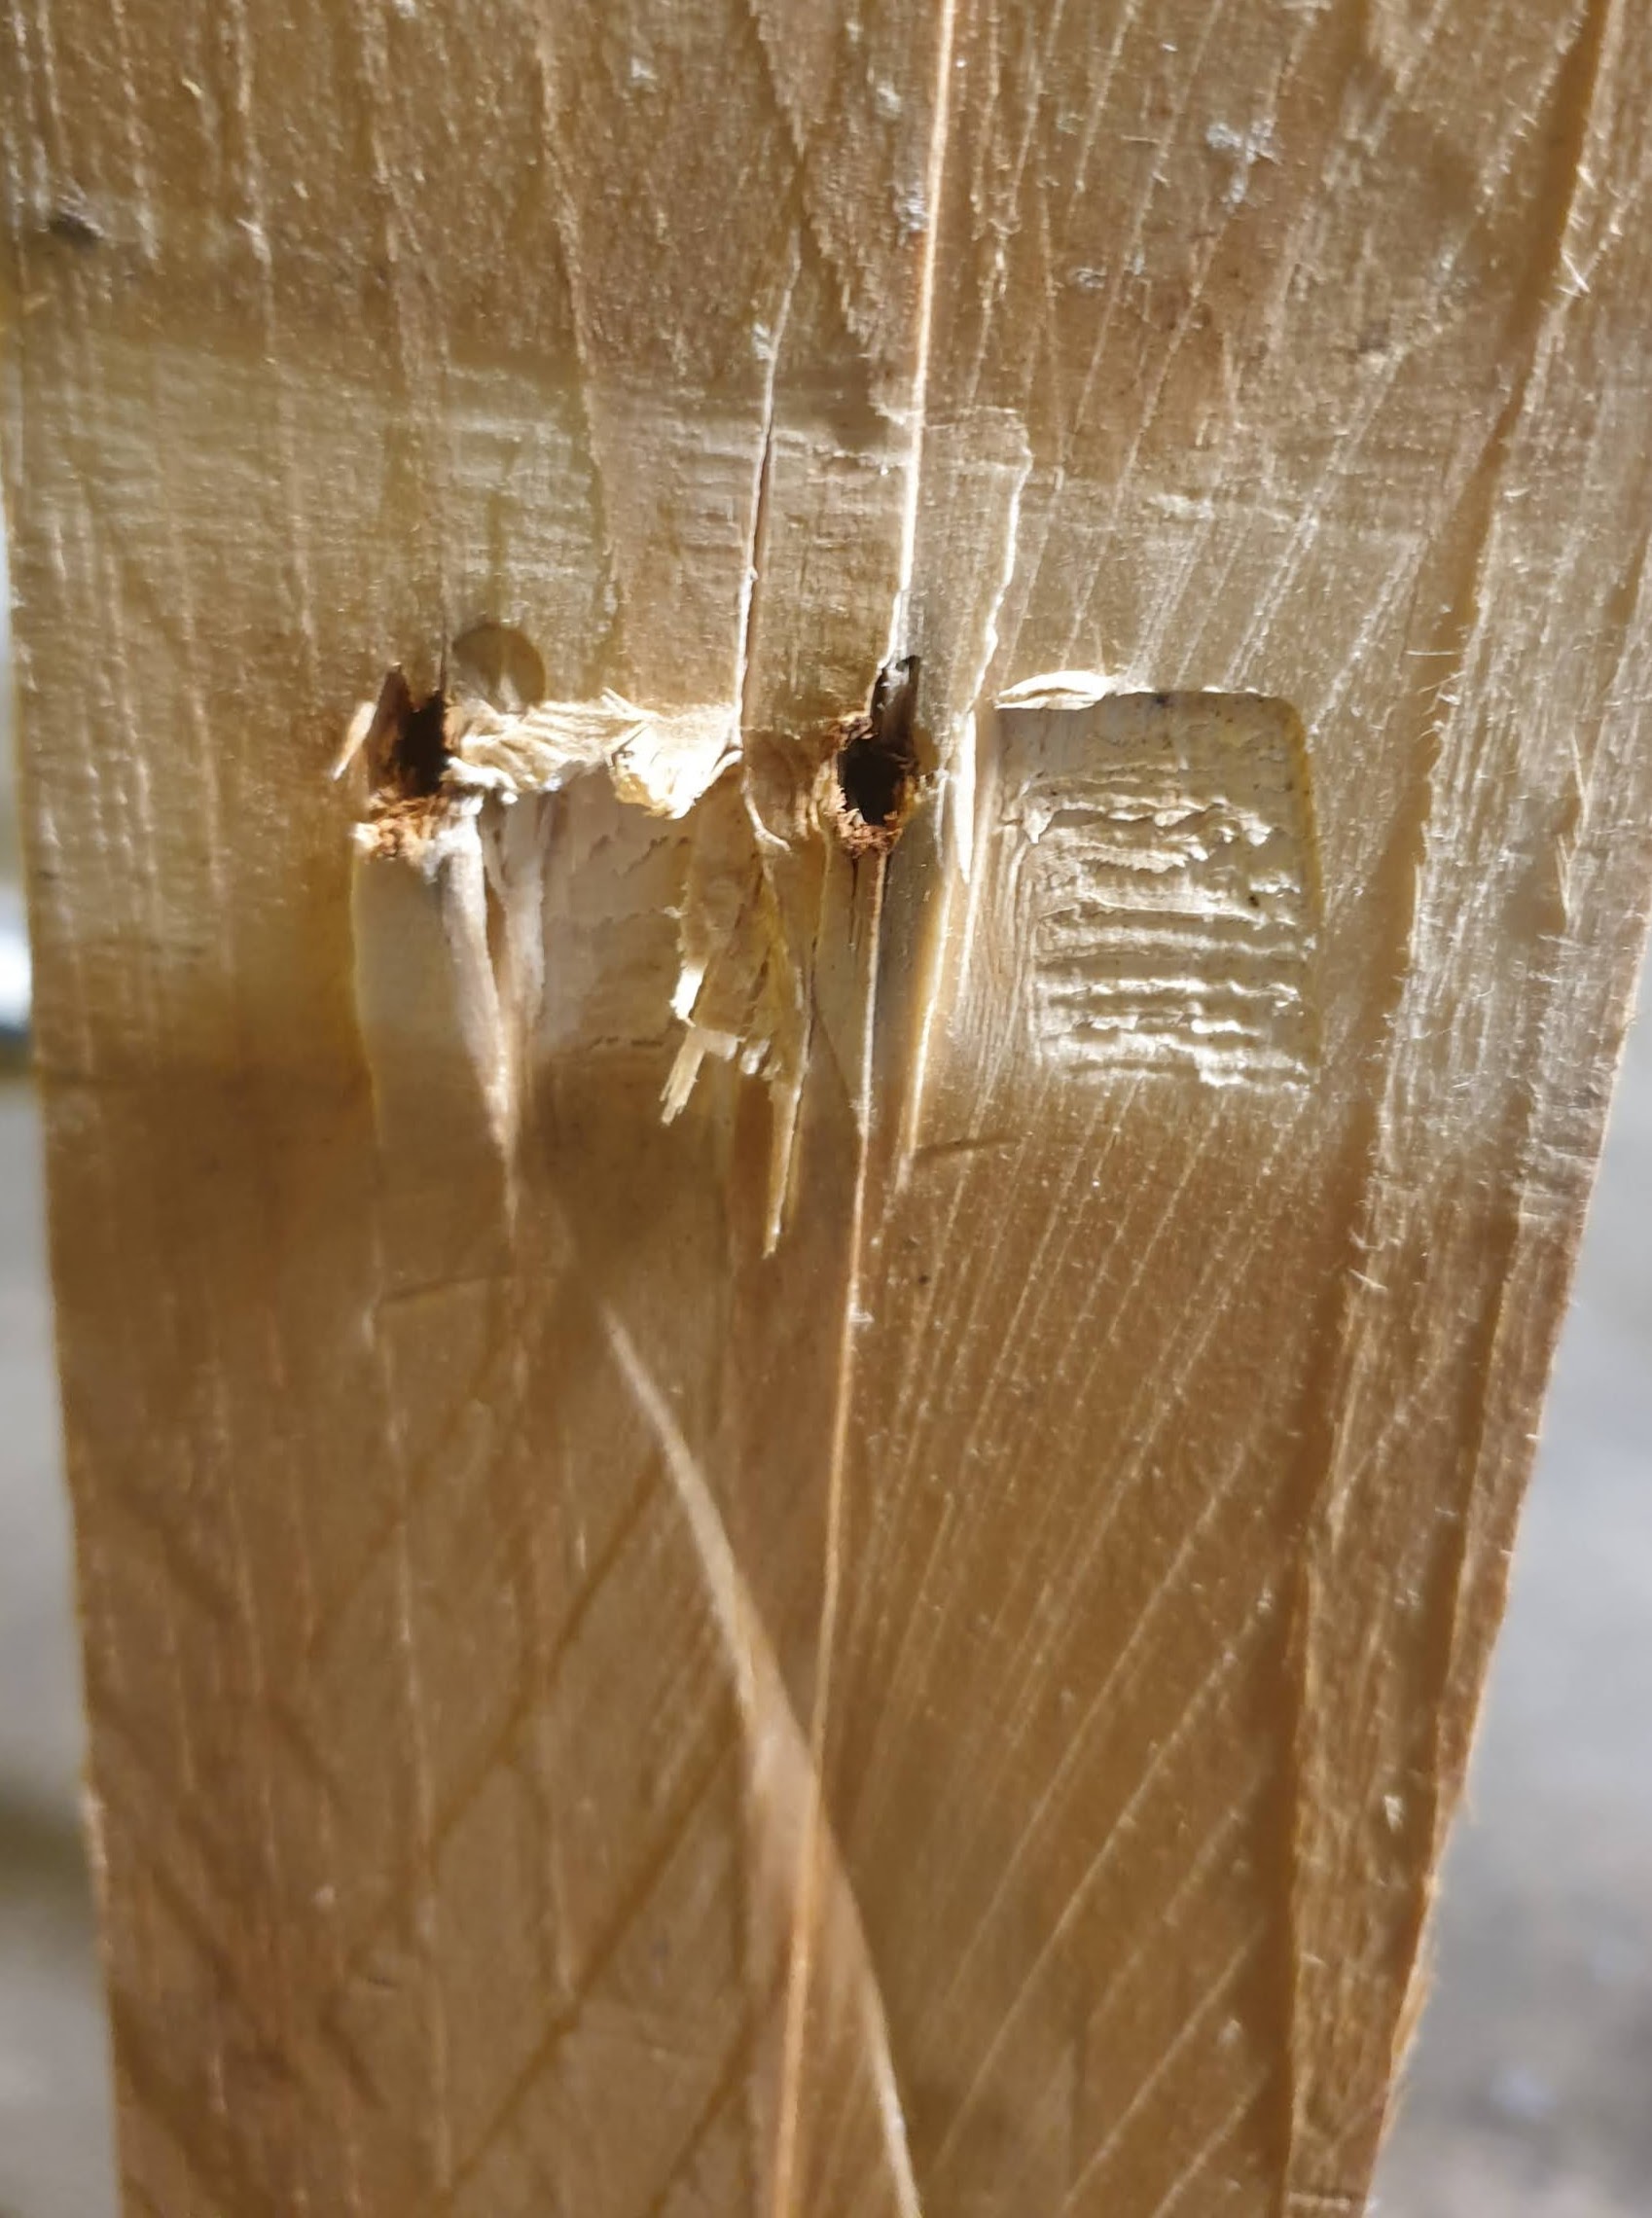
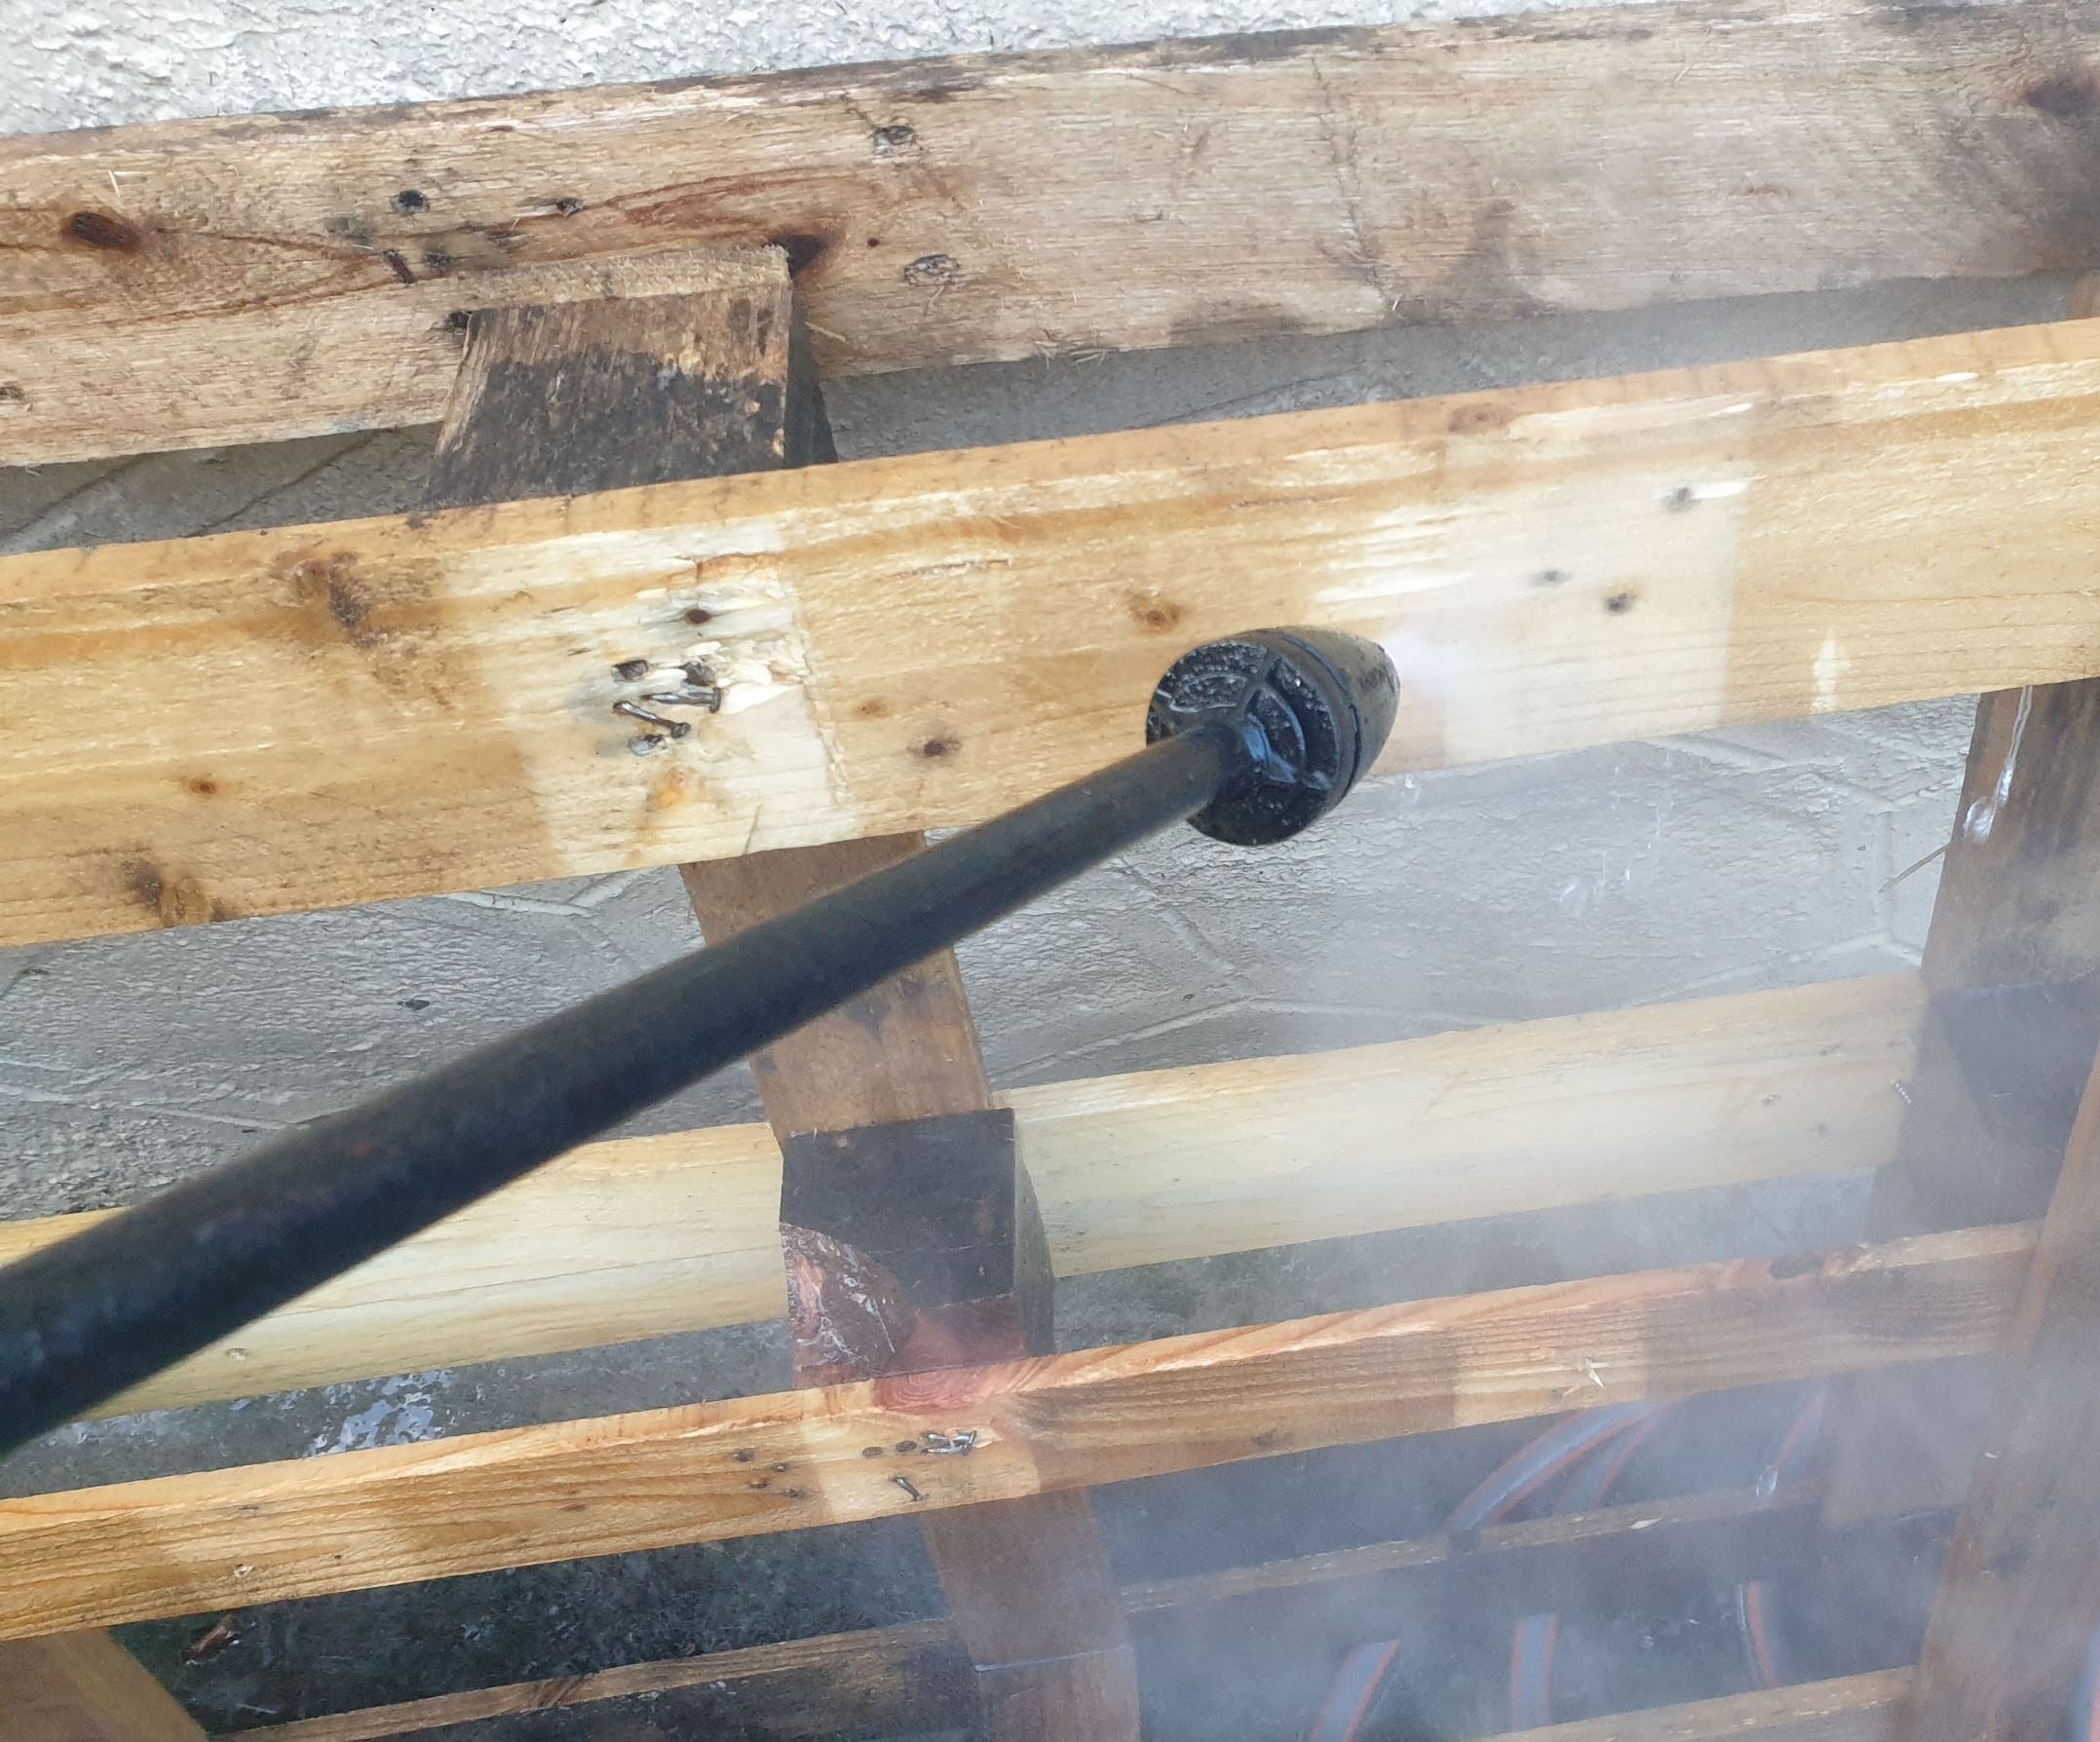
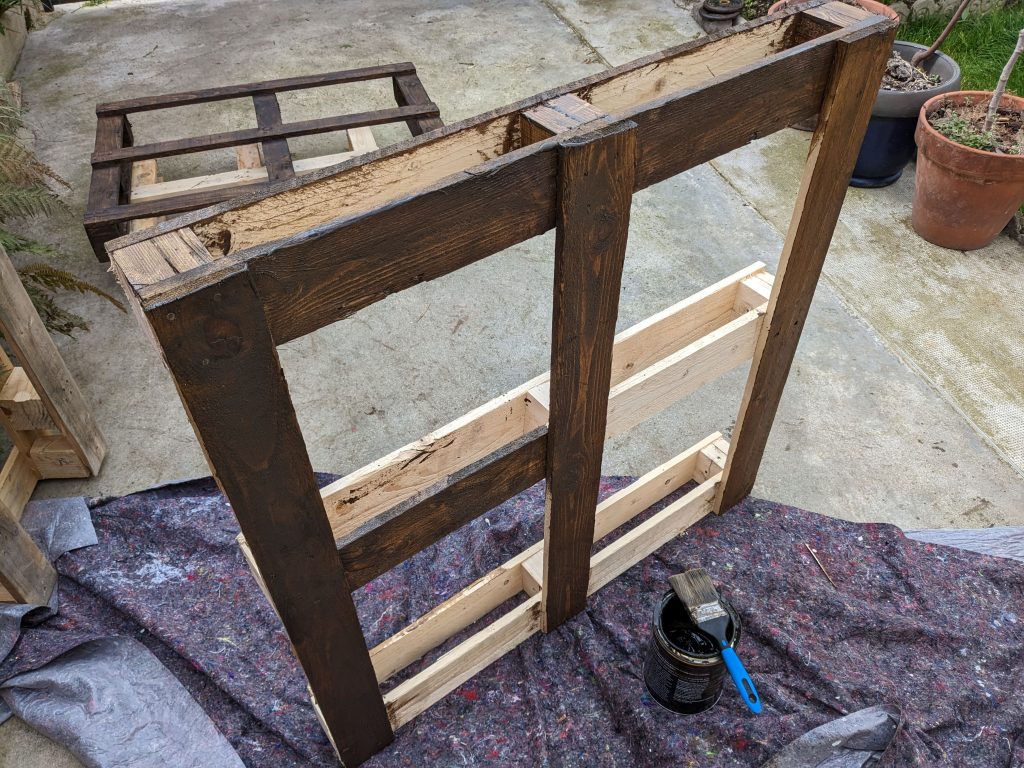
Before painting, you can clean the wood with a power washer which will quickly remove dirt and stains. If you don’t have a power washer, a brush, some soapy water and elbow grease will do the job.
One thing I would not do is sand down the wood surface to make it smooth. You want to keep the wood as rough and as splintered as possible to provide a deterrent to snails crawling up towards your lettuce plants.
Besides, you’ll have heavy duty gloves to protect your hands when you move them.
Prolonging the life of your pallets
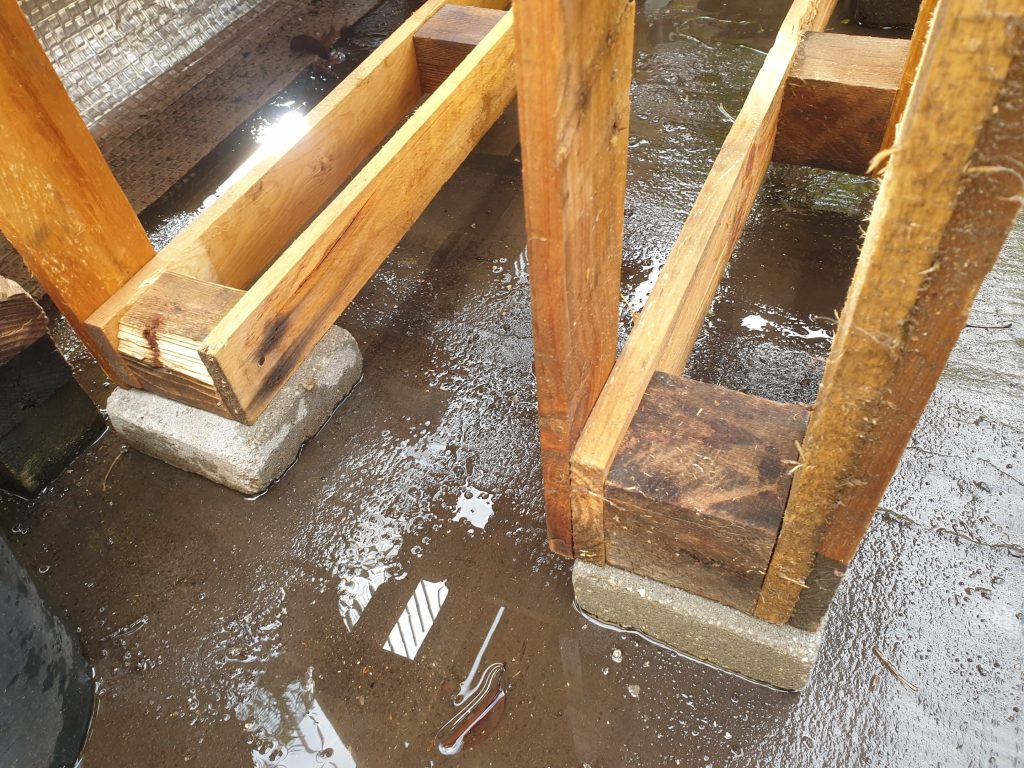
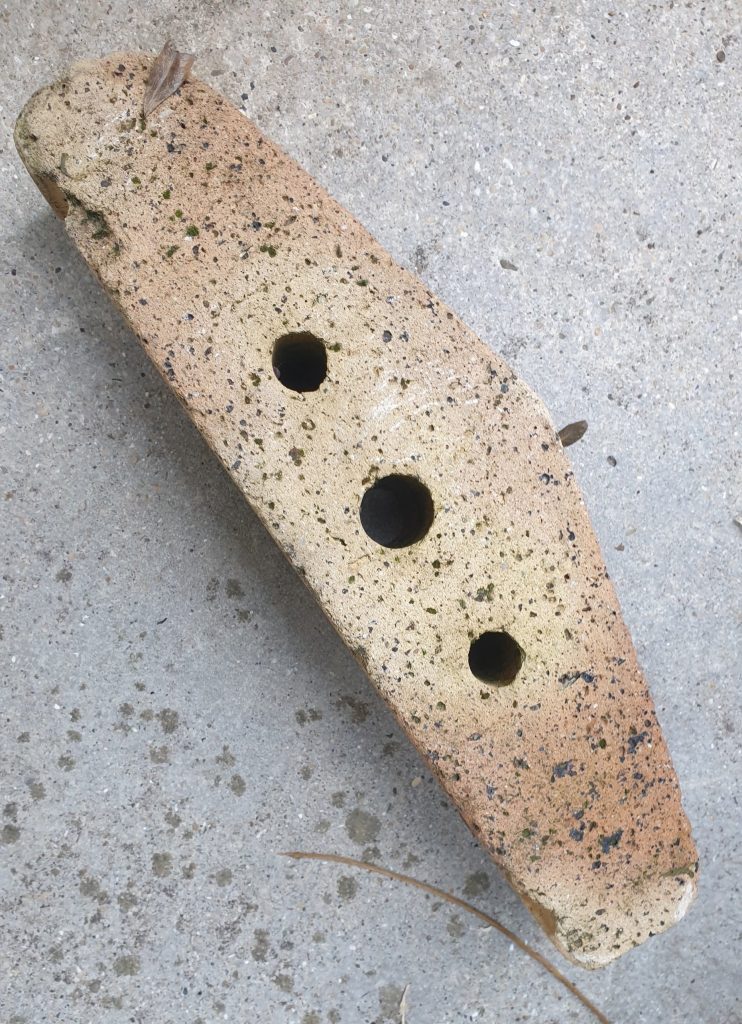
Even if you applied a wood protection treatment, to prolong the durability of your pallets, they must not be in direct contact with the ground.
Stand your pallets off the ground with two bricks, small pavers or pieces of wooden plank otherwise the pallet wood will stay permanently humid on the bottom and eventually rot. Use solid bricks, not ones with holes in otherwise slugs will make their homes there.
If you prefer not to invest time and energy in finding and modifying pallets, I still advise you to have your fish boxes or other plant containers off the ground. You can do that simply with a few bricks or blocks of wood. Try to get as much height as possible whilst maintaining stability.
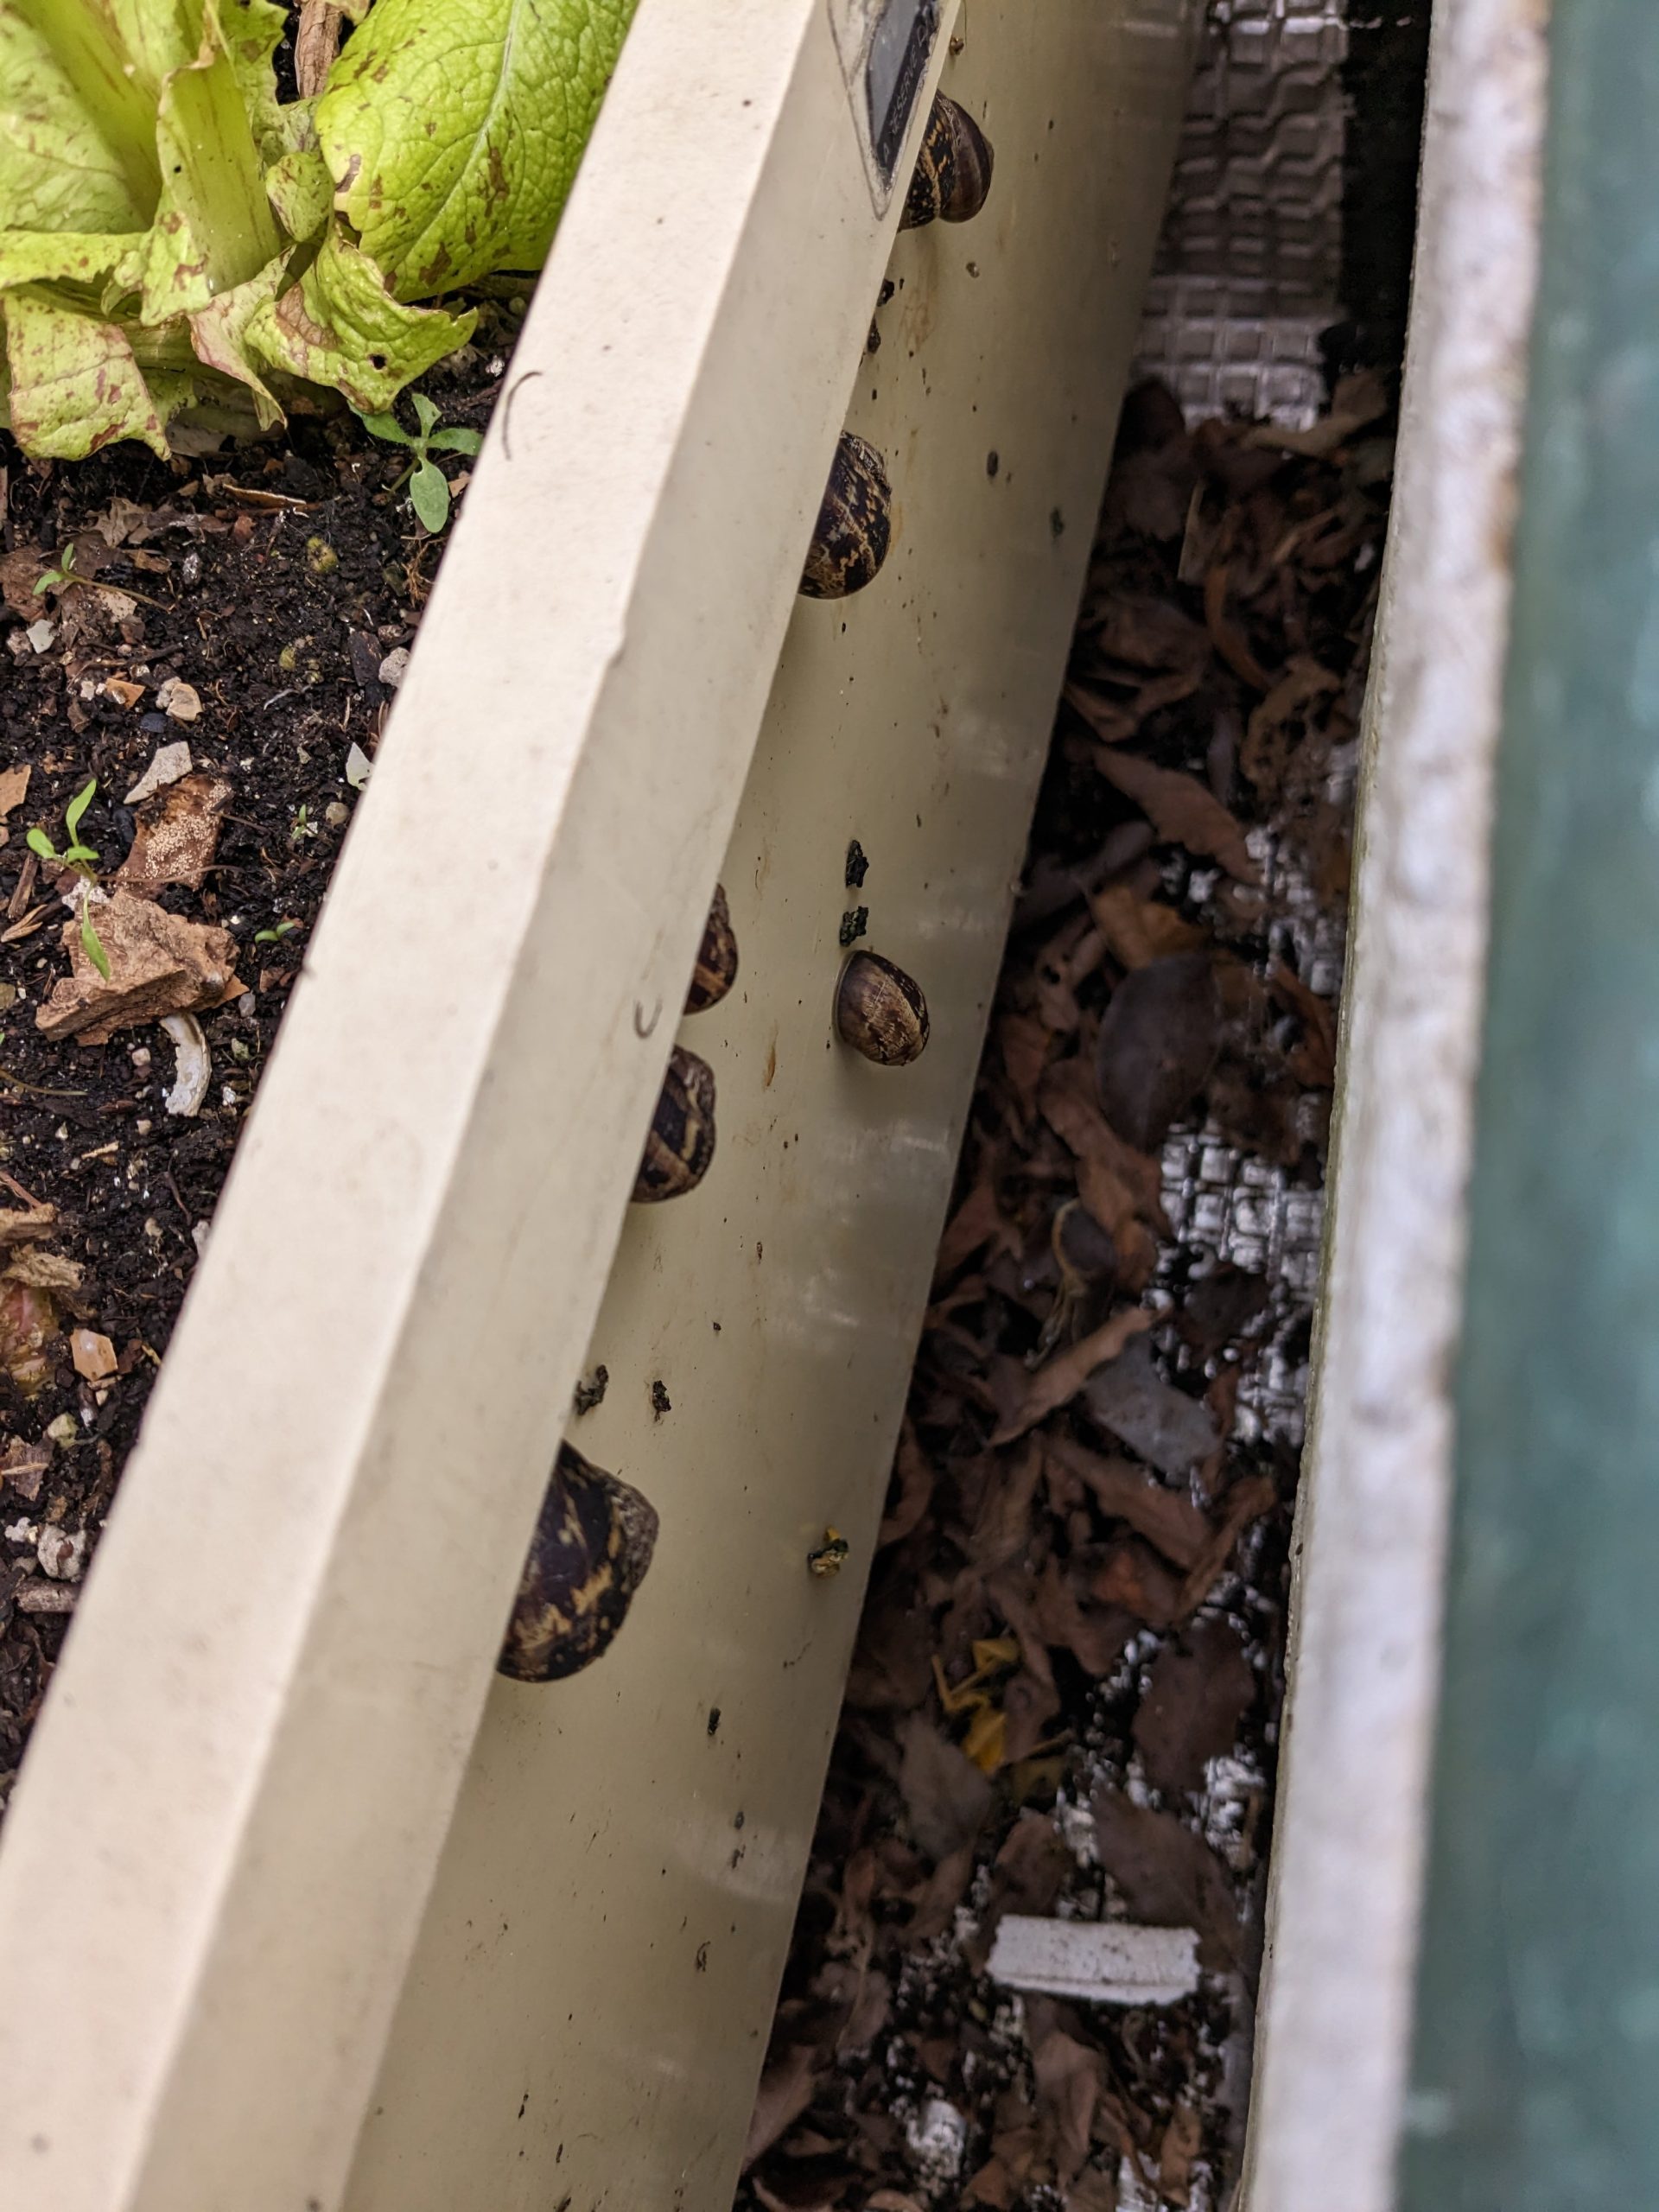
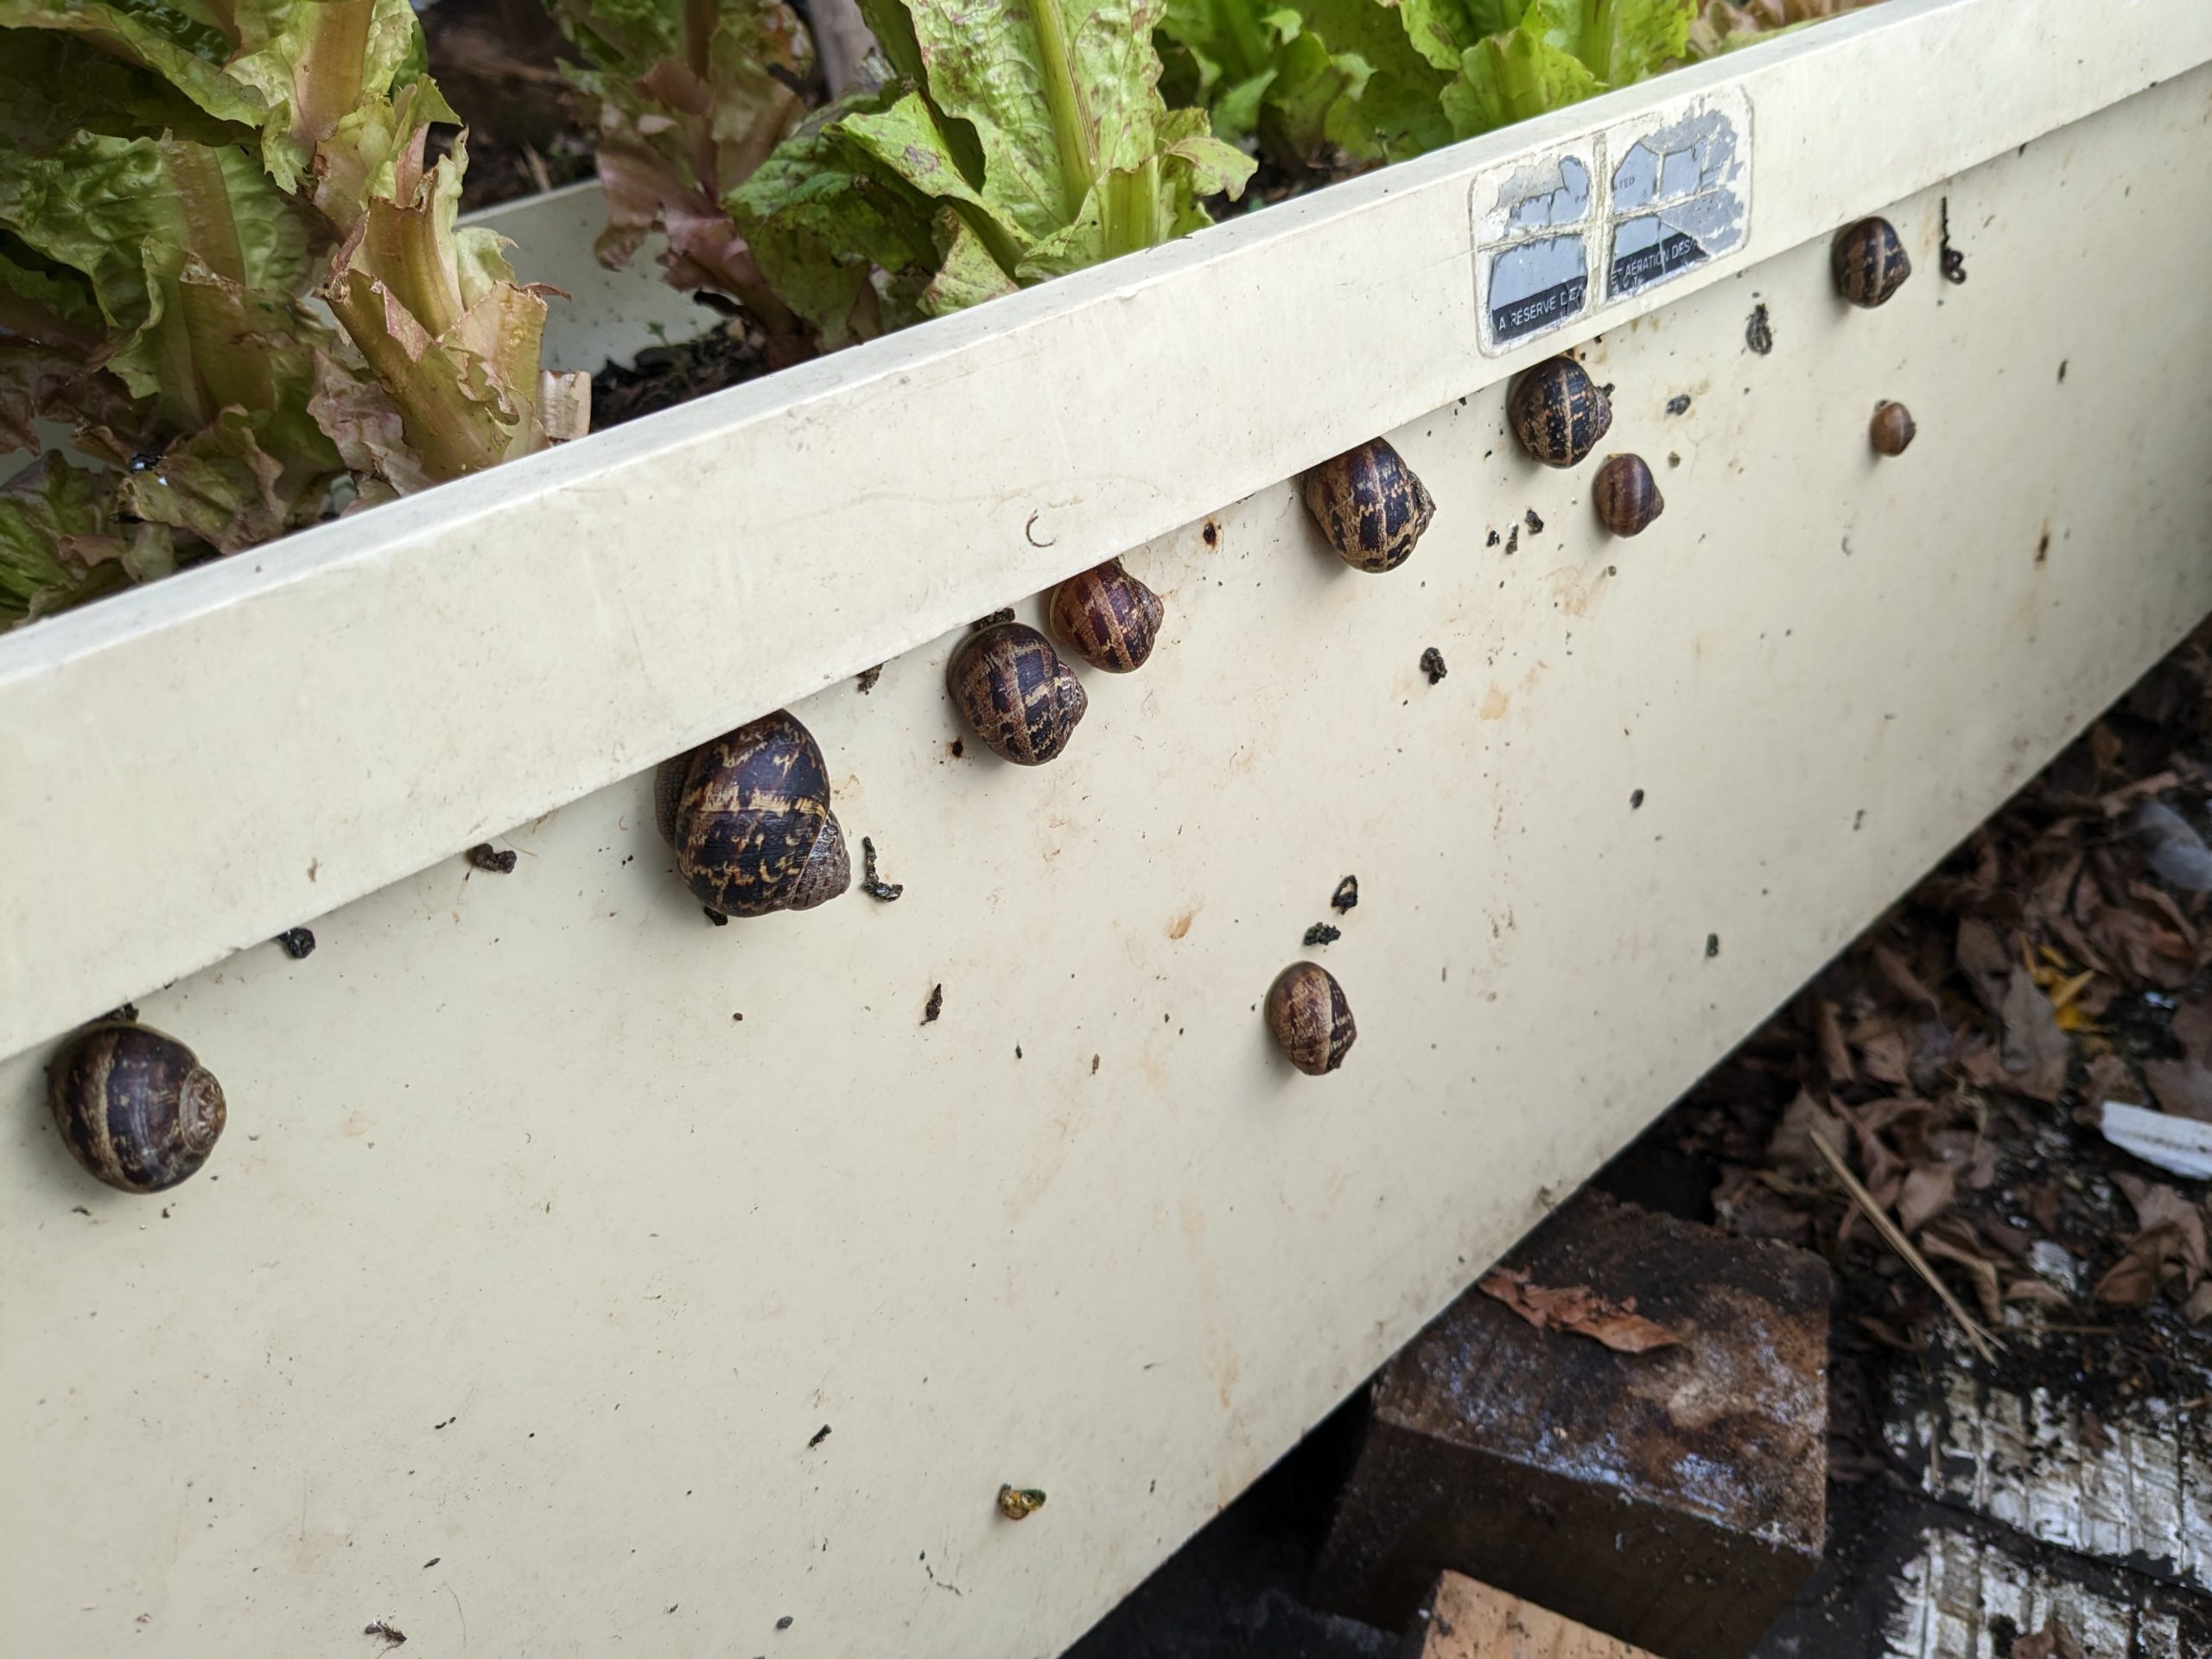
You want to have as much air circulation as possible and avoid creating cool and damp conditions that encourage snails and slugs to make their homes near your plants.
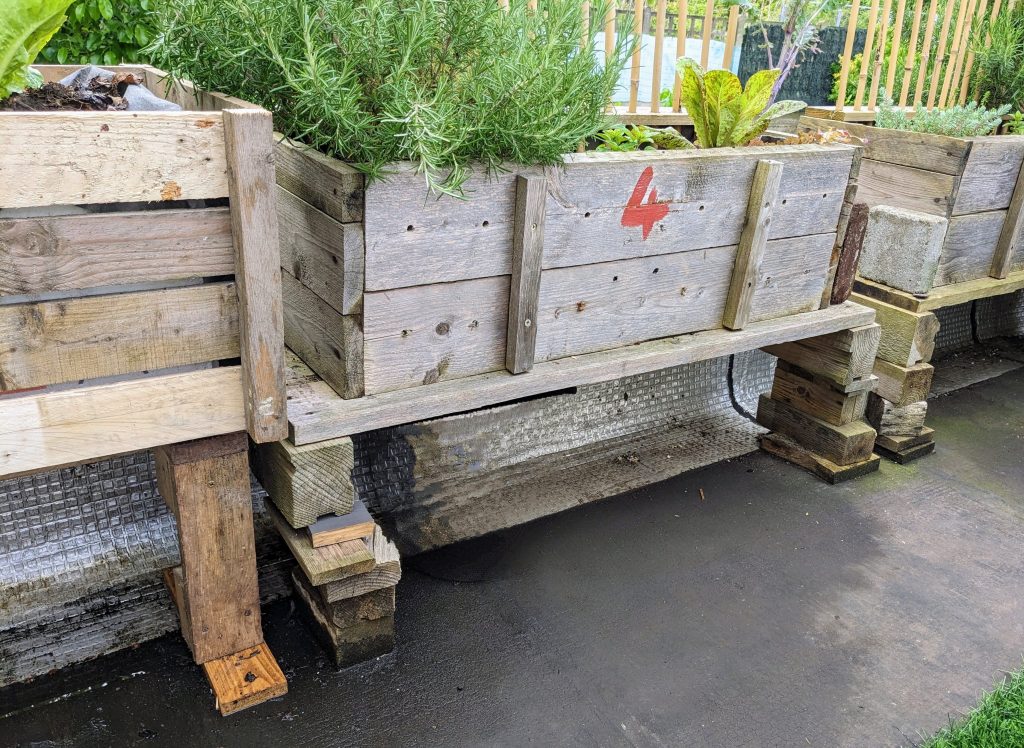
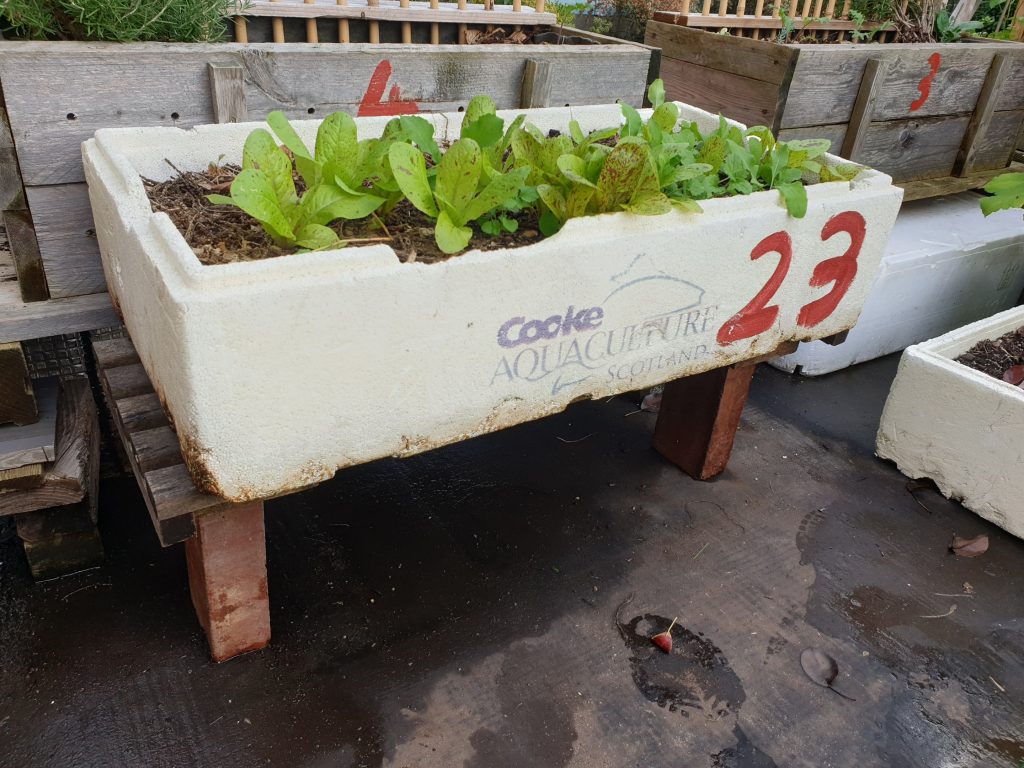
In the photos below, the planter box full of lettuce was too close to a wall creating an ideal snail environnement.
If you buy or make wooden planter boxes, I would recommend putting rollers with brakes on the bottom so they can be more easily moved. You should also lay a block of wood under the roller if the floor surface is not hard like concrete.
Up next – Why Use Fish boxes For Growing Plants?